You may be wondering, “How do I use Photographic Styles?” after Apple announced this stellar feature on the iPhone 13. The Cupertino-based tech giant boasted that Photographic Styles (PS) lets users choose from four different presets that can make your photos punchier or more subdued — all while preserving skin tone.
Thanks to the A15 Bionic chip inside the sub-$500 iPhone SE 2022. It, too, offers Photographic Styles, and other perks (e.g. Smart HD4), to Apple’s budget-conscious consumers. PS serves up four presets: Rich Contrast, Vibrant, Warm and Cool. You can select one and customize it to your liking. For an easy, step-by-step tutorial on how to access Photographic Styles, check out the instructions below.
How to use Photographic Styles on the iPhone 13 and iPhone SE 2022
If you had difficulties finding the Photographic Styles feature, we understand why —it’s not within immediate reach in the camera app like other functions (e.g. Cinematic Mode). Follow the steps below and you’ll be applying PS presets to your images in no time.
1. Go to the Camera app.
2. On the top, you’ll see an upward arrow (i.e. an upside-down V). Tap on it.
3. A row of icons will appear on the bottom. Tap on the icon that looks like three stacked squares (fourth icon from the left).
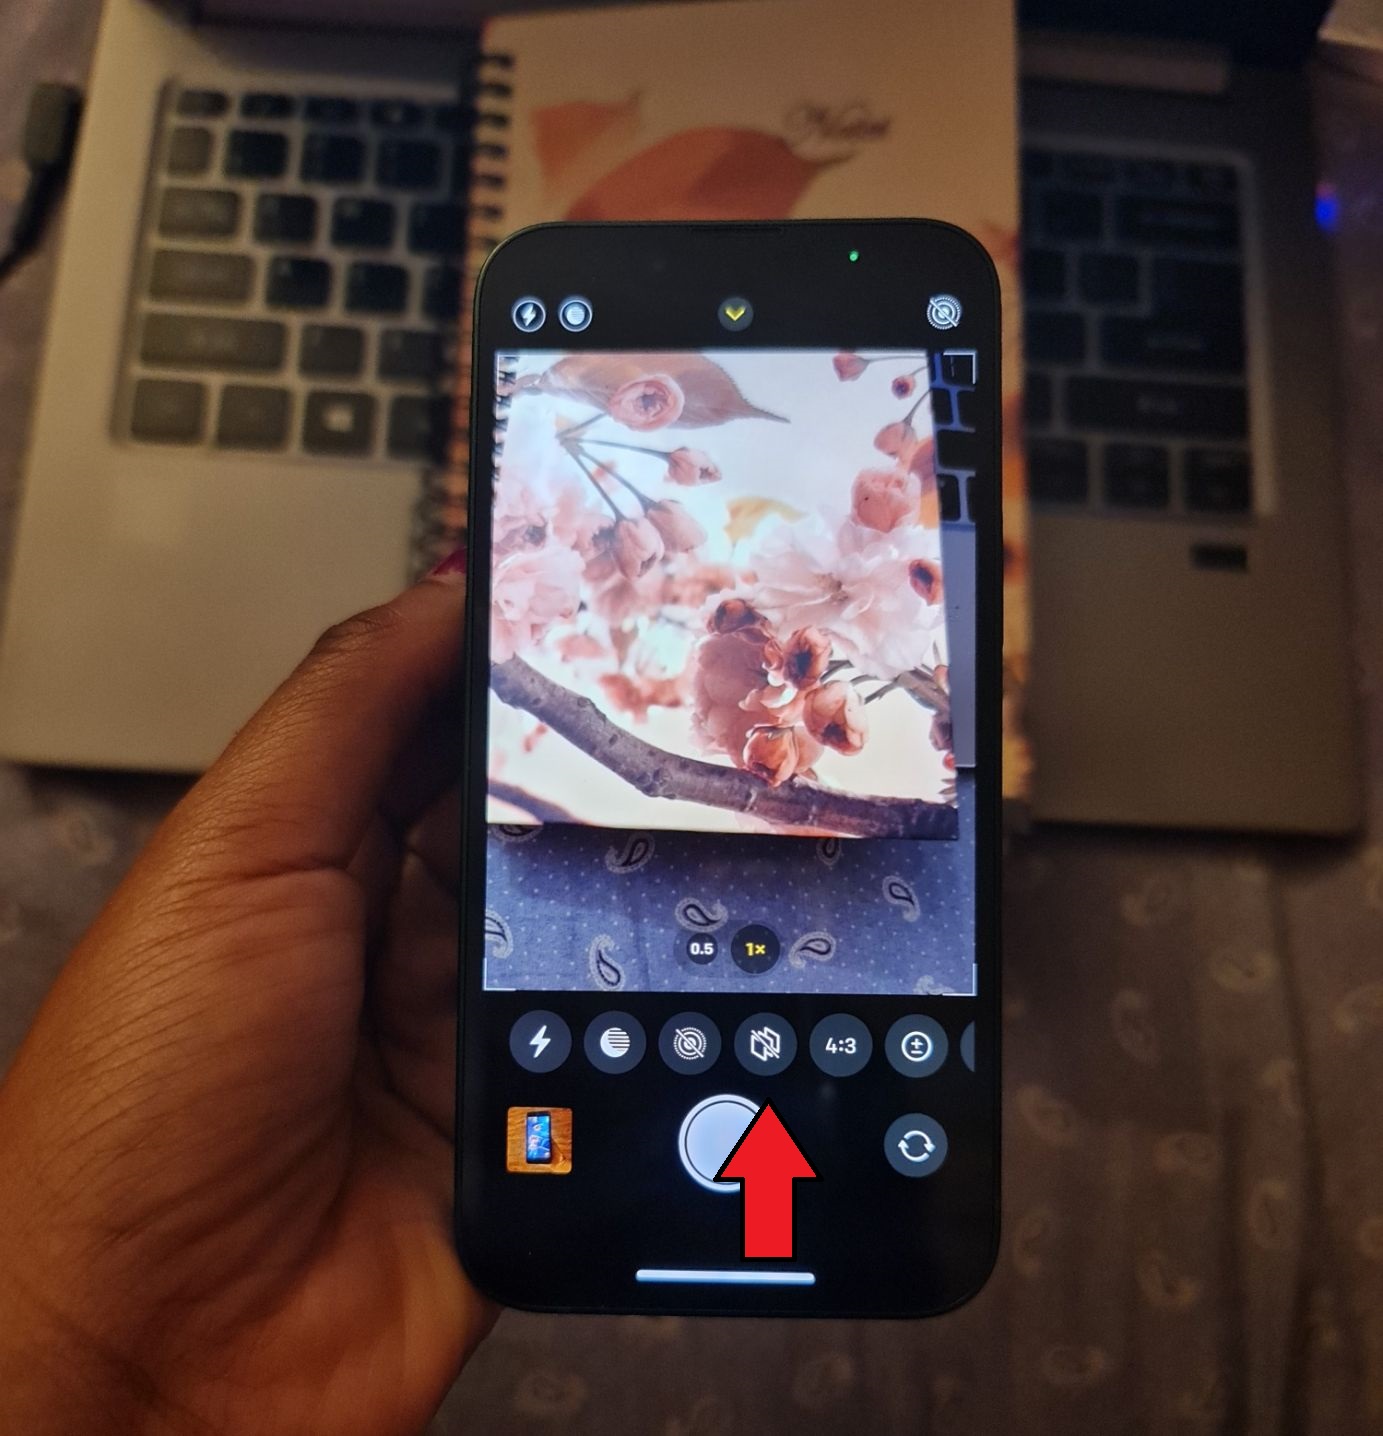
4. The word “Standard” will appear, indicating that you’ve successfully accessed the Photographic Style feature, but in order to use one of the presets, you’ll need to swipe.
5. As mentioned, you can choose from four presets: Rich Contrast, Vibrant, Warm and Cool. Below, you’ll find Apple’s descriptions for each filter:
- Rich Contrast: Darker shadows, richer colors, and stronger contrast create a dramatic look.
- Vibrant: Wonderfully bright and vivid colors create a brilliant yet natural look.
- Warm: Golden undertones create a warmer look.
- Cool: Blue undertones create a cooler look.
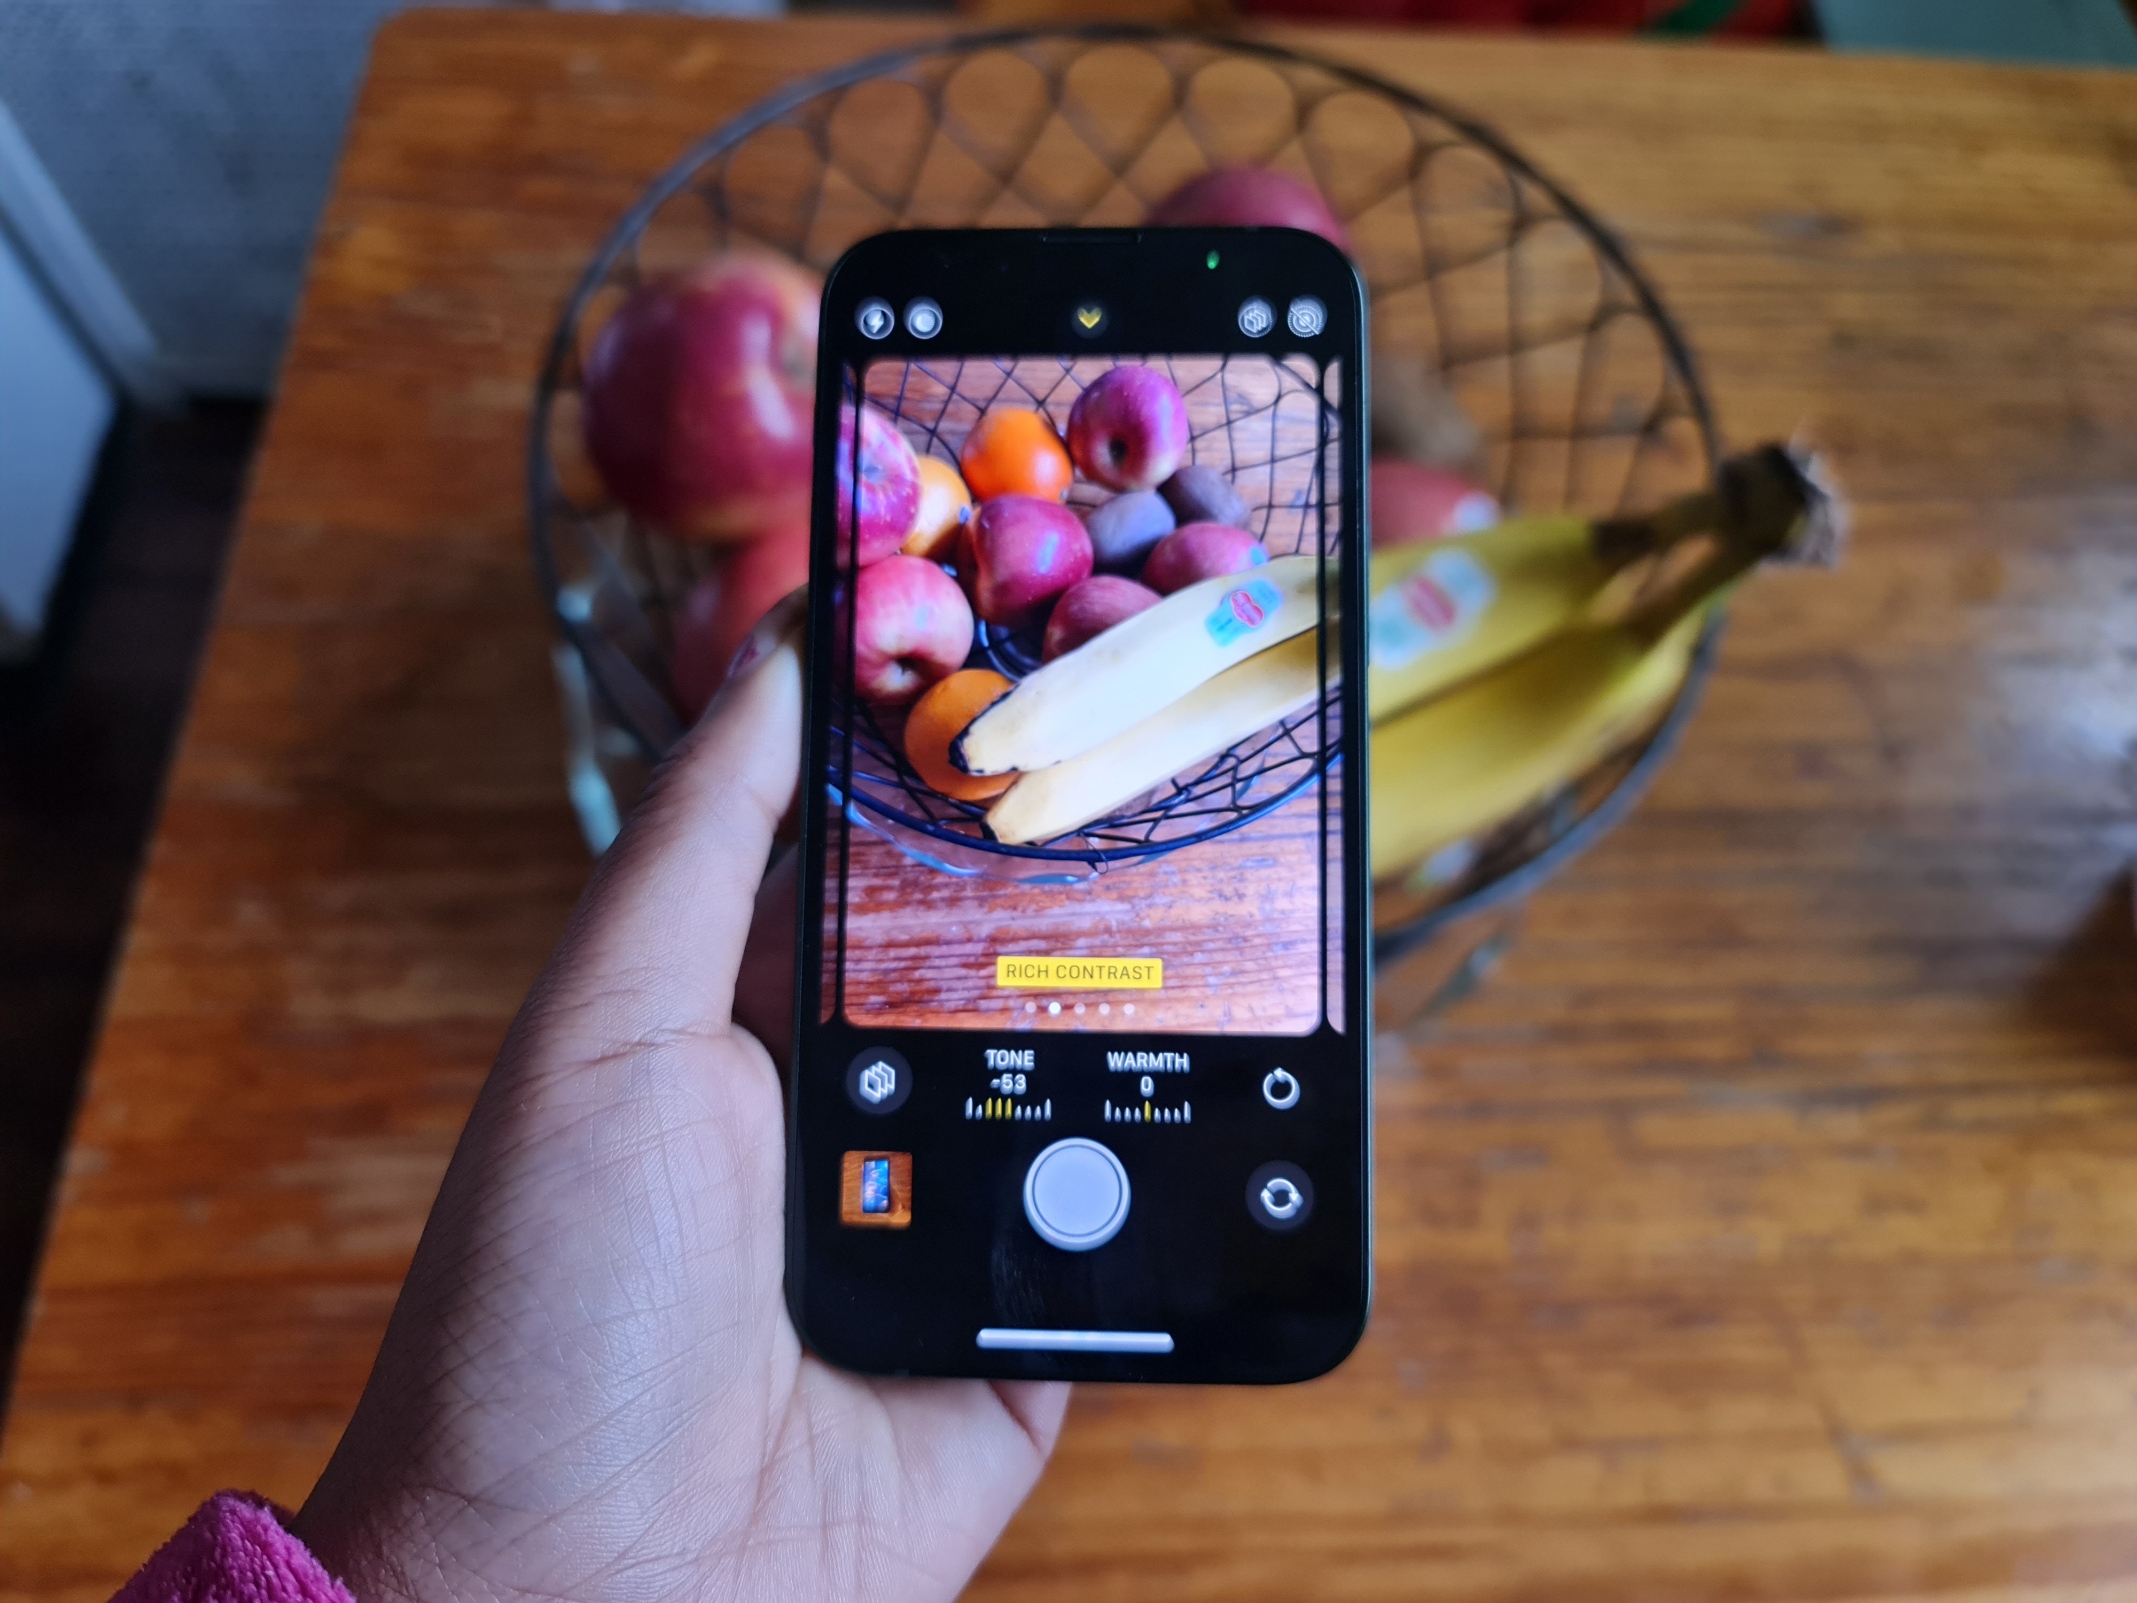
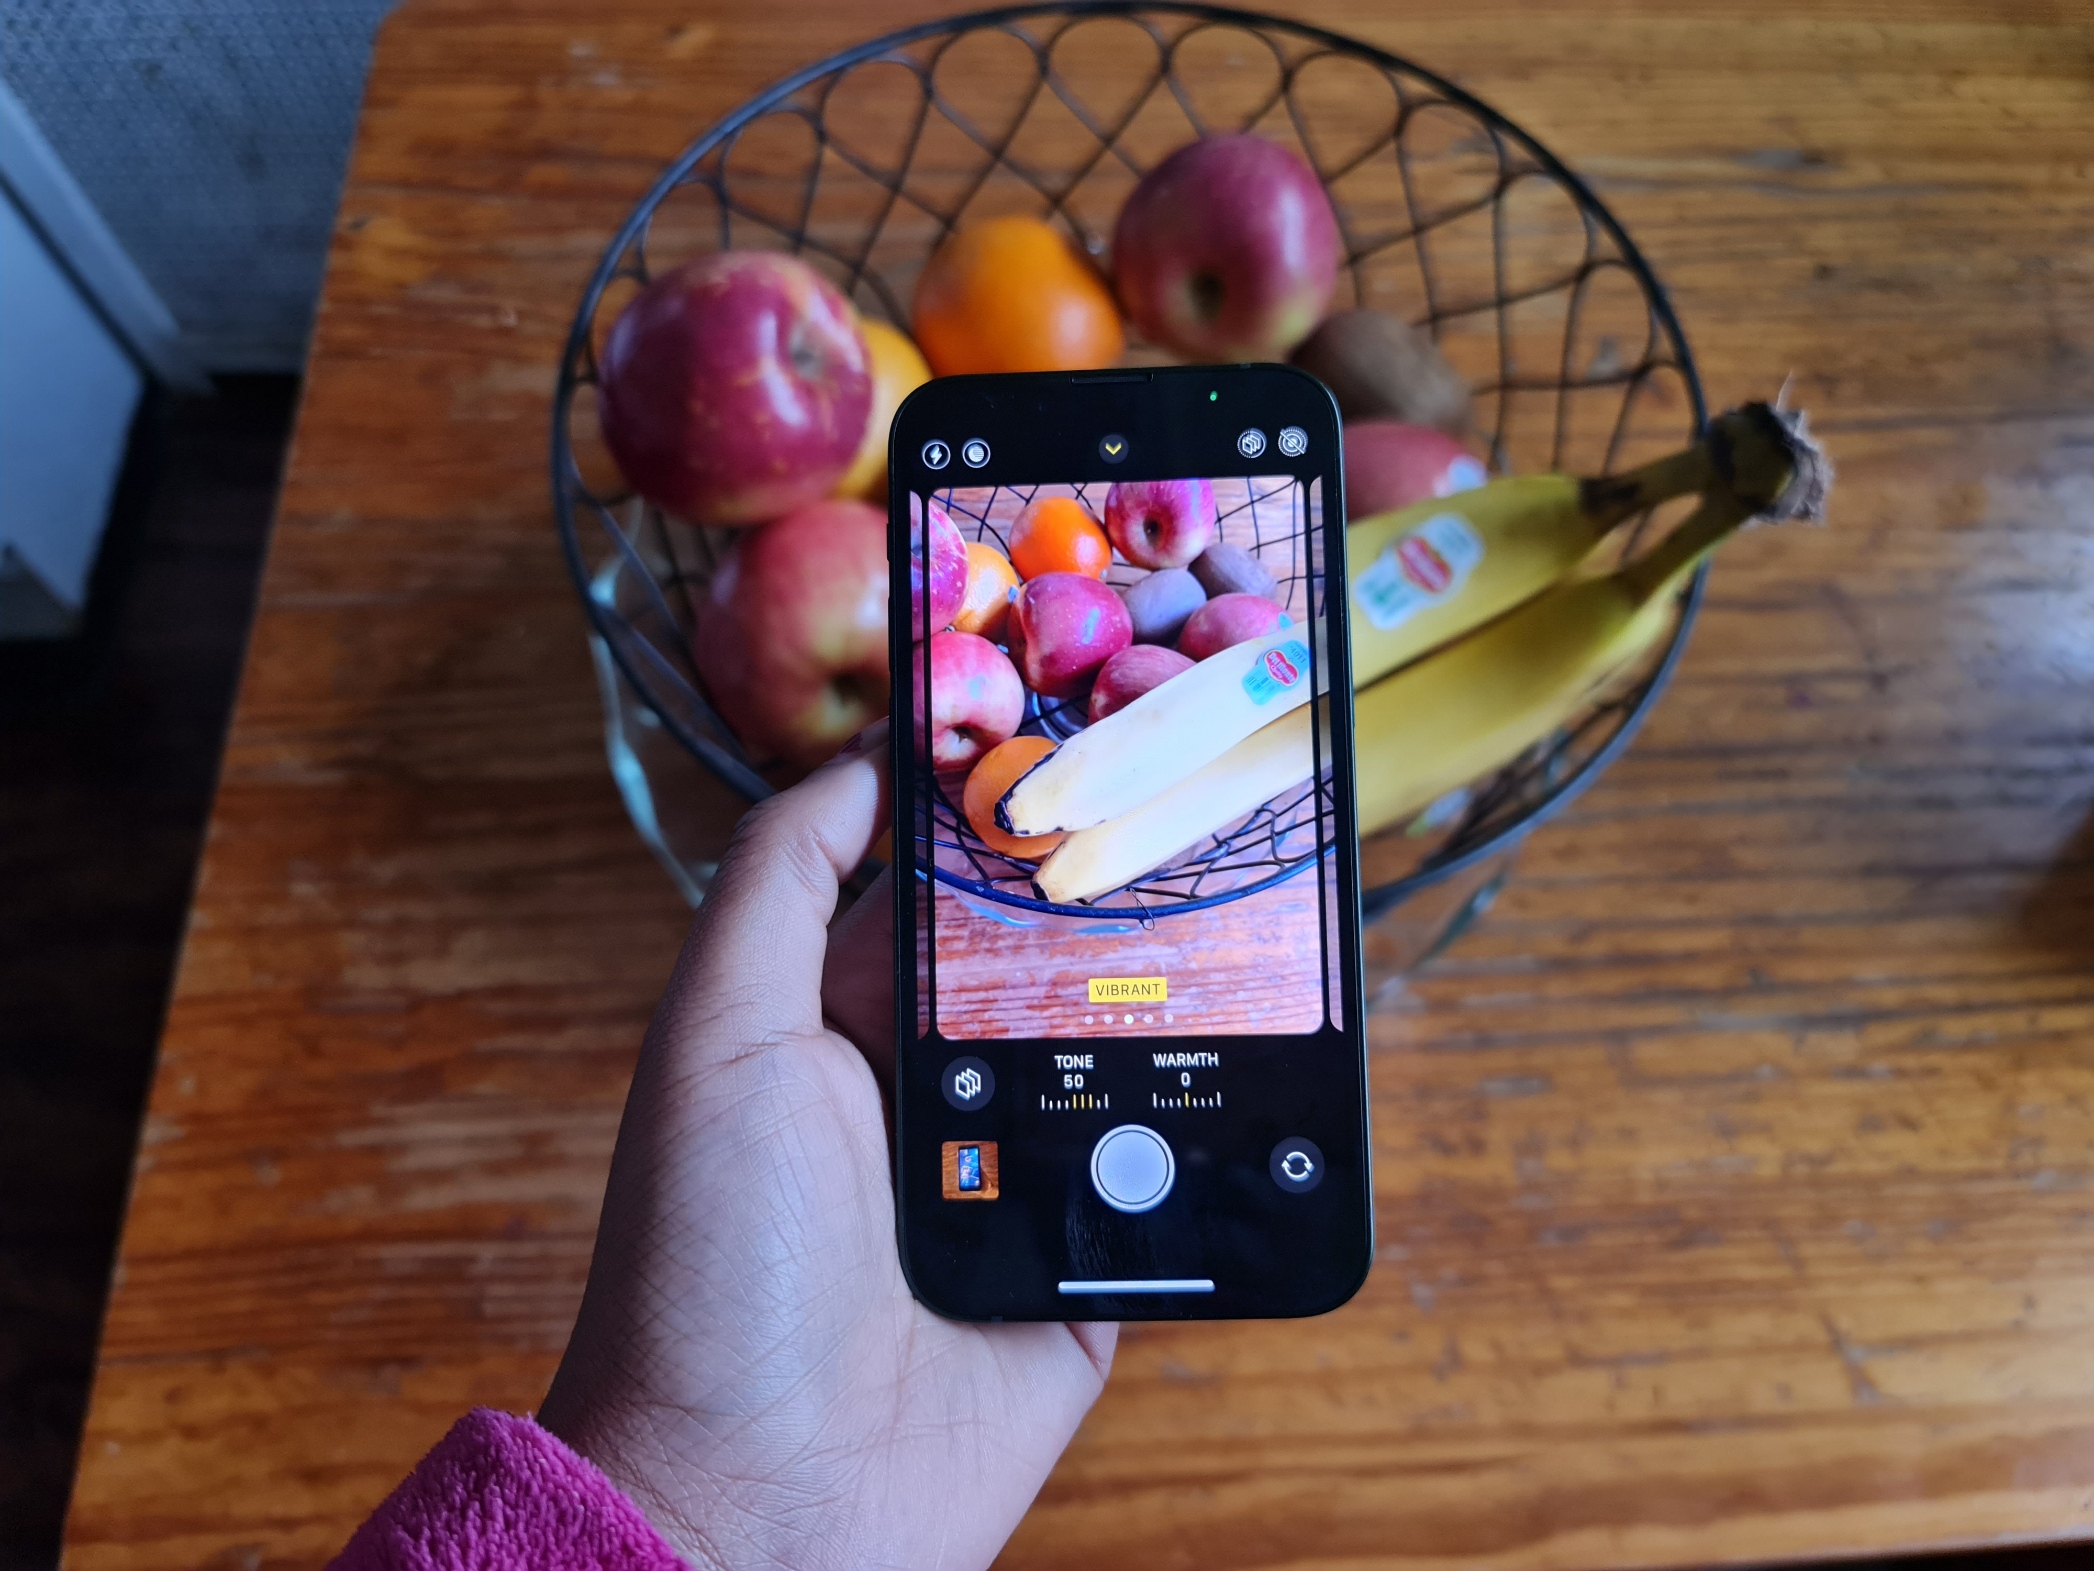
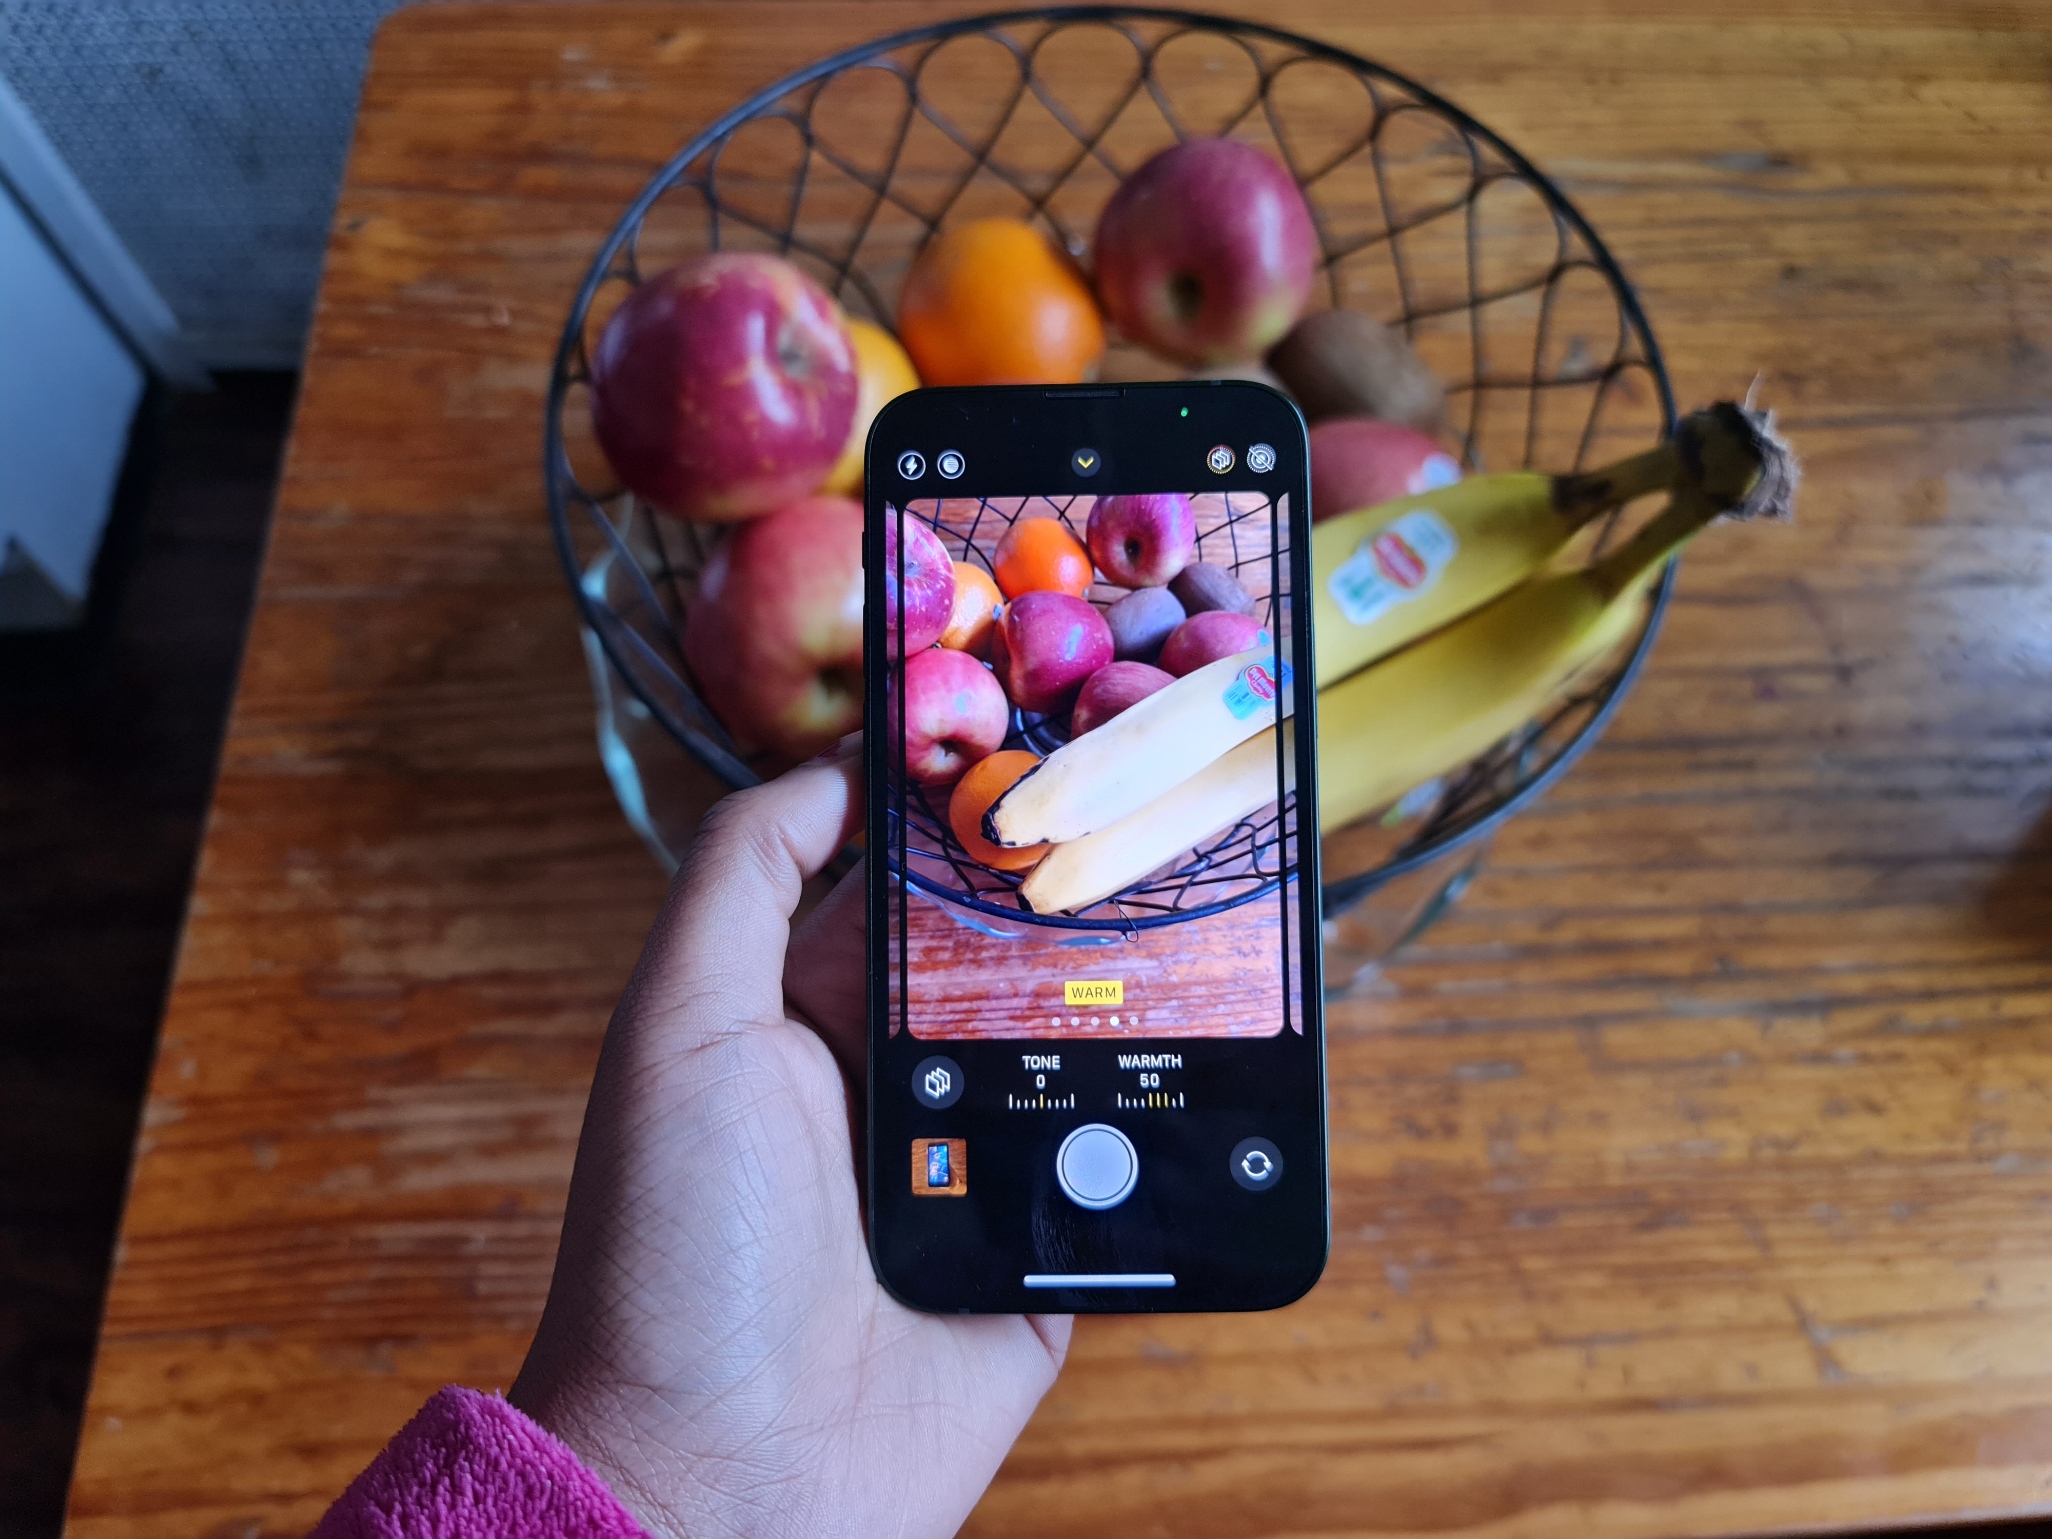
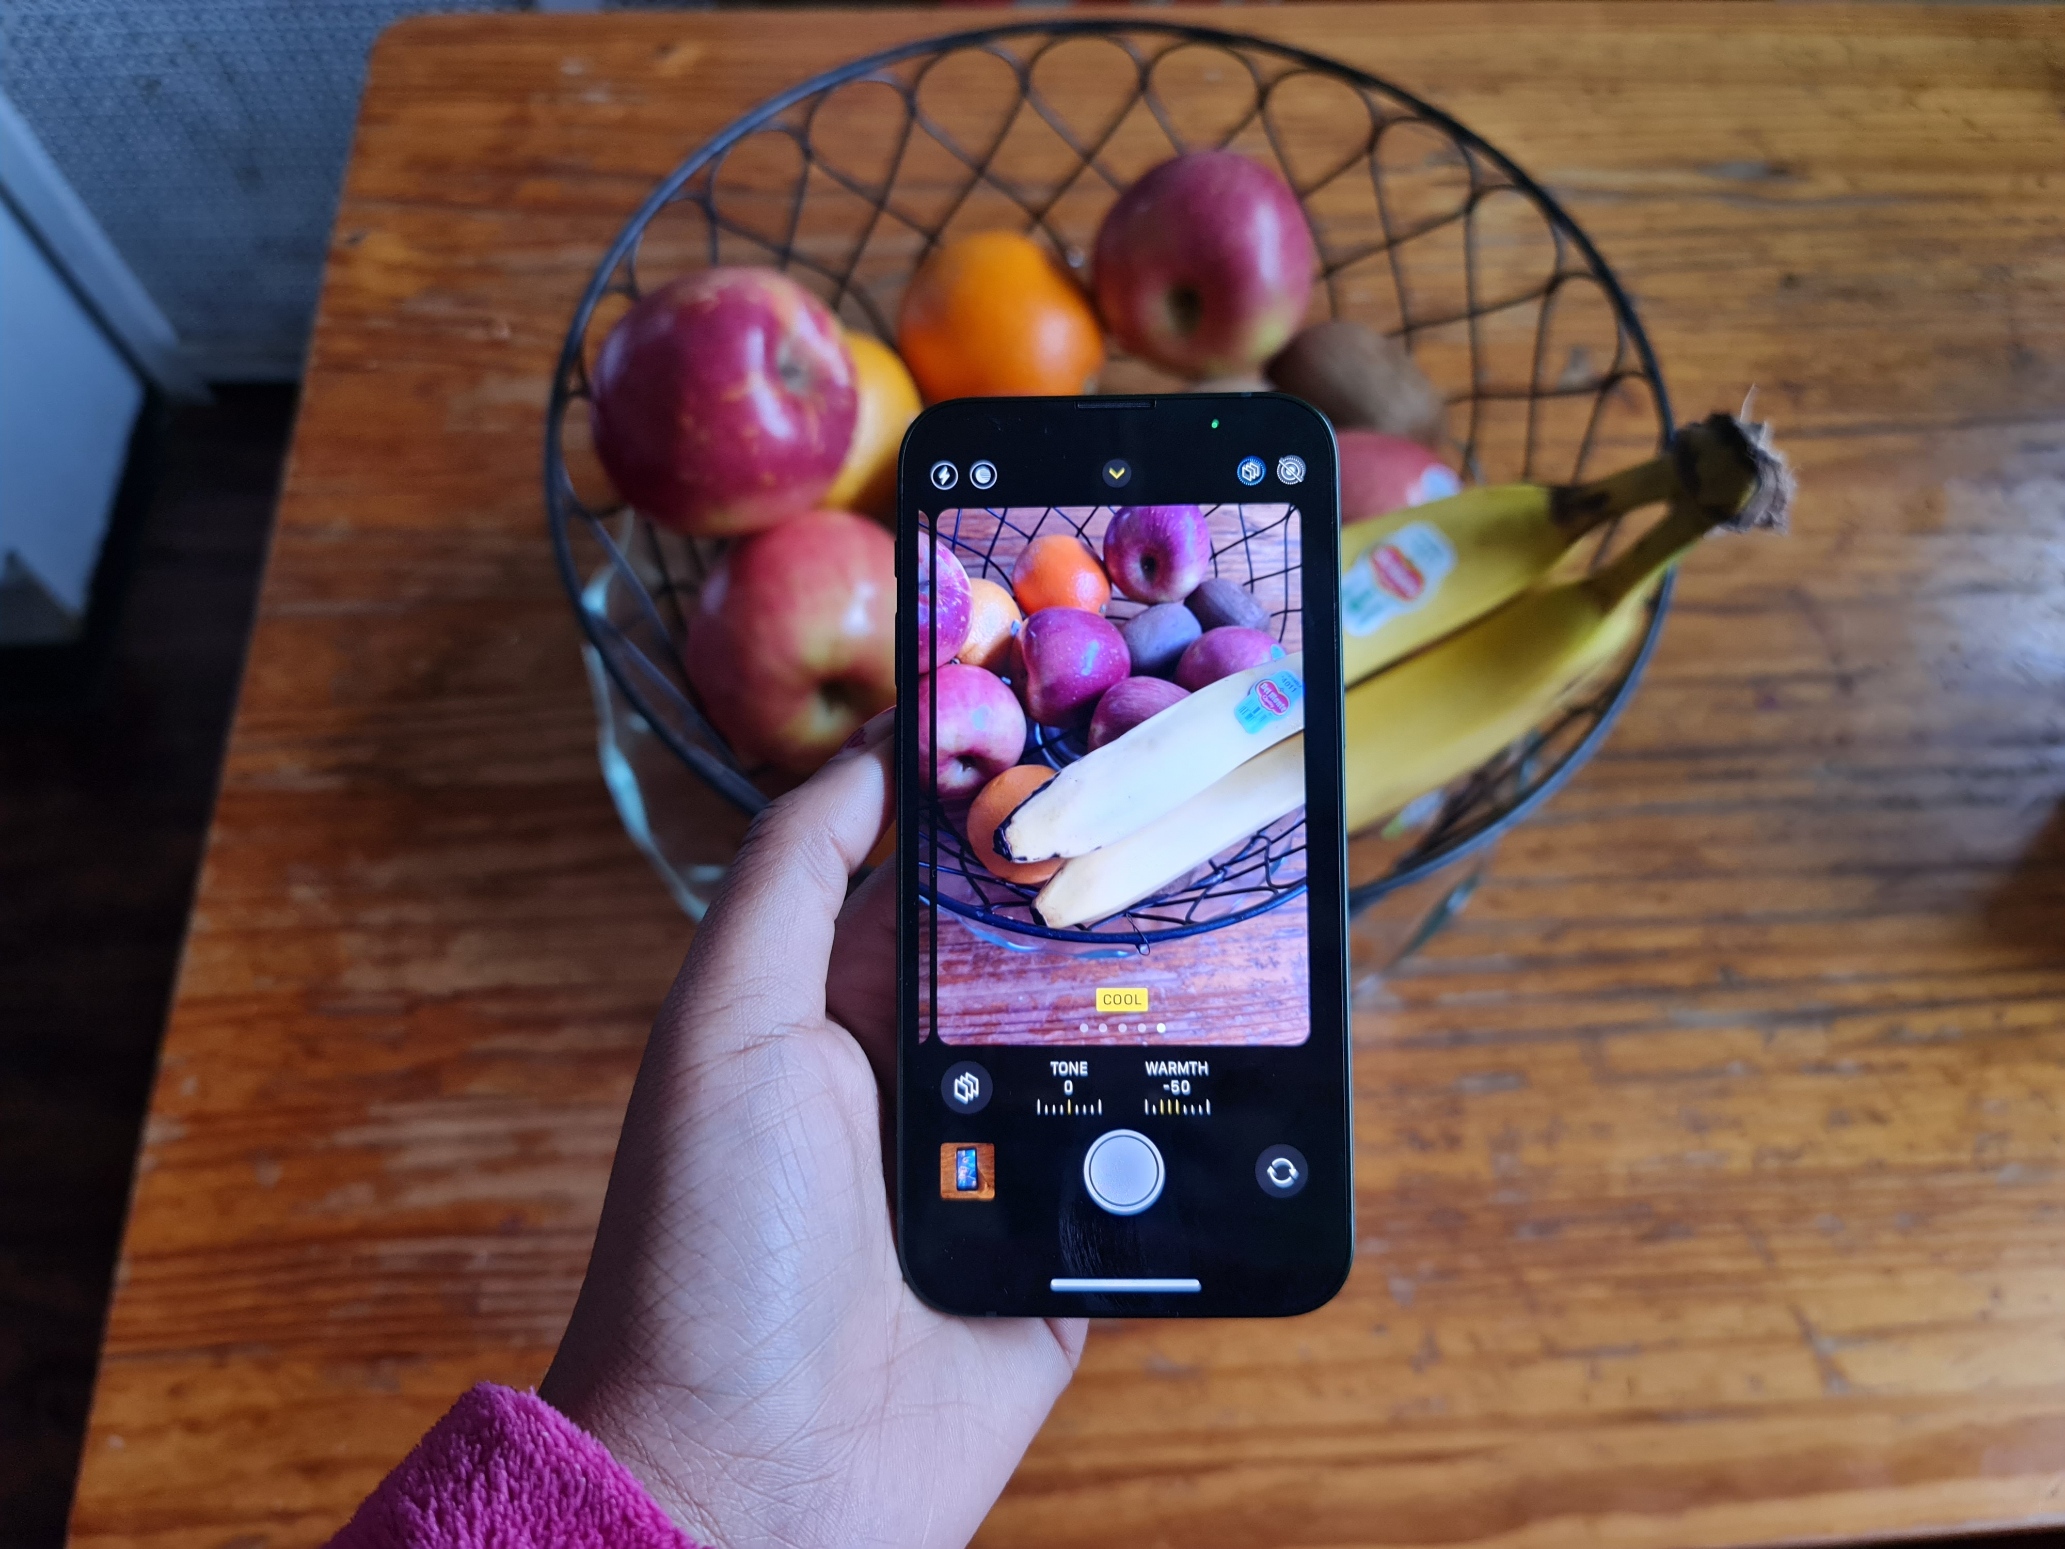
Once you have selected a given Photographic Style the camera app will default to this in the future, so if you weren’t looking to make a permanent switch make sure to swipe back to standard when you are done.
How to customize Photographic Styles presets
Under each preset, you’ll find two settings: Tone and Warmth. You can adjust one or the other by tapping on it and sliding your finger across the dial to either increase or decrease it to your liking.
From my observation, increasing Tone reduces the photo’s contrast. Increasing Warmth, on the other hand, emphasizes red, orange and yellow hues for a “sunset glow” effect. If you want to reset the PS preset back to its default setting, tap on the circular icon and tap on the Reset to [Insert Preset Name] bubble that pops up.
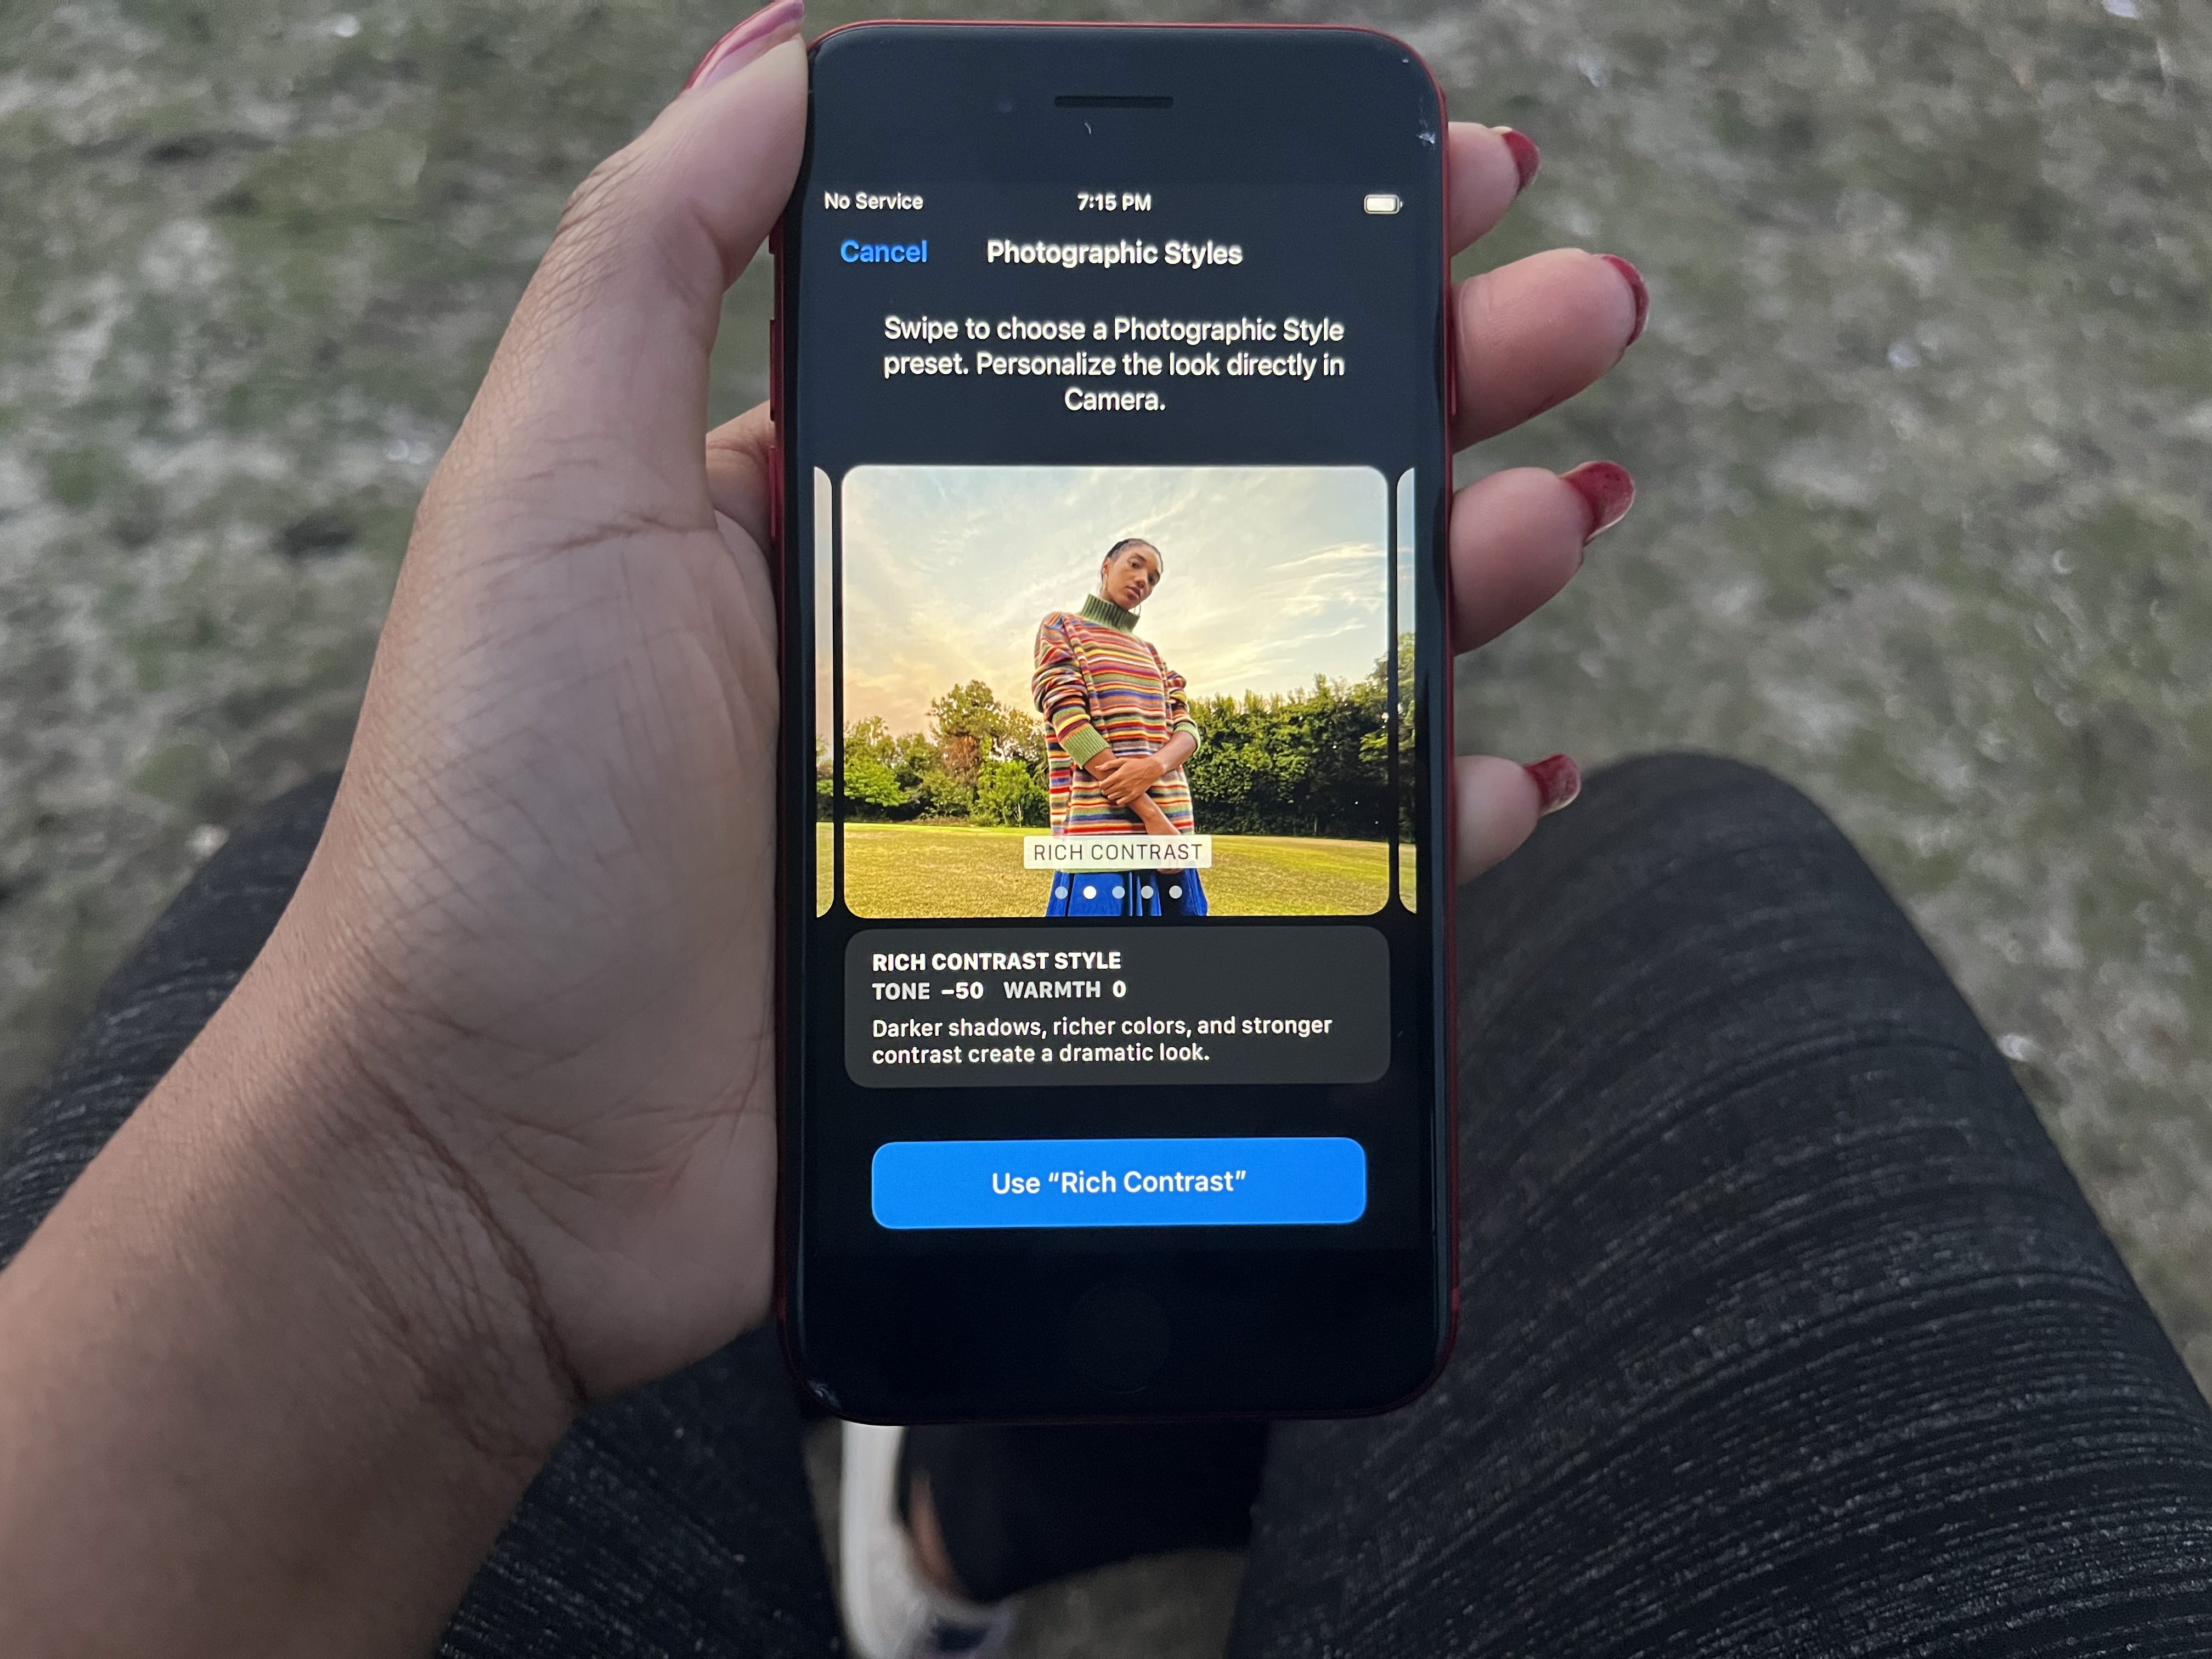
It’s worth noting that the Camera app isn’t the only way to access Photographic Styles. You can also navigate to Settings, scroll down to Camera and tap on “Photographic Styles” under Photo Capture. Here, you can swipe through the presets to select the filter you want to apply.

