If you’re wondering how to turn off Airplane mode in Windows 11, whether temporarily or permanently, you have probably run into issues with this at times handy feature. Airplane mode disables most, if not all, of your computer’s wireless communication, like Bluetooth, GPS, and WiFi. It is useful in many situations, but anyone who has accidentally enabled it can attest to how frustrating it can be.
Airplane mode is often used when, as its name suggests, people use their devices on an airplane. It is believed that excessive wireless signals emanating from electronic devices can disrupt the sensitive equipment inside airplanes. For this reason, computer manufacturers added airplane mode as a safety feature.
Some laptops even have a dedicated button for users to turn on airplane mode. Although convenient, it results in people activating airplane mode accidentally. For those using a wireless mouse or keyboard, this can be irritating. So, unless you are a frequent flier, permanently turning off the airplane mode can be extremely helpful.
Follow these simple steps and you can turn off Airplane mode temporarily or permanently.
How to turn off Airplane mode
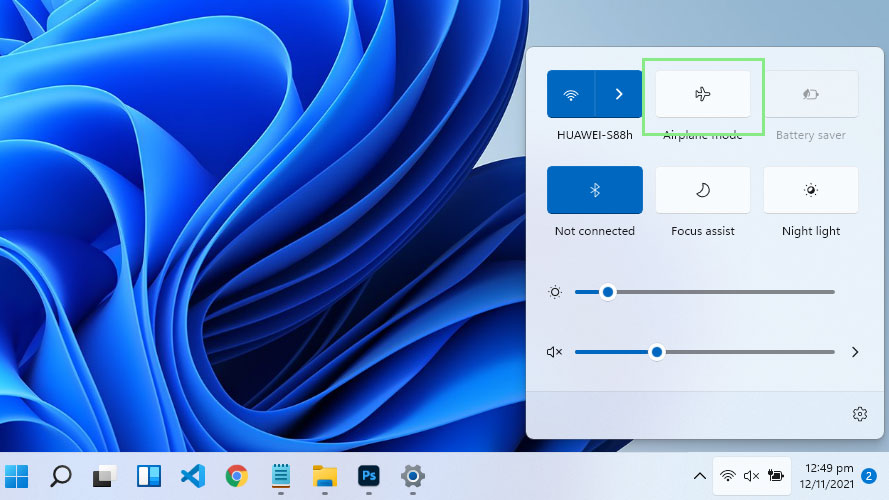
1. Open Quick Settings by clicking on the three icons (WiFi, speaker, battery) on the right side of Windows 11’s taskbar.
2. Click the airplane mode icon. You’ll know that it was disabled when the airplane mode box is no longer colored in.
Permanently disabling Airplane mode
1. To permanently disable airplane mode on your Windows 11 computer, open the command prompt by pressing the Windows key + R.
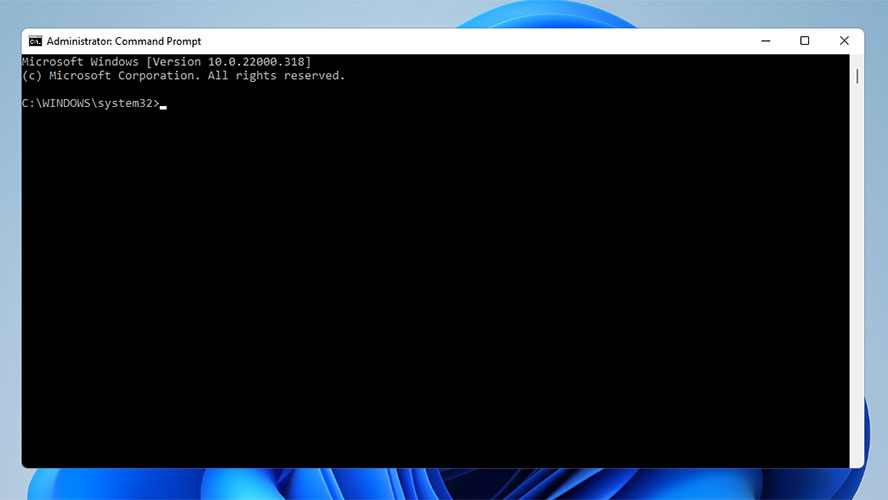
2. Type “cmd” into the text box and press Ctrl + Shift + Enter.
3. Run the code below and wait for a success message from the command prompt.
SC CONFIG RmSvc START= DISABLED
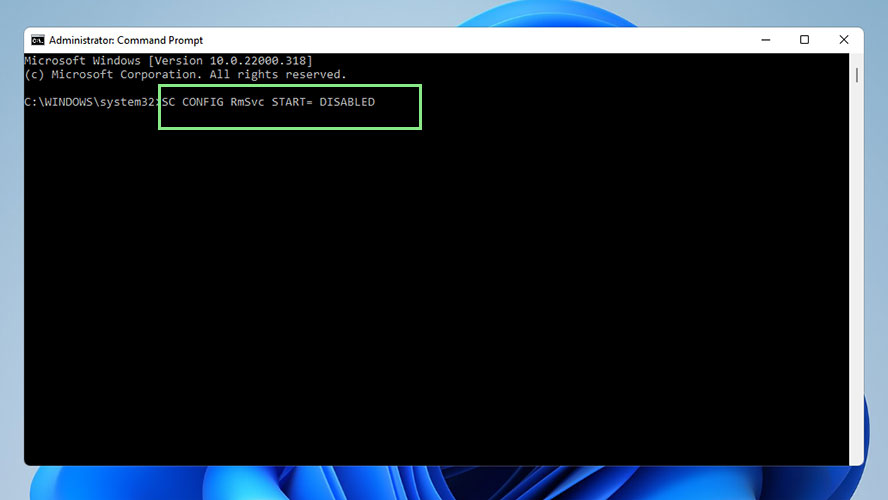
4. After seeing a success message, restart your computer to apply the changes. You should notice that airplane mode is now disabled in your Windows 11’s settings.

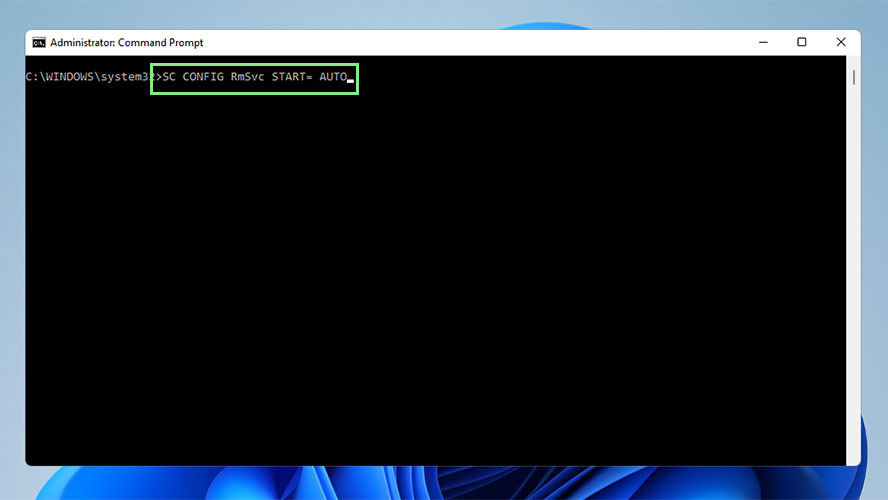
5. To re-enable airplane mode, simply run the below code on your command prompt.
SC CONFIG RmSvc START= AUTO
