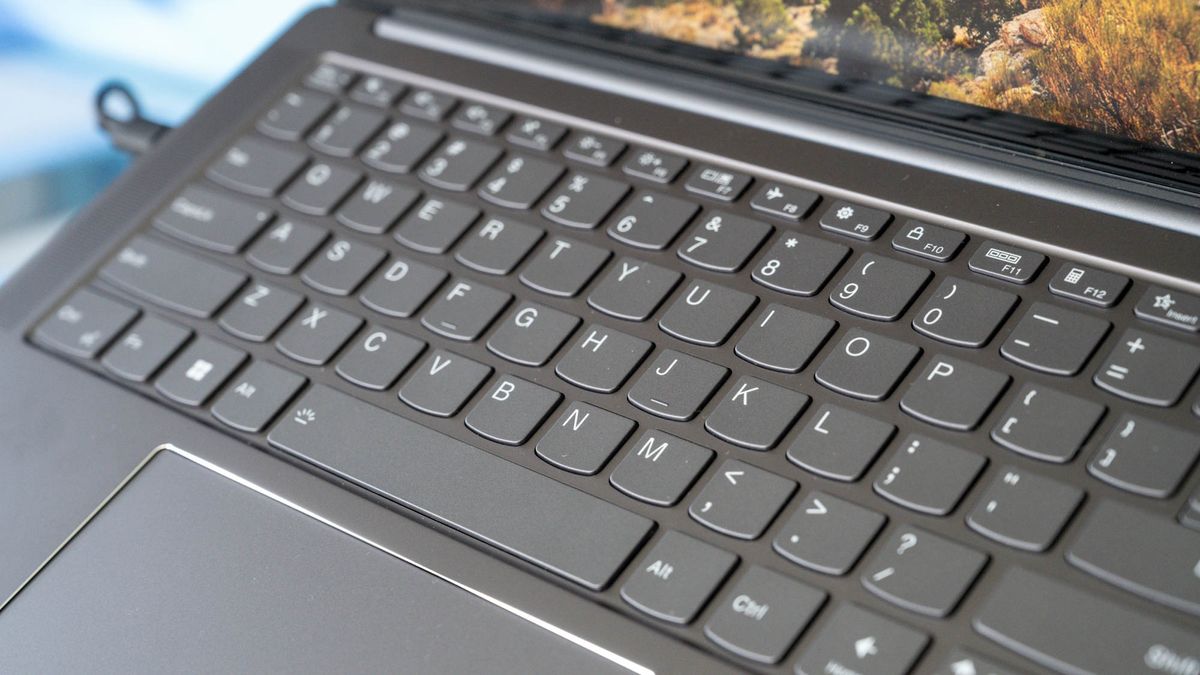
There are several scenarios that will compel you to disable a keyboard on a Windows laptop. Perhaps you’re cleaning your device and don’t want to accidentally hit keys that send your computer spiraling into a state of rage, deleting programs and displaying blue screens you’ve never seen before.
For parents, this is a helpful tip for anyone who hands a laptop to a small child for YouTube or Netflix streaming. You no longer need to worry about retrieving your device and finding your tax documents on full display due to your little one’s wayward keystrokes.
How to turn off your laptop keyboard
Regardless of why you want to disable the keyboard, it’s a pretty simple fix. Before we get started, however, it’s wise to save and/or close any documents that could be important, just in case. In the case of toddlers, just play the video, turn off the keyboard, and hand the PC over once you’re ready.
1. Turning off your keyboard is done with Windows’ Device Manager. To open it, right click your Start menu icon and click Device Manager. This step will open a window listing all hardware devices of your laptop.
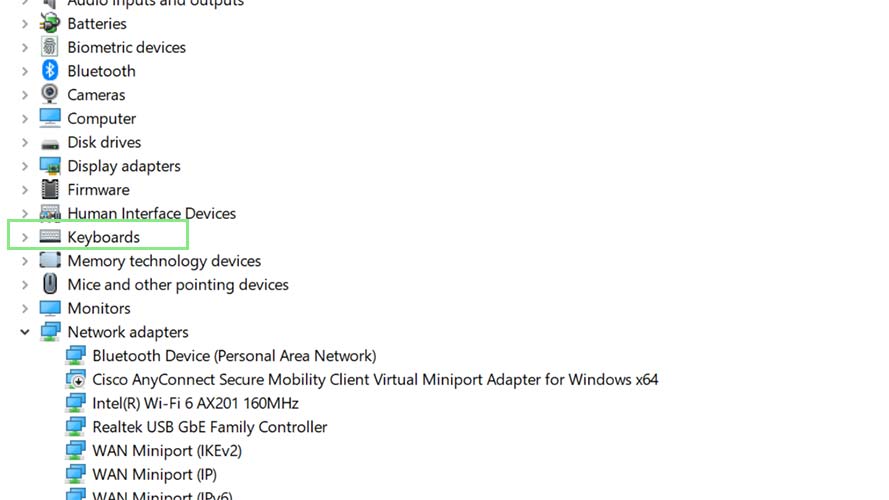
2. From the list, look for Keyboards and double-click them to show all your connected keyboards.
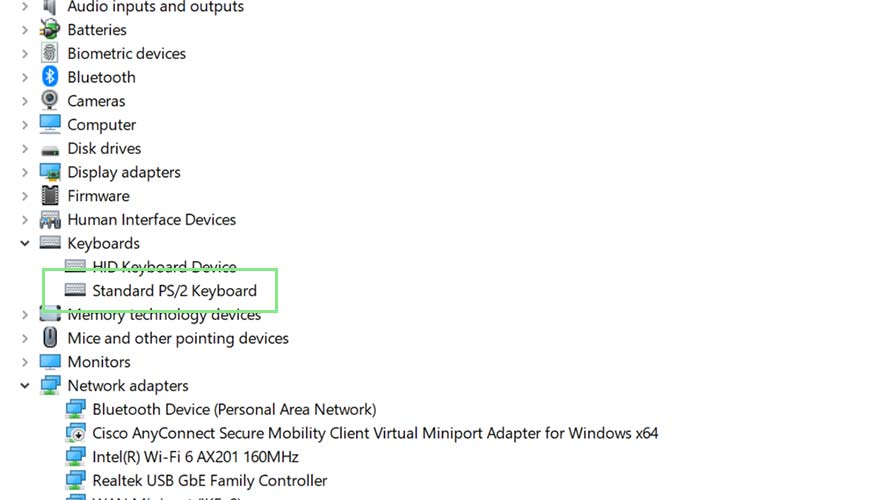
3. Double-click your keyboard’s name. This step will open the settings for your laptop’s keyboard.
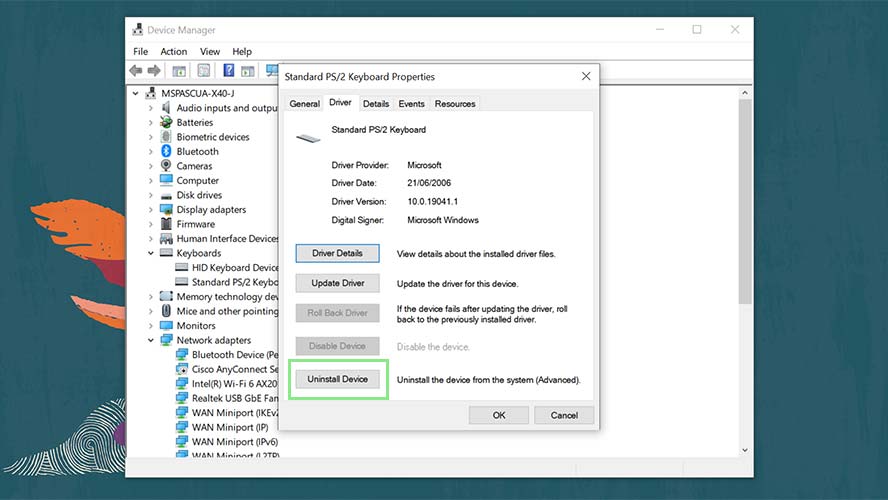
4. Go to the Drivers tab and click Uninstall Device. Before doing this step, ensure you have already created a Windows Restore Point.
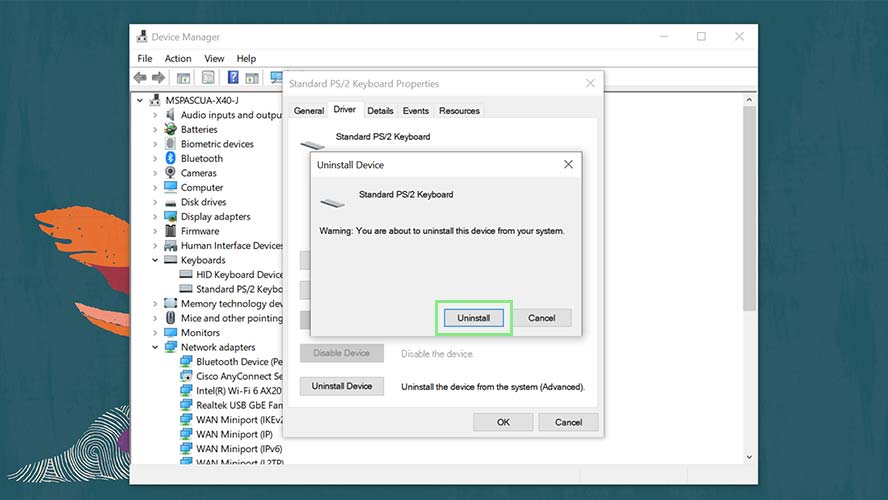
5. Finally, confirm that you want to disable your keyboard by clicking Uninstall from the confirmation window. You can reinstall your keyboard in the future by following the same steps, but clicking Install Device instead.
Note: Once you delete the keyboard, you will need an external keyboard or mouse to re-enable it, assuming you aren’t using a touchscreen device – in that case, just use the screen.

