Custom boot animations have become the talk of the Steam Deck community, and we’re here to show you how to add one of your own.
From adding a little bit of stylistic flair to match your personality, or celebrating one of the best Steam Deck games to one maniac having their Steam Deck boot animation be the entirety of the movie Shrek, users have been tinkering hard and creating some incredible start-up videos.
help_ive_set_my_boot_video_to_shrek_and_now_i from r/SteamDeck
My personal favorite is Handheld History, created by KnightMD, delivering a nice retrospective of previous portable consoles before transitioning seamlessly into the home screen menu.
Valve has noticed this trend. In a recent update, the company claims to have made it easier to add a custom boot animation, which this step-by-step guide will show you how to do.. However, no matter how many times I followed the steps for the easy option, it simply didn’t work.
With that in mind, I’m going to show you two methods — the simple one that Valve has enabled with the update and the more technical route that I can 100% guarantee will work. But first, allow me to point you in the direction of where to find these Steam Deck boot animations.
Where to find the best custom boot animations
Beforehand, it was just a case of scrolling through the hundreds of posts on the Steam Deck subreddit — fun to do (especially with the amount of meme posts about the way the fan smells), but rather time consuming.
However, Reddit user waylaidwanderer has done you a solid and created a website where people can upload their boot animations and you can take your pick. You can even filter the list by most liked or most downloaded if you want, to see what top notch options are gaining steam (pardon the pun).
The easy way
SteamOS 3.3.2 brings a shorter and far simpler way to add custom boot animations to your Steam Deck, but whether it actually works at the moment is a little up in the air. Here are the steps to follow for this.
As I say with any tinkering like this, always connect a keyboard and mouse to make things easier than using the small touchpad and on-screen keyboard. I use the MX Master 3S and MX Mechanical with mine.
1. Find and download your custom boot animation. Please note that it needs to be a webm file. Use this online converter!
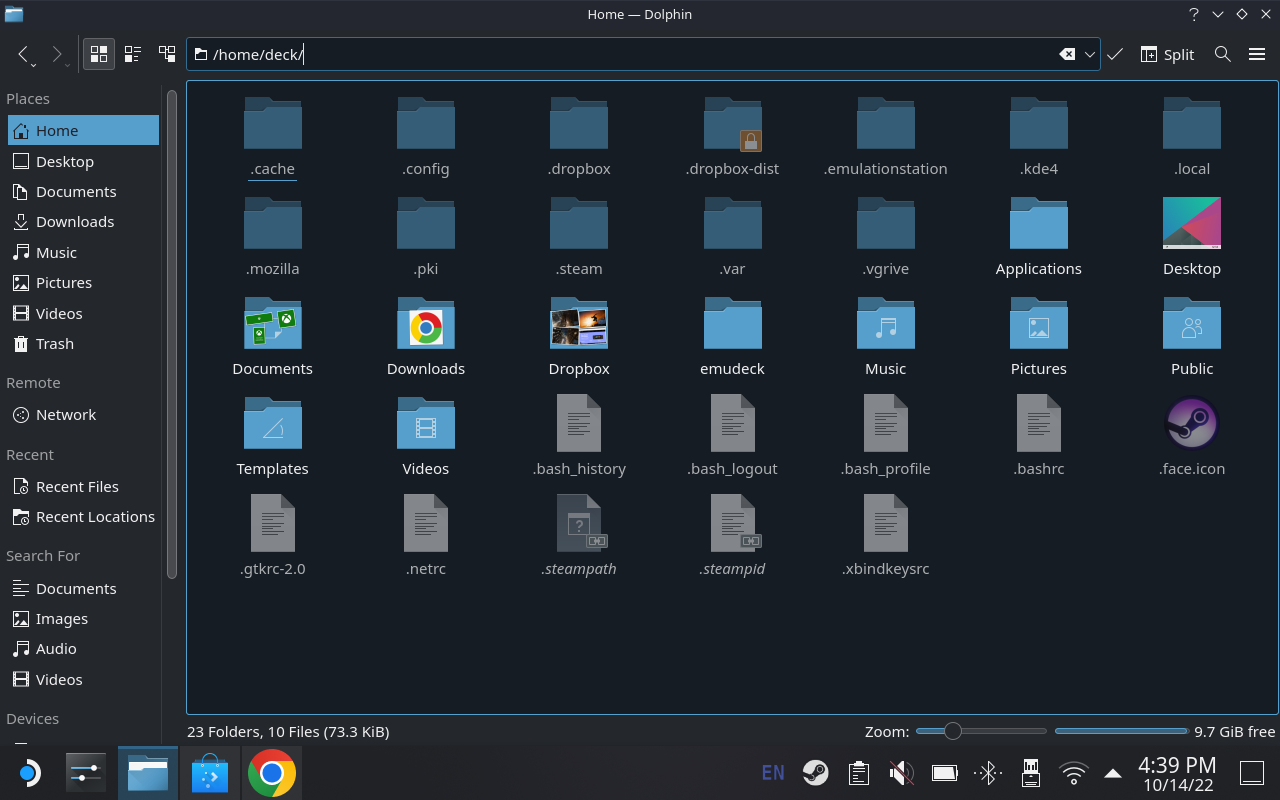
2. In Desktop Mode, head to ~/.steam/root/config. In the file explorer, these folders are probably invisible, so click that three-line burger icon in the top right of the explorer window and click Show Hidden Files.
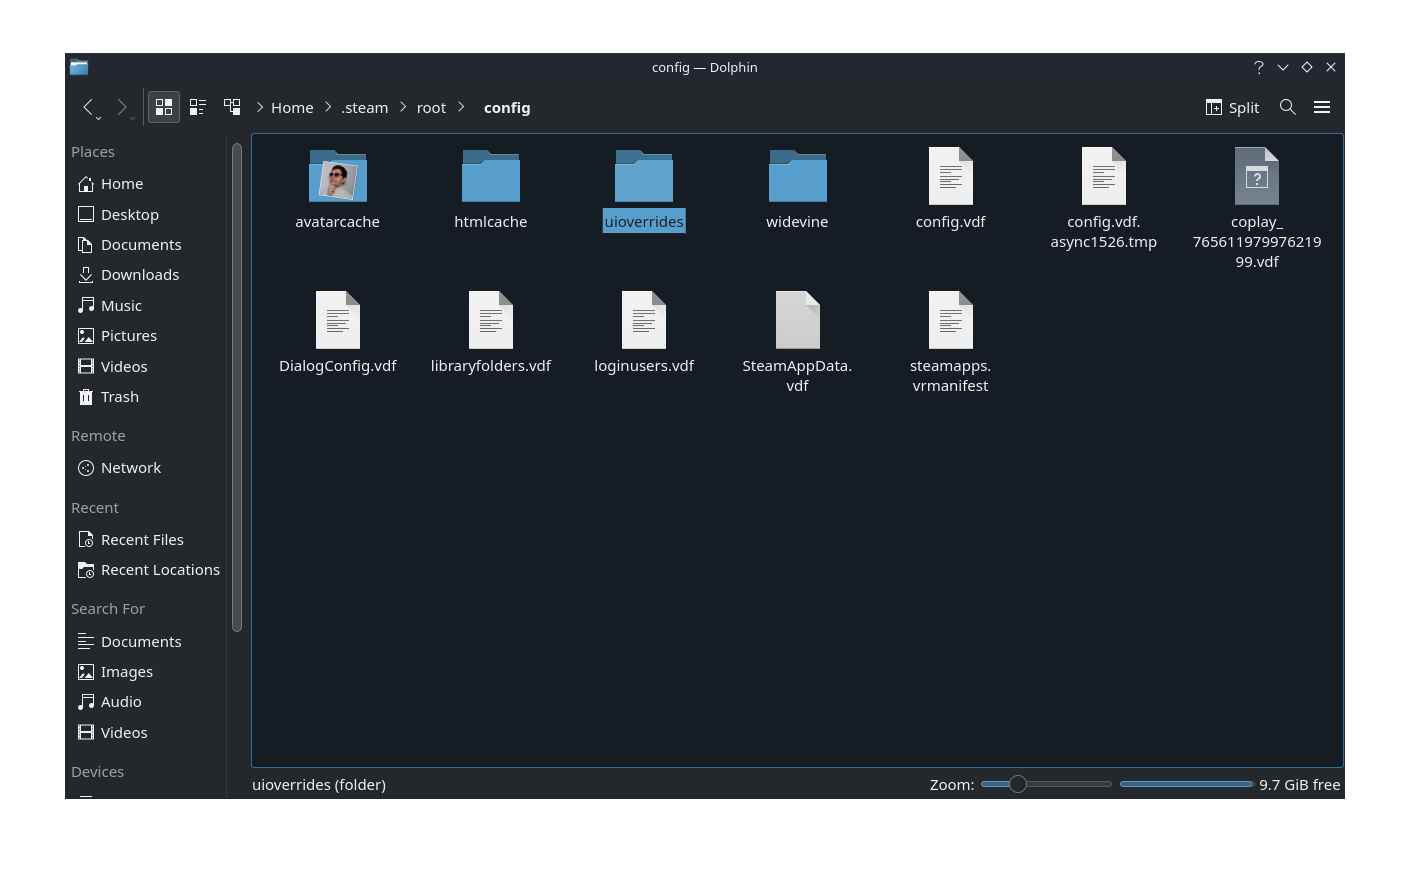
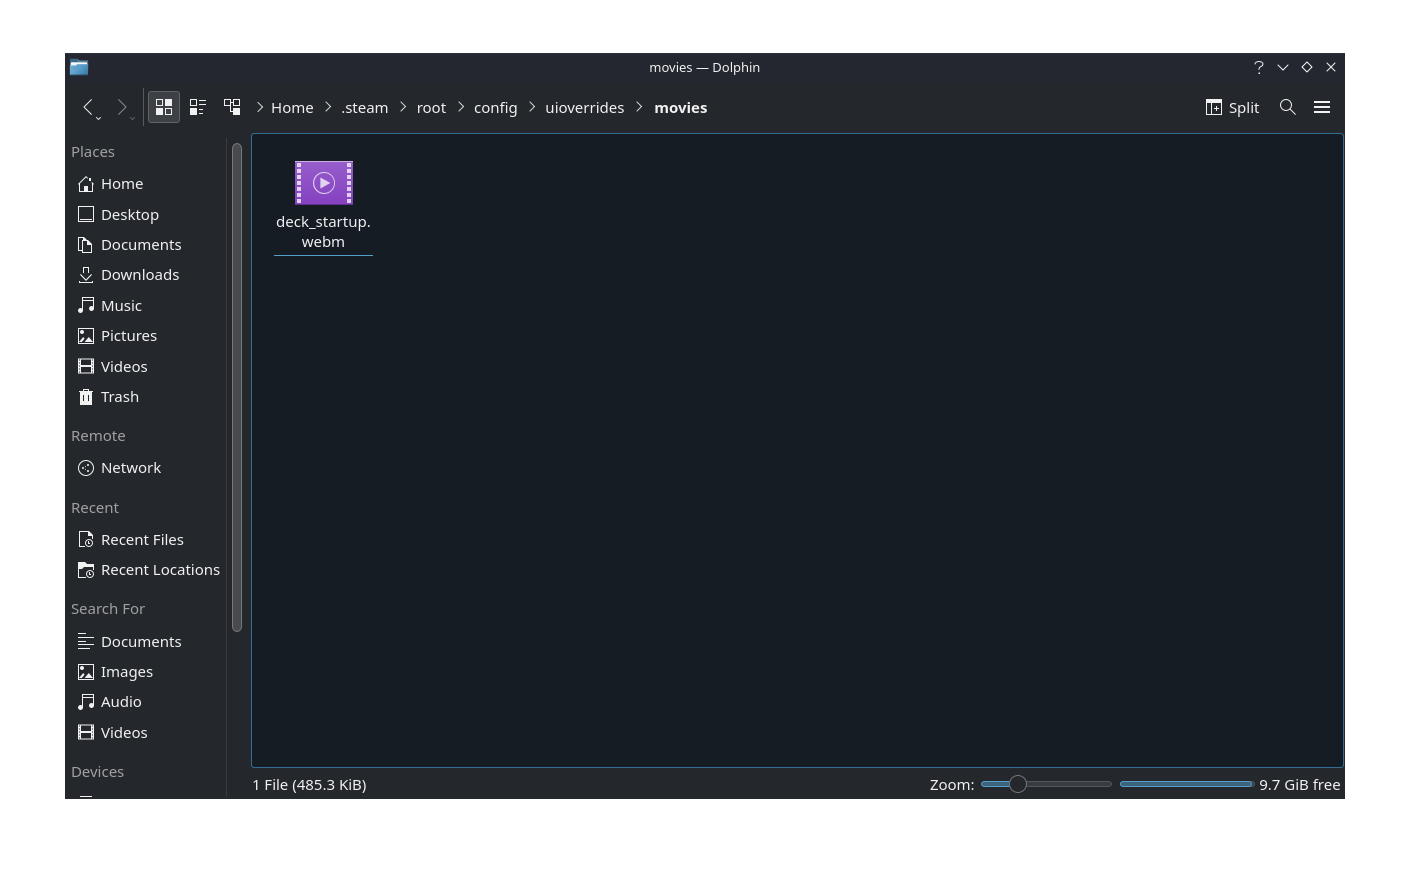
3. In this folder, create one called uioverrides. Within the uioverrides folder, create another one called movies.
4. Add your boot animation in here and rename the file to deck_startup.webm.
If the easy way doesn’t work
If you did the above and the startup animation has not changed. It’s time to get a little more technical and use a little bit of a coding workaround. Don’t worry, this won’t be as daunting as you fear!
1. Same as before, download your boot animation and make sure its in the webm format
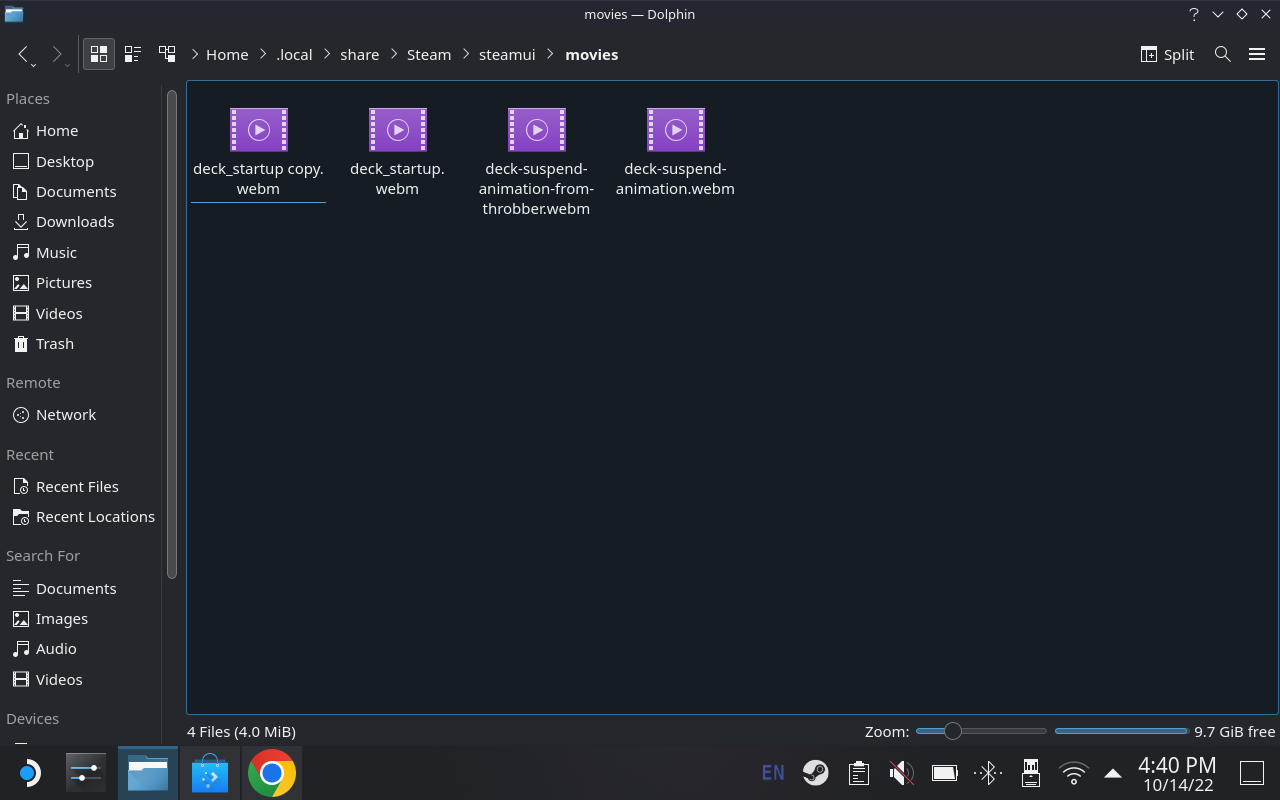
2. Open the file manager, show hidden folders, and go to ~/.local/share/steam/steamui/movies.
3. Right click the file called deck_startup.webm and select Duplicate Here. The reason for this is that if anything does go horribly wrong with your custom boot, you have a backup of the standard option to revert back to.
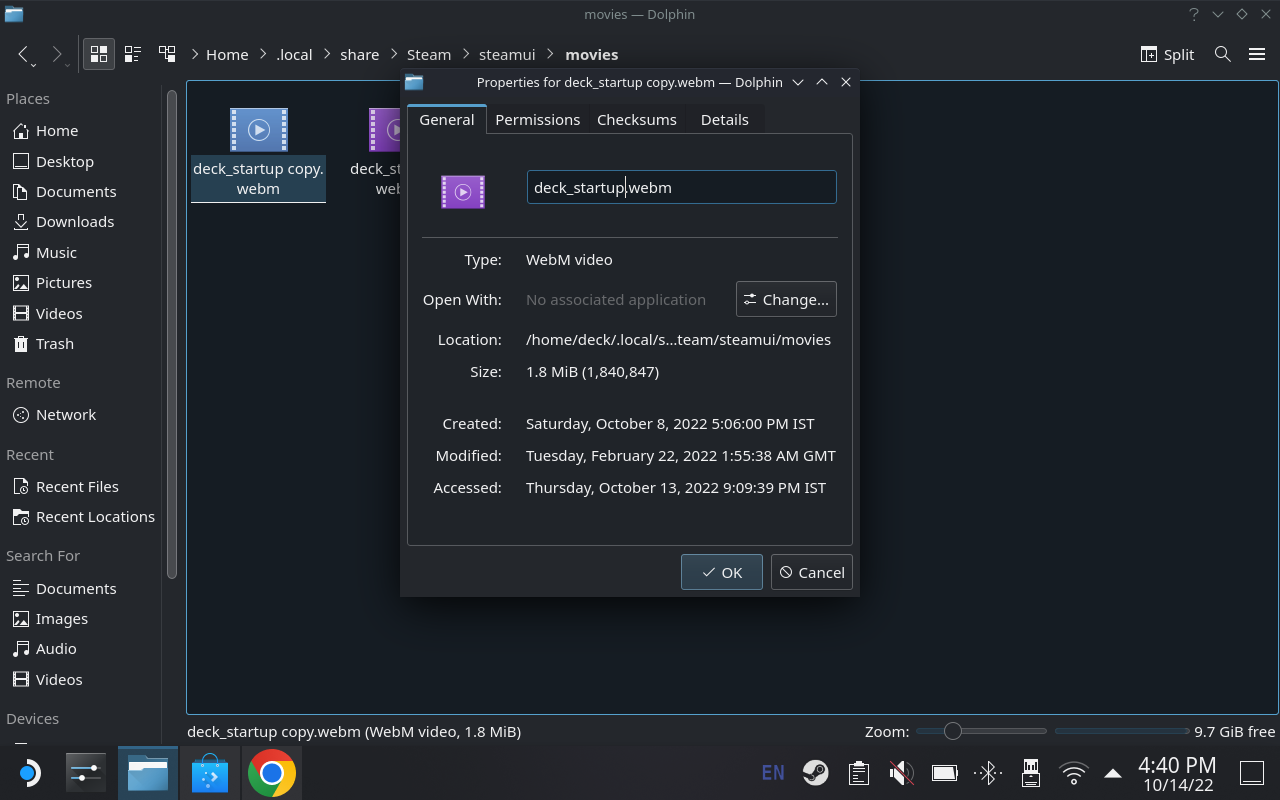
4. Right click the deck_startup.webm and click properties. This workaround requires us to know the size of this boot animation. Take the file size in bits, not megabytes (the longer number in brackets).
5. Now it’s time to move your new boot animation into the folder. Find it in your Downloads and rename it to deck_startup.webm. After this, drag it over to the movies folder within steamui and accept the overwrite.
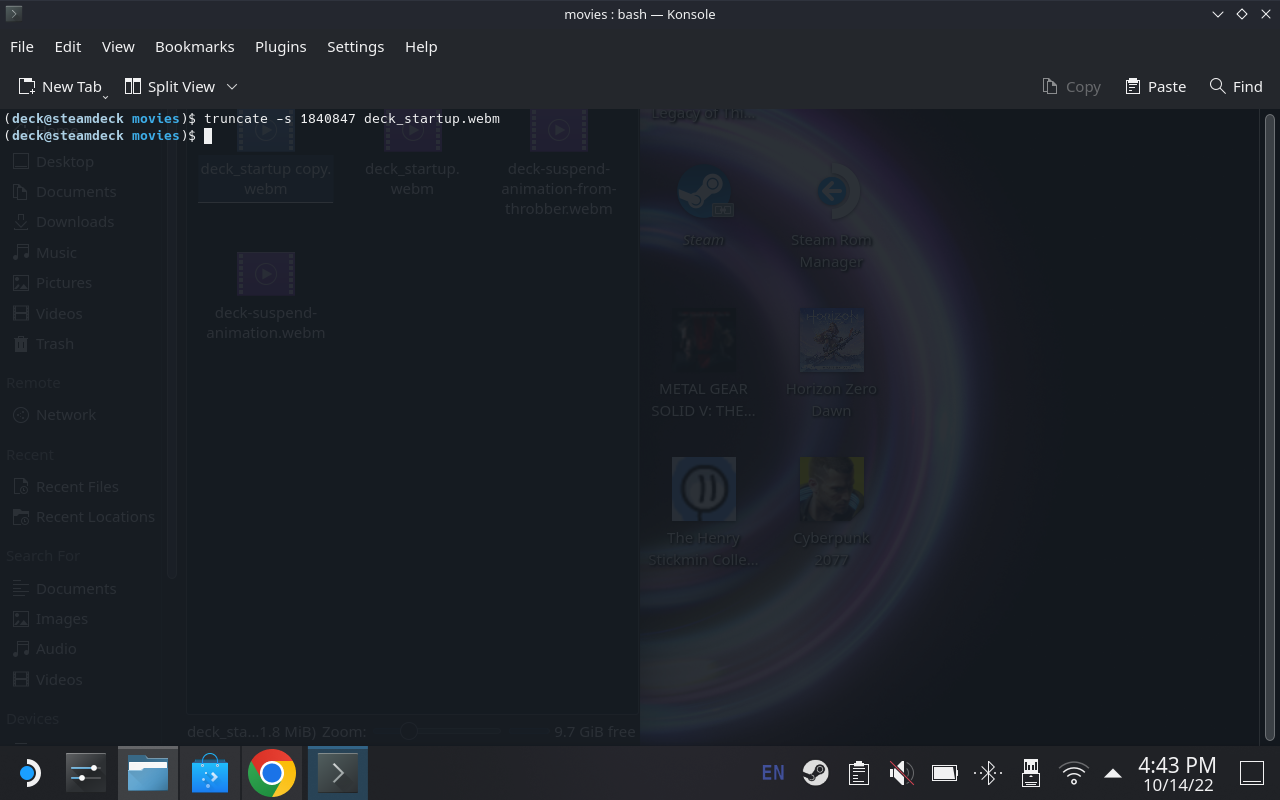
6. First bit of coding is coming up, as we need to truncate the new file to the exact size of the previous startup. Right click the new boot animation and click Open With. In the menu that appears afterwards, search for and select Konsole.
7. The truncate command to use is truncate -s INSERT FILE SIZE HERE deck_startup.webm — the file size is the one you noted from the original file you opened in properties and is written with no commas. Press enter and if it’s worked, you’ll see a new line with just (deck@steamdeck movies)$ appear. Any errors will show here in the Konsole.
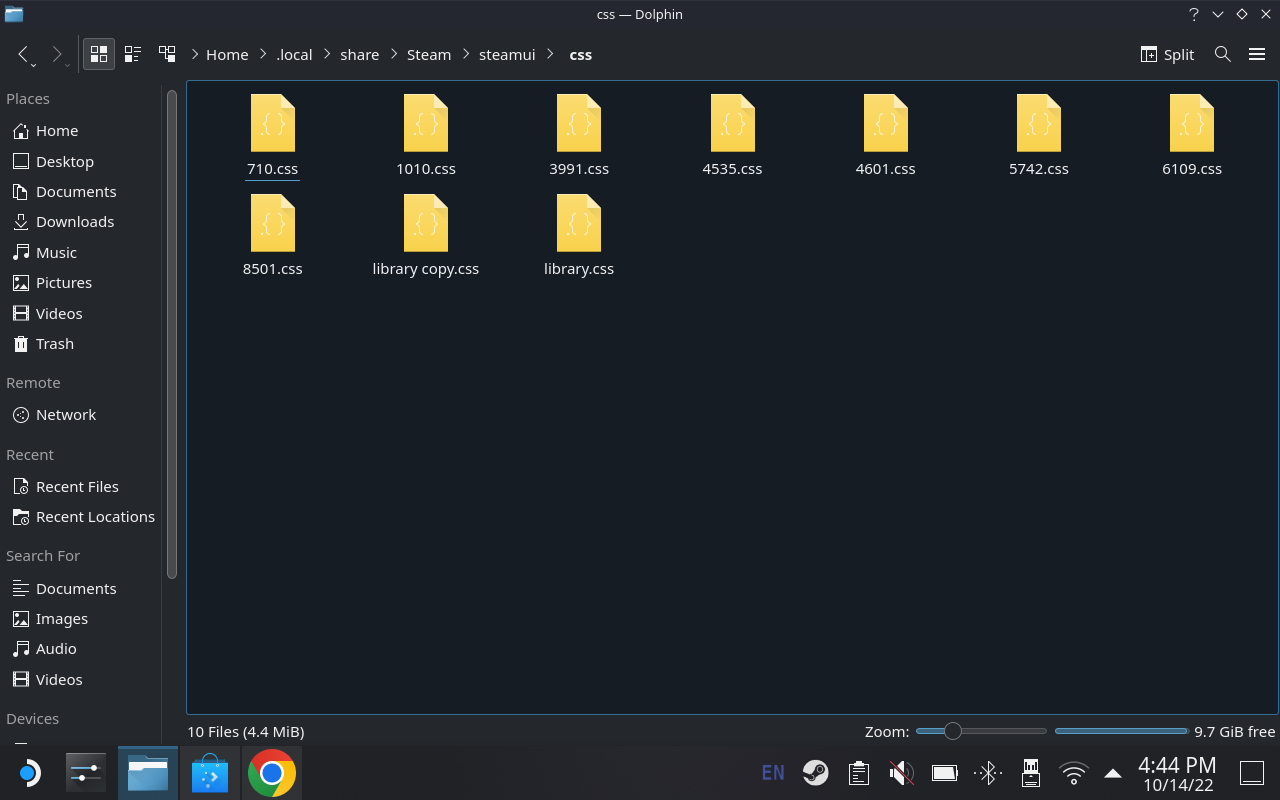
8. Next up, we’ve got to check that the startup animation will show in full screen. To do so, we’re heading back to ~/.local/share/steam/steamui and selecting css.
9. In here, duplicate the library.css file so you have a backup in case something goes wrong.
10. Once again, we’ve got to check the file size.Right click on the library.css file and click properties. Note down the long number in the brackets.
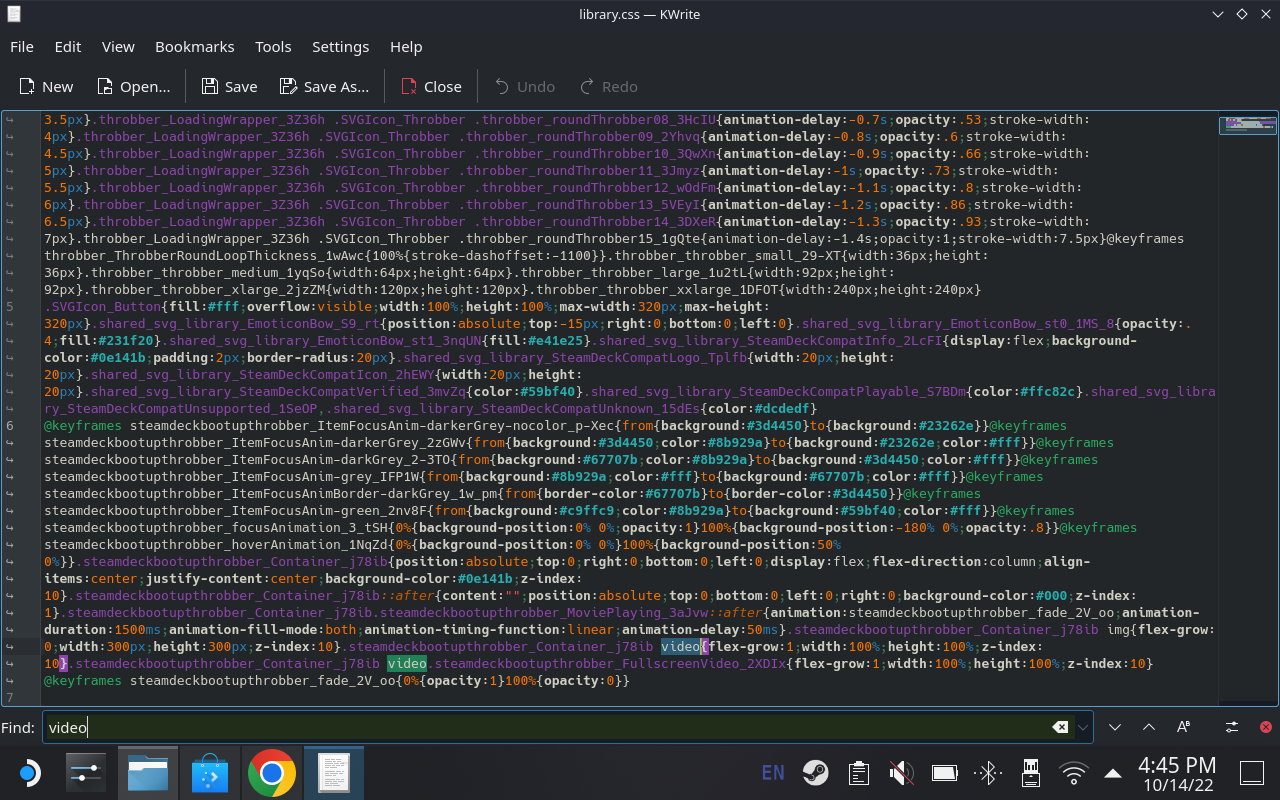
11. Time for another coding moment. Double click the original library.css file again to open it in a text editor. Click Temporarily raise limit and reload file to see all the lines of code in here, then press CTRL + F to use the find functionality and type video.
12. This should send you down the page towards where you need to be (it should be within a line of code that starts with steamdeckbootupthrobber_Container).
13. In here, it’s time to change some small details in that bit of code that searching for video found. Change it to this exactly: video{flex-grow:1;width:100%;height:100%;z-index}
14. Save the file and close.
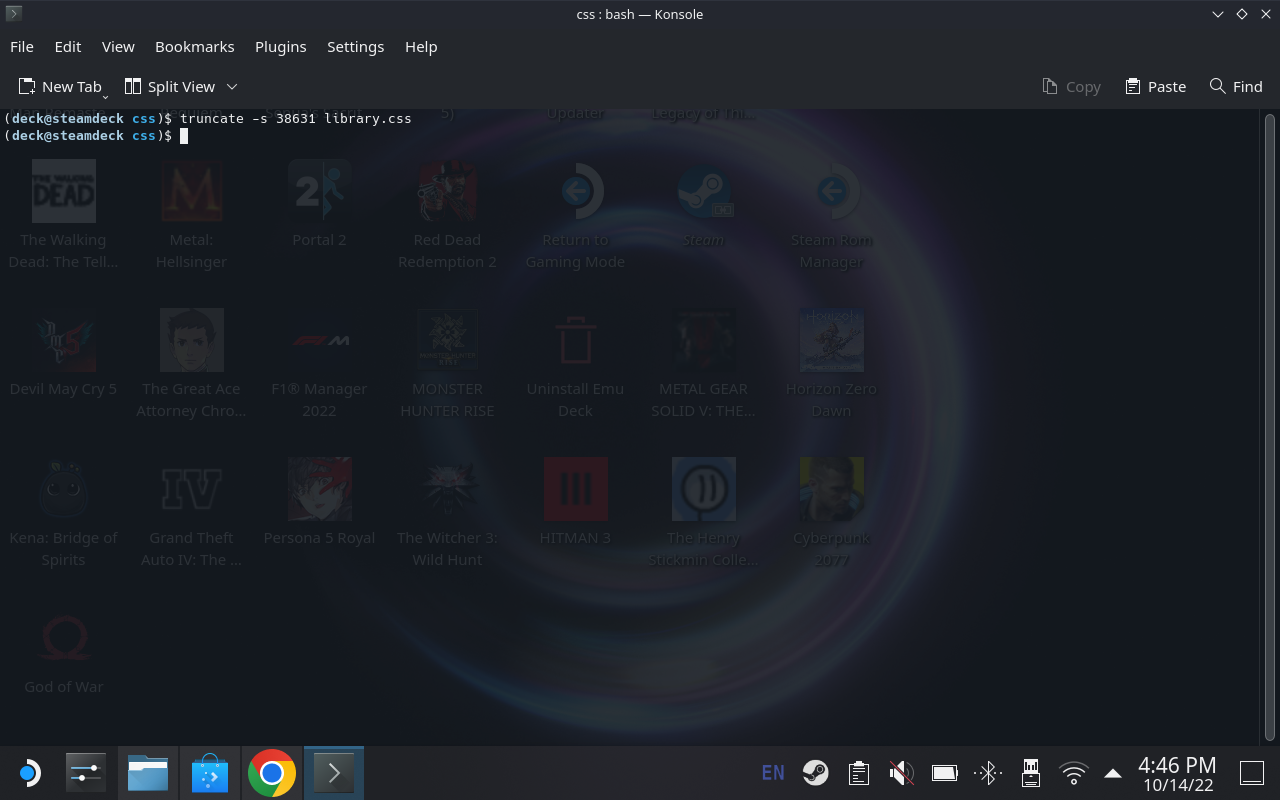
15. Finally, right click the library.css file once more, choose Open Terminal and use that truncate command again: truncate -s INSERT FILE SIZE HERE library.css.
16. And voila! That’s all you need to do. Reboot the Steam Deck to check whether it’s worked.


