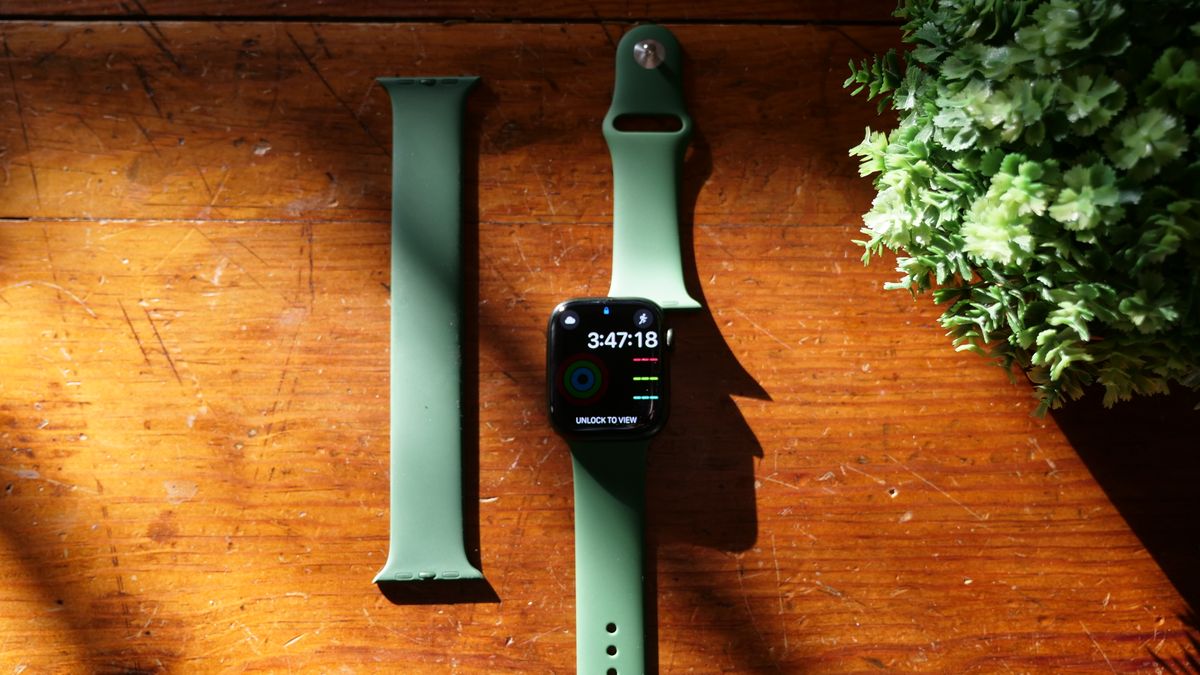
One of the great features of the Apple Watch is the ability to quickly change its look with a new bad, but if you always stuck with the original you might be wondering how to change an Apple Watch band.
Whether you have an Apple Watch 7 or are using the original Apple Watch, the process for changing an Apple Watch band has always remained the same, so follow along and you should have your new band in place in under a minute.
The first step is removing your existing band and then you’ll be able to slide your new band right into place.
How to remove an Apple Watch band
- Remove your Apple Watch
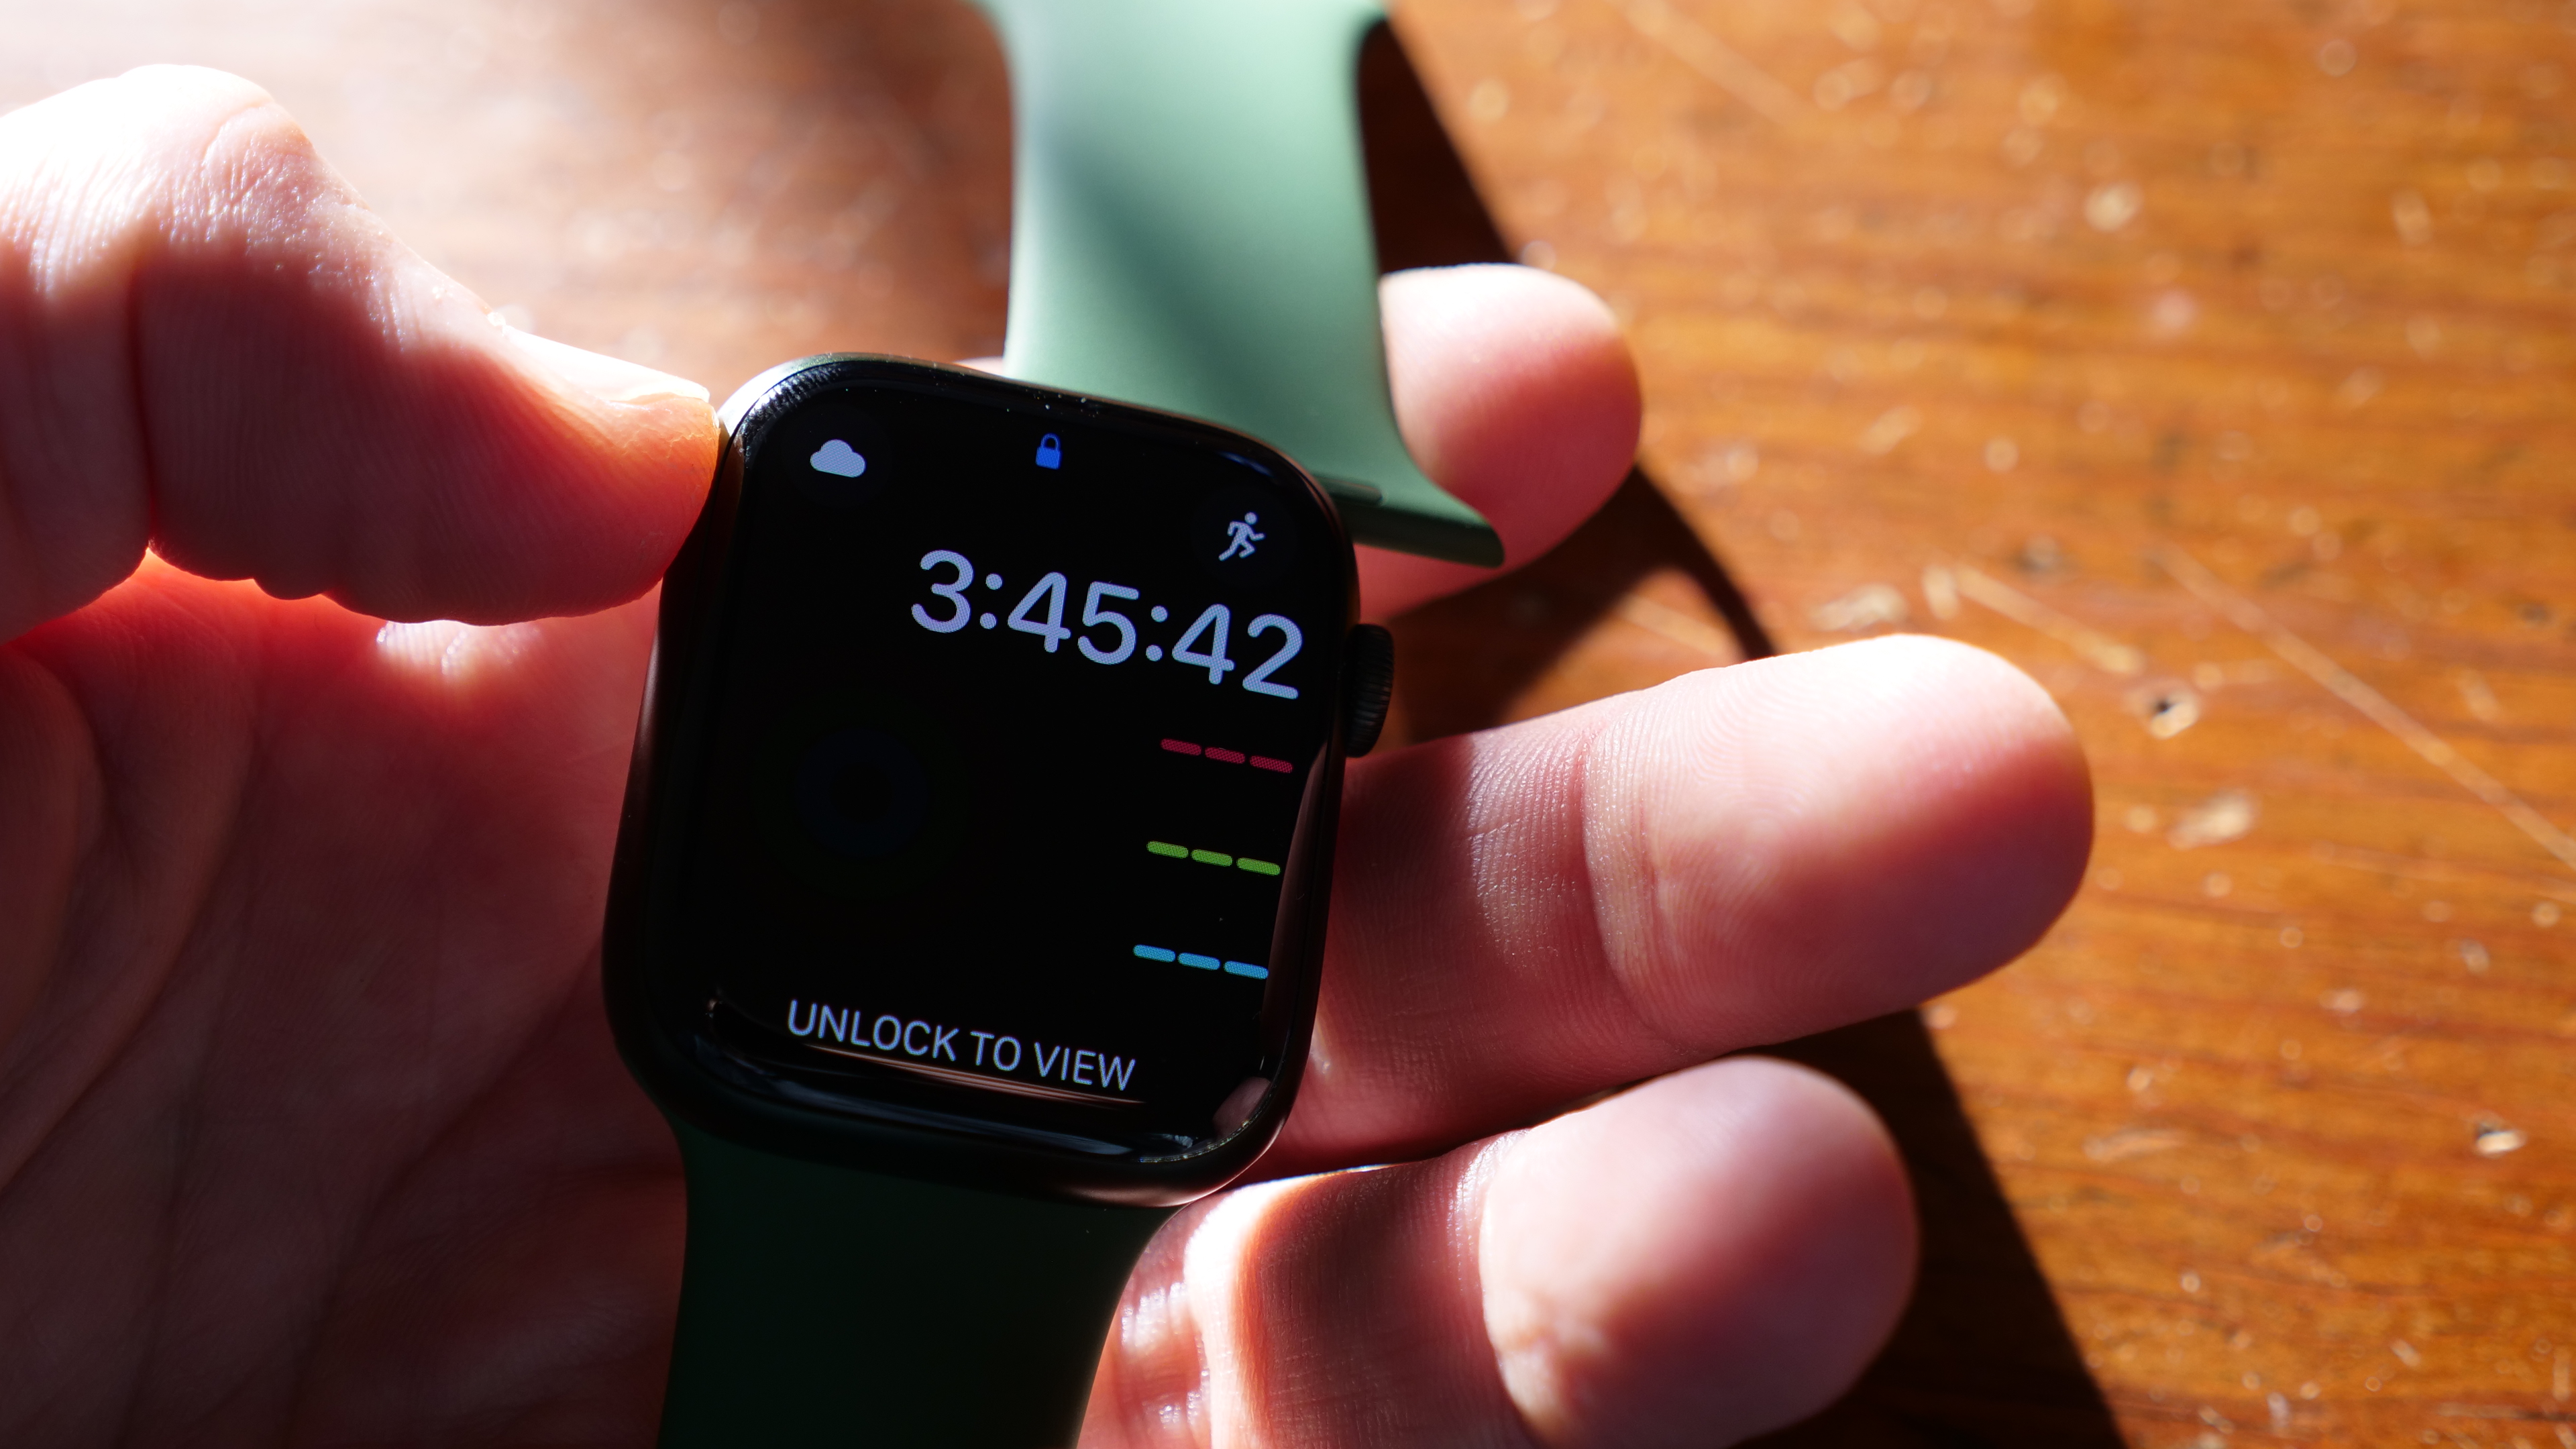
- Locate the buttons at the point where the band meets the watch
- Hold down the button while sliding the band out in either direction
- There should be very little resistance if you have the button fully depressed
- Repeat for the other side
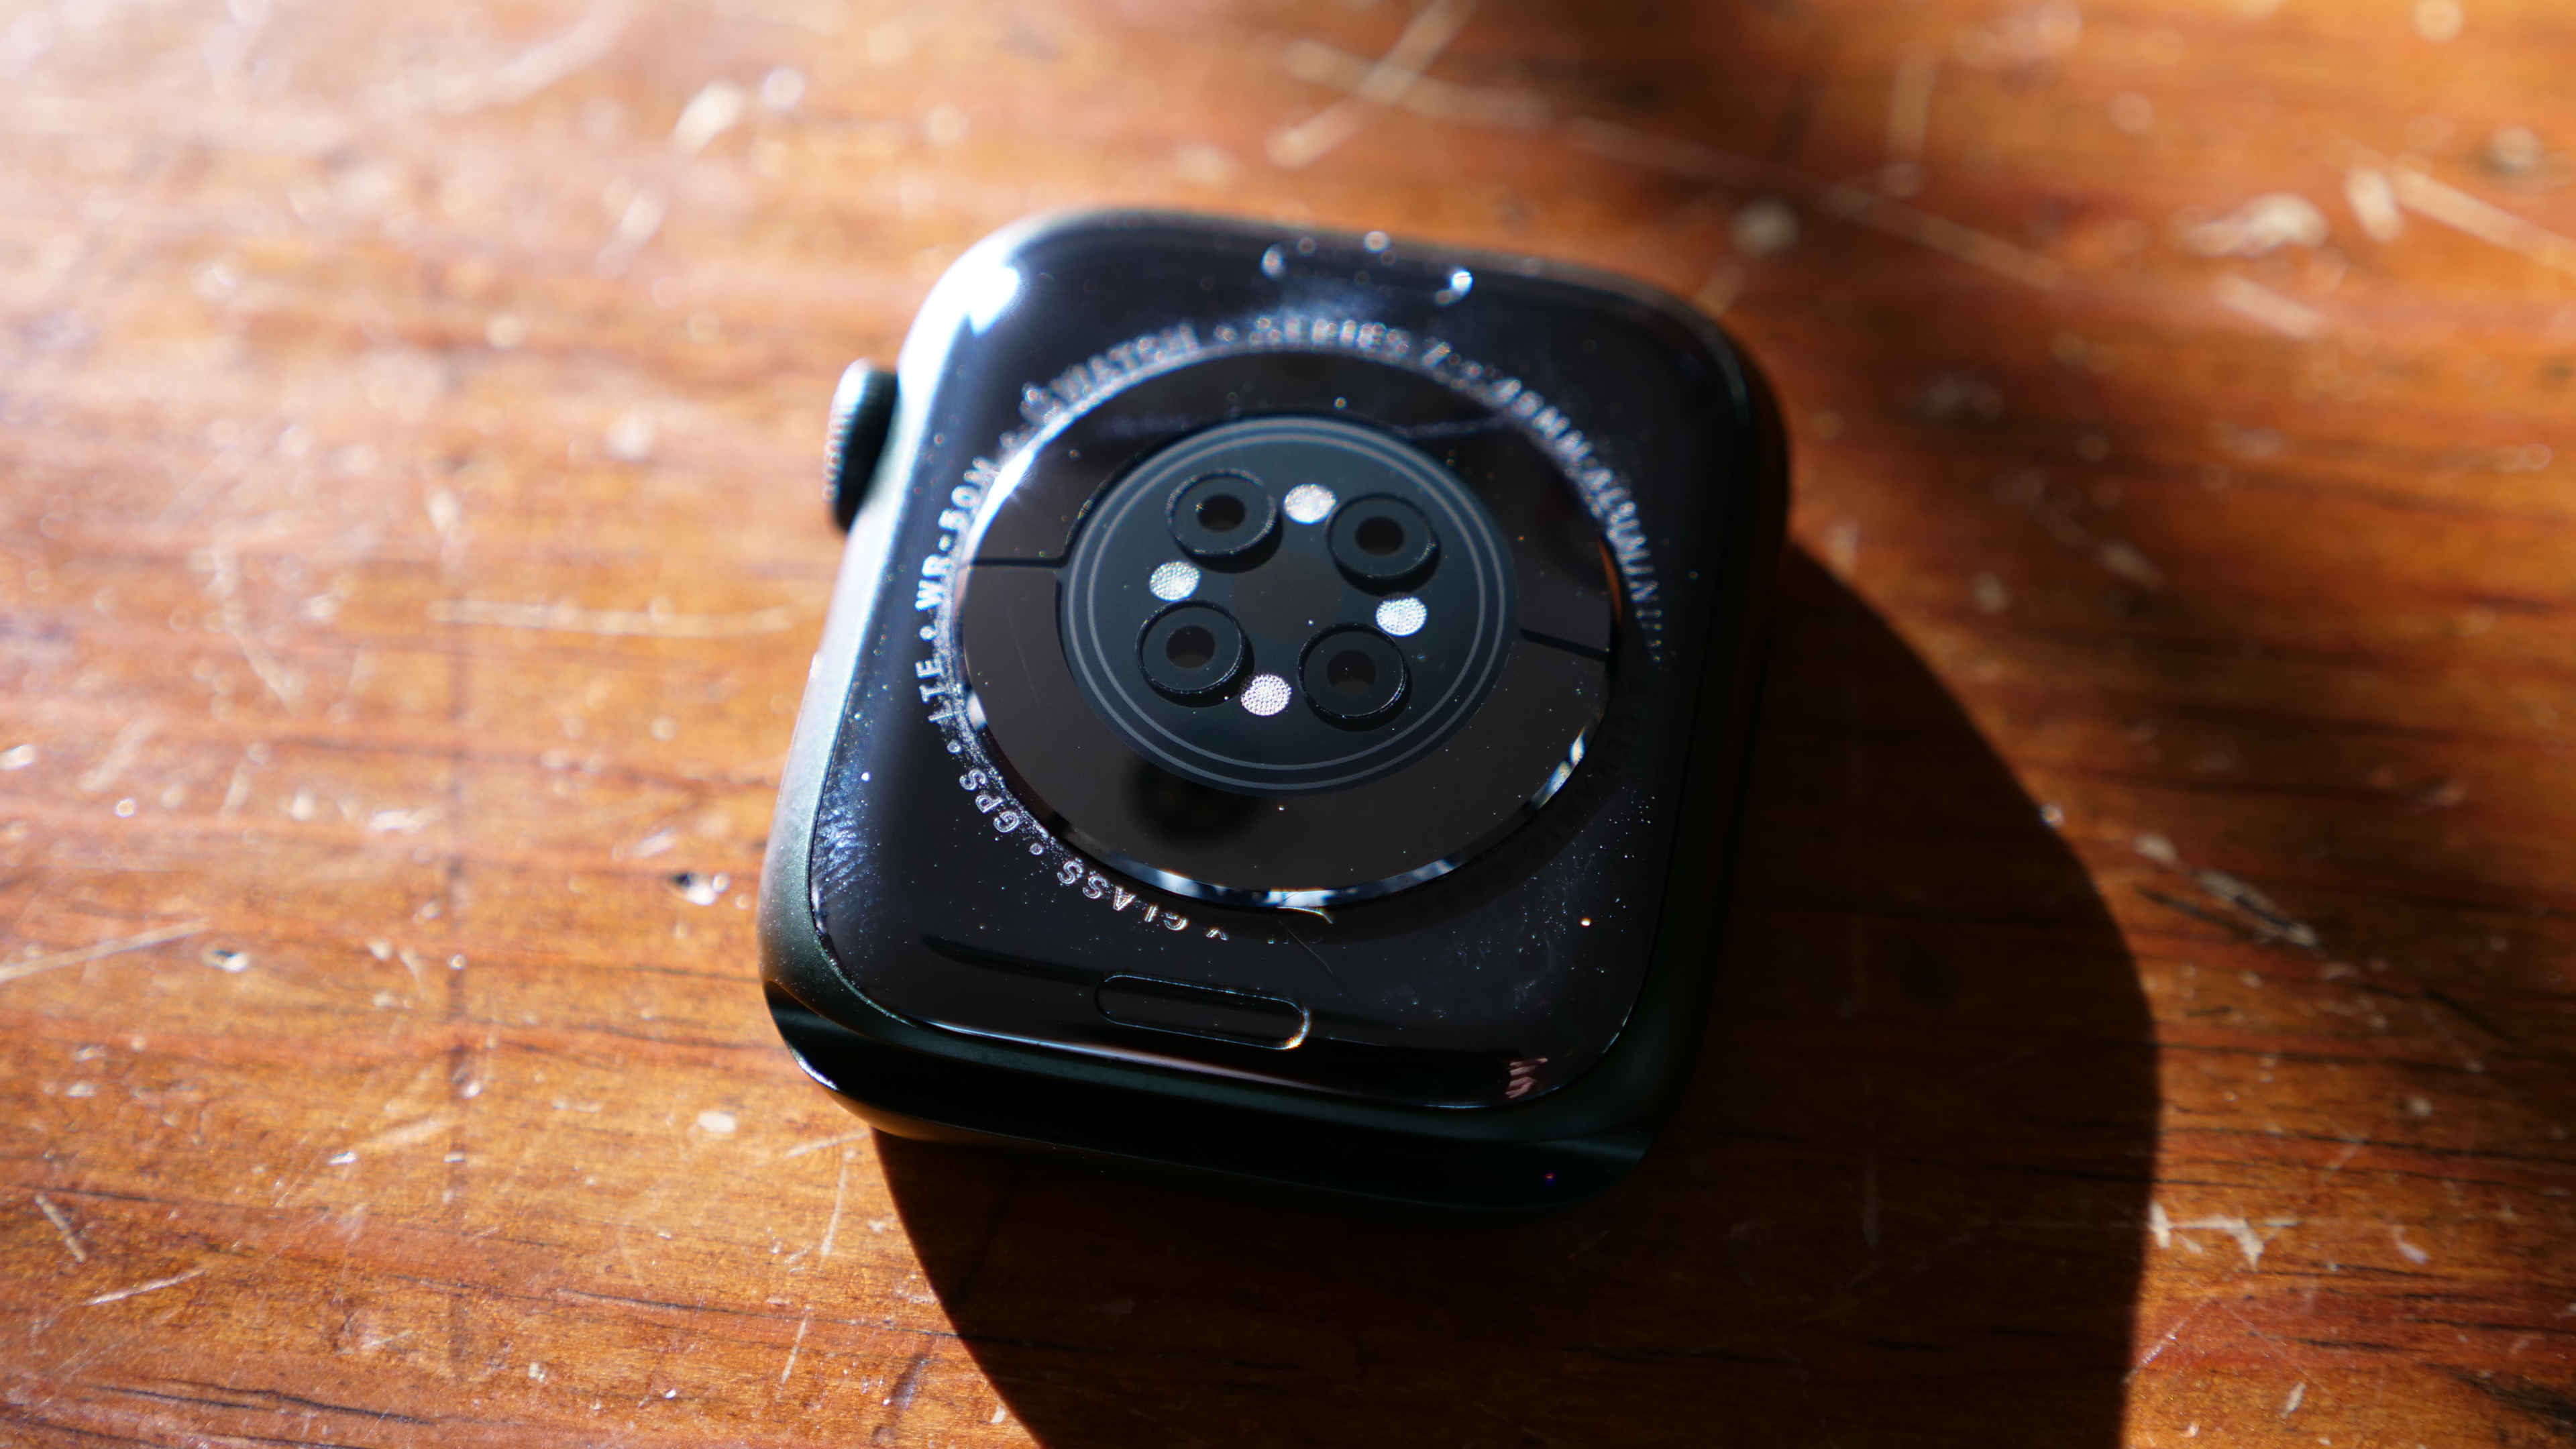
Alright, you should just have the body of the Apple Watch by itself and now you can install the new Apple Watch band. Sometimes even with the button depressed fully a band can be a little reluctant to come out, just apply firm pressure and it should slide out.
How to install a new Apple Watch band
On to installing the new Apple Watch band. While it’s dead simple, it can be a challenge the first time you want to change the band as you may not remember doing it when you got your Apple Watch as it goes so quickly. The only thing to look out for is the proper orientation of the band. The side facing down typically has a more metallic center section that will be aligned with the release button on the Apple Watch.
- Slide the Apple Watch band in from either side until it locks in place
- Repeat for the other side
That’s it, your new Apple Watch band should be all set to go. The ease of swapping Apple Watch bands combined with the absolutely astounding collection of bands available from Apple and others may not be the main reason to get an Apple Watch, but it certainly adds to the appeal.

