Since Gmail launched 18 years ago, many of us have collected a seemingly endless amount of emails from family, friends, and business associates. Many of those thousands of emails brought along baby photos, wedding photos, resumes, articles, scripts, PDFs, JPGs, and funny gifs. Let’s not even mention all the spam we get. How many times have you been told your unknown Nigerian Prince uncle died and left you a trillion dollars?
Google offers 15GB to store all of these precious emails, but 15GB won’t last forever and unless you’re willing to shell out extra money, the best thing to do is to take the time to delete emails and files you really have no use for and to also make sure that all that laborious spam is gone, too. Doing so will help you keep track of actual important emails and free up all the space you need for the data worth keeping.
How to quickly delete old emails in Gmail
First, ensure you’re logged into your Gmail account on your computer while using your favorite browser. Although you may be able to delete emails using your iPhone or Android phone app, Google’s best tools are available when using the web browser on a computer.
Before you move forward, you should have a peek at how much storage you have remaining in your Google account. Many of us may have been grandfathered into Google One accounts, so if you should do, go there and see the breakdown of how much storage your Google Drive, Photos, and Gmails are taking up.
You can also do this by signing into your Google account, clicking on your account icon in the top right corner, selecting “Manage your Google Account,” and scrolling down to find “Account storage.” You can also go to your Google Drive to see a breakdown.
Once you’ve seen how much of your email storage is taken up, it’s time to start deleting and clearing up precious space. As you can see by the photo above, I’m already paying Google for extra space because I have never made time to clean my email before today. So unless you want an inbox filled with “Dad, send more money!”, I suggest you follow along.
1. A good place to start is by scrolling down the page and clicking on “Get Your Space Back.”
2. Once there, select “Free up account storage.”
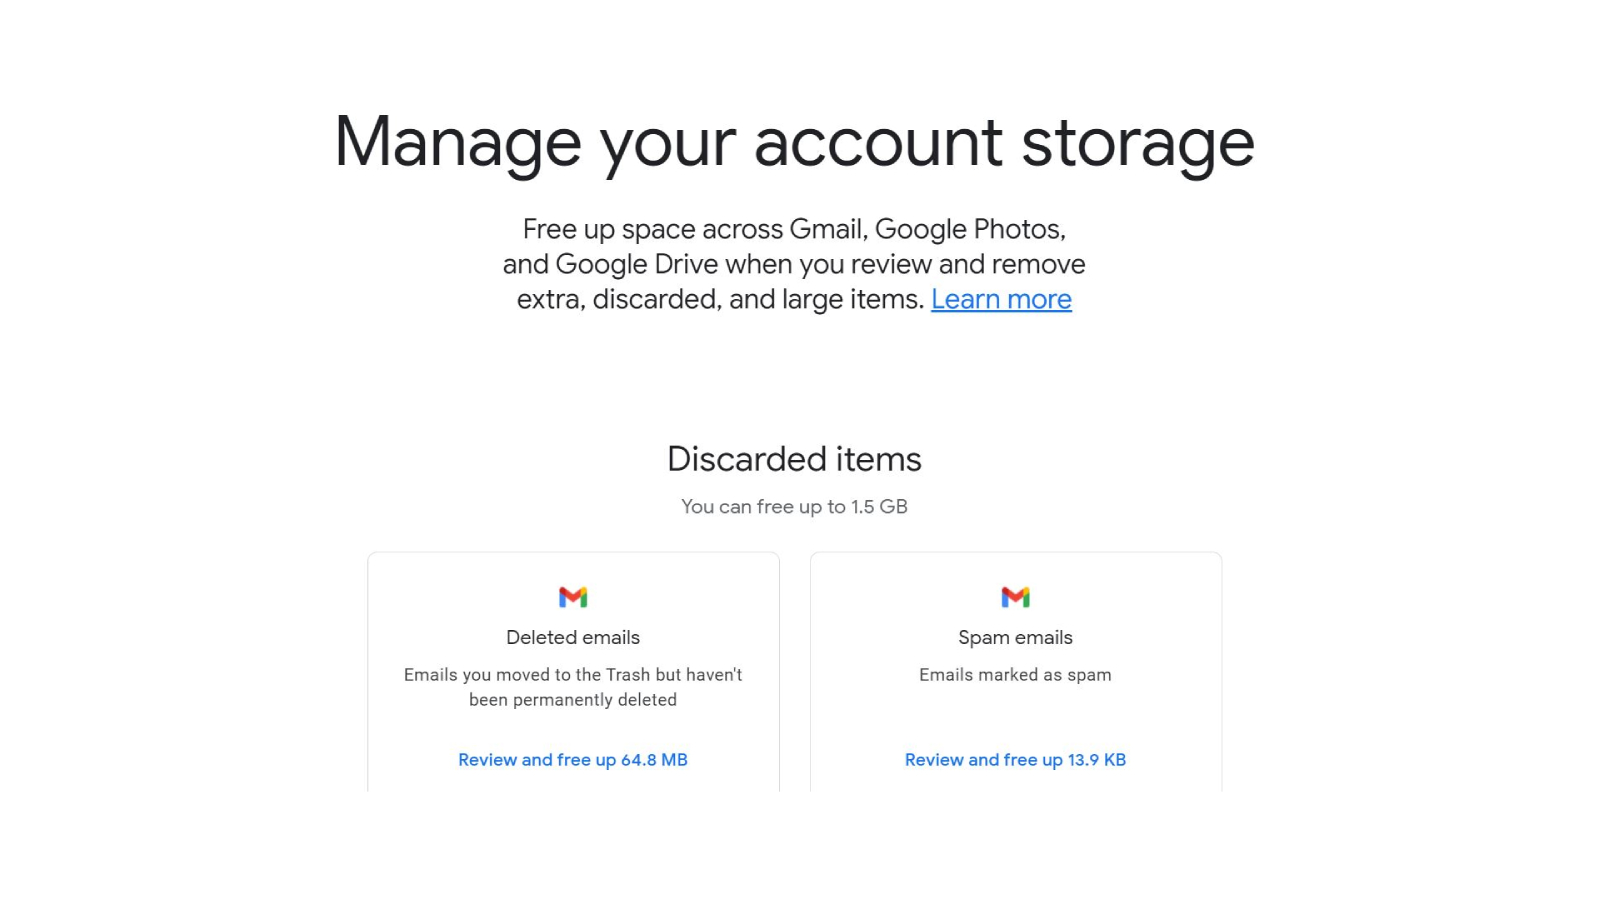
3. Here, you can see exactly how much storage your deleted emails and spam are taking up, then review and delete them.
4. Just click on each option and you’re taken to a web page that will show you all the emails in the files you’ve chosen.
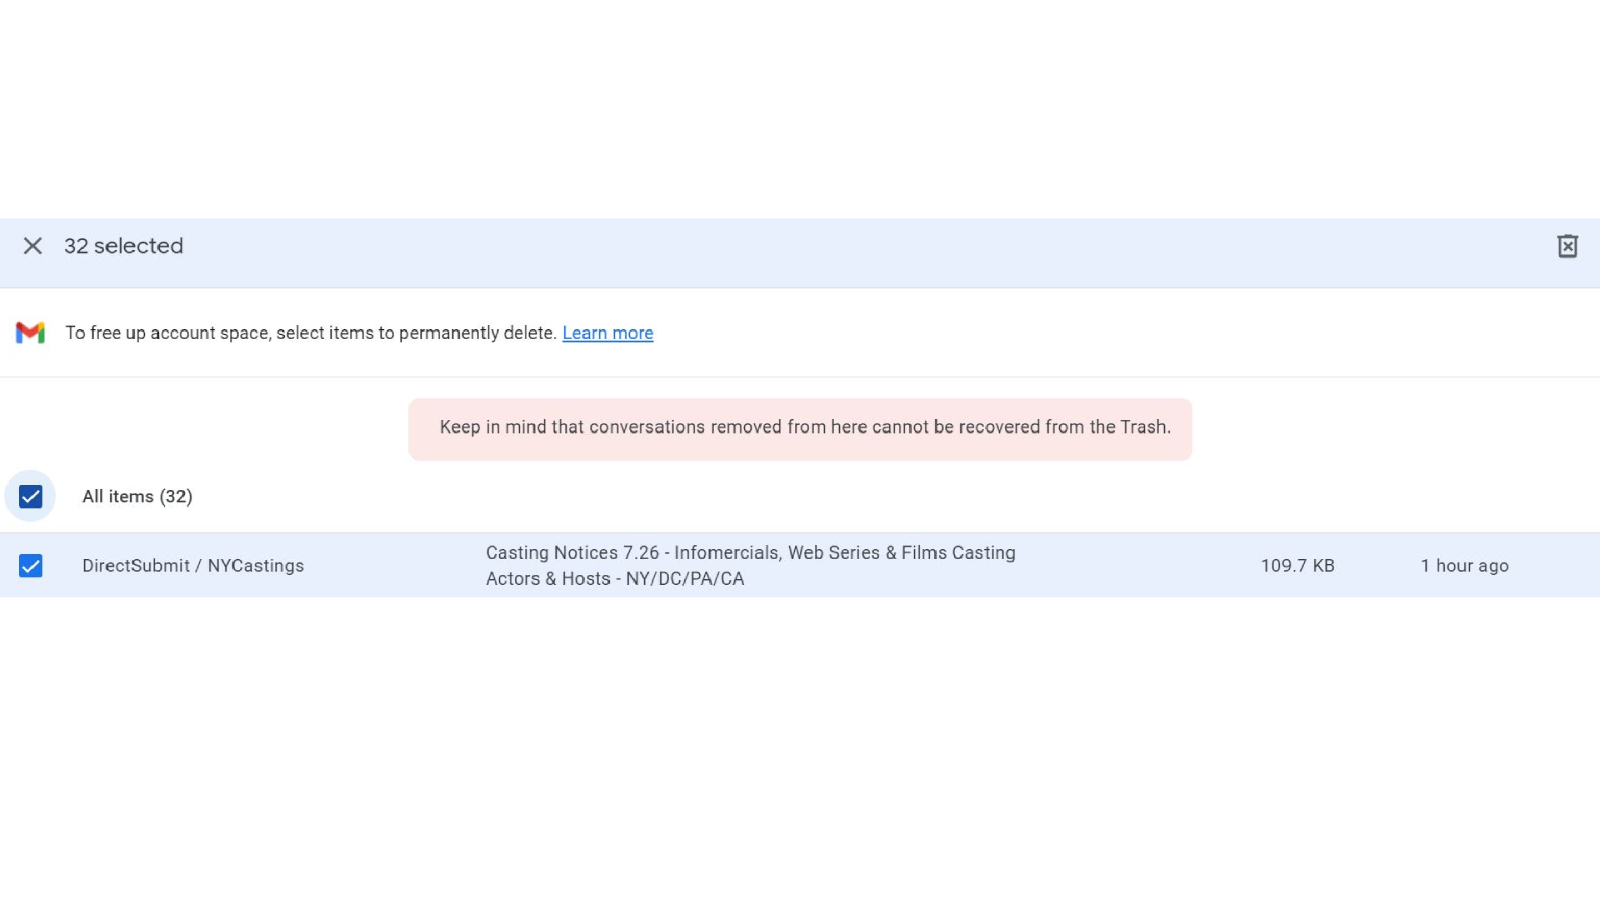
5. Scan through them to make sure none are important. On the upper left side, choose all items, and then on the upper right side, select “Delete all” and you’re done with that.
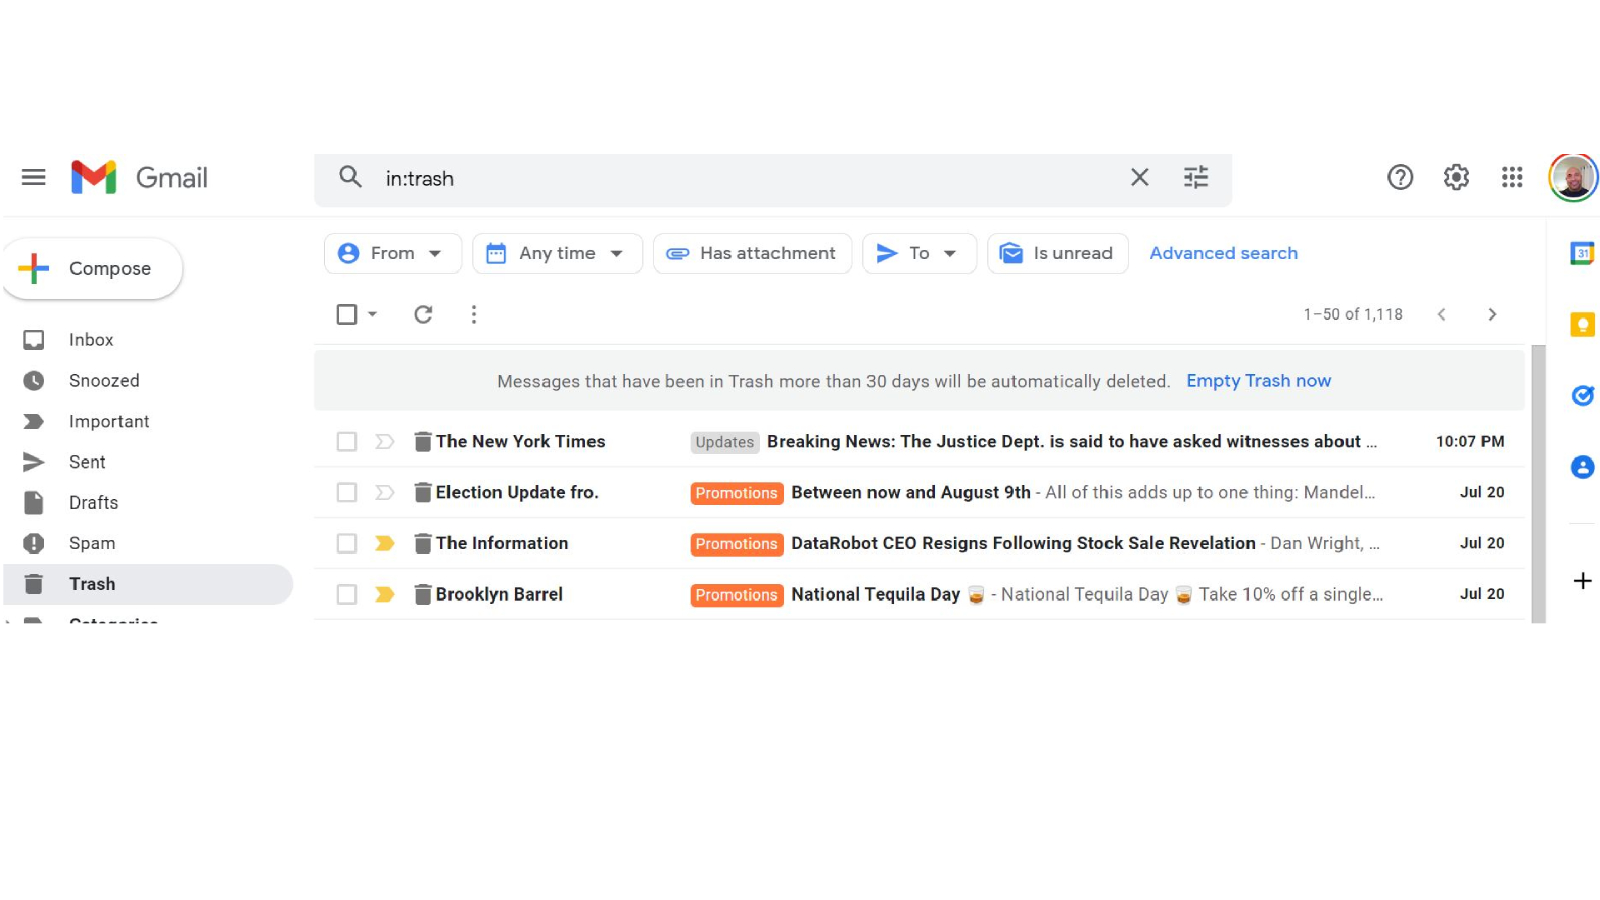
As a side note, you could regularly make sure to empty all your deleted emails via the “Trash” icon on the left of your Gmail user screen. Just select “Trash”, then select “Empty Trash Now” and within seconds they’re all gone. It’s fast and easy.
Google makes deleting your emails rather easy and breaks things down into tabs to make the decision-making process even quicker. I save my “Primary Tab” for last because that’s where most of my important and personal emails end up. So the obvious choices to start with first are Social and Promotional.
In your Gmail account, select the “Promotions Tab” and do a quick check to make sure you don’t really want these emails. Then, just above the “Primary Tab”, select the square “bulk” selection box and watch as all the emails are magically selected. Then simply hit delete at the top, and once again, you’ve just cleared up some space.
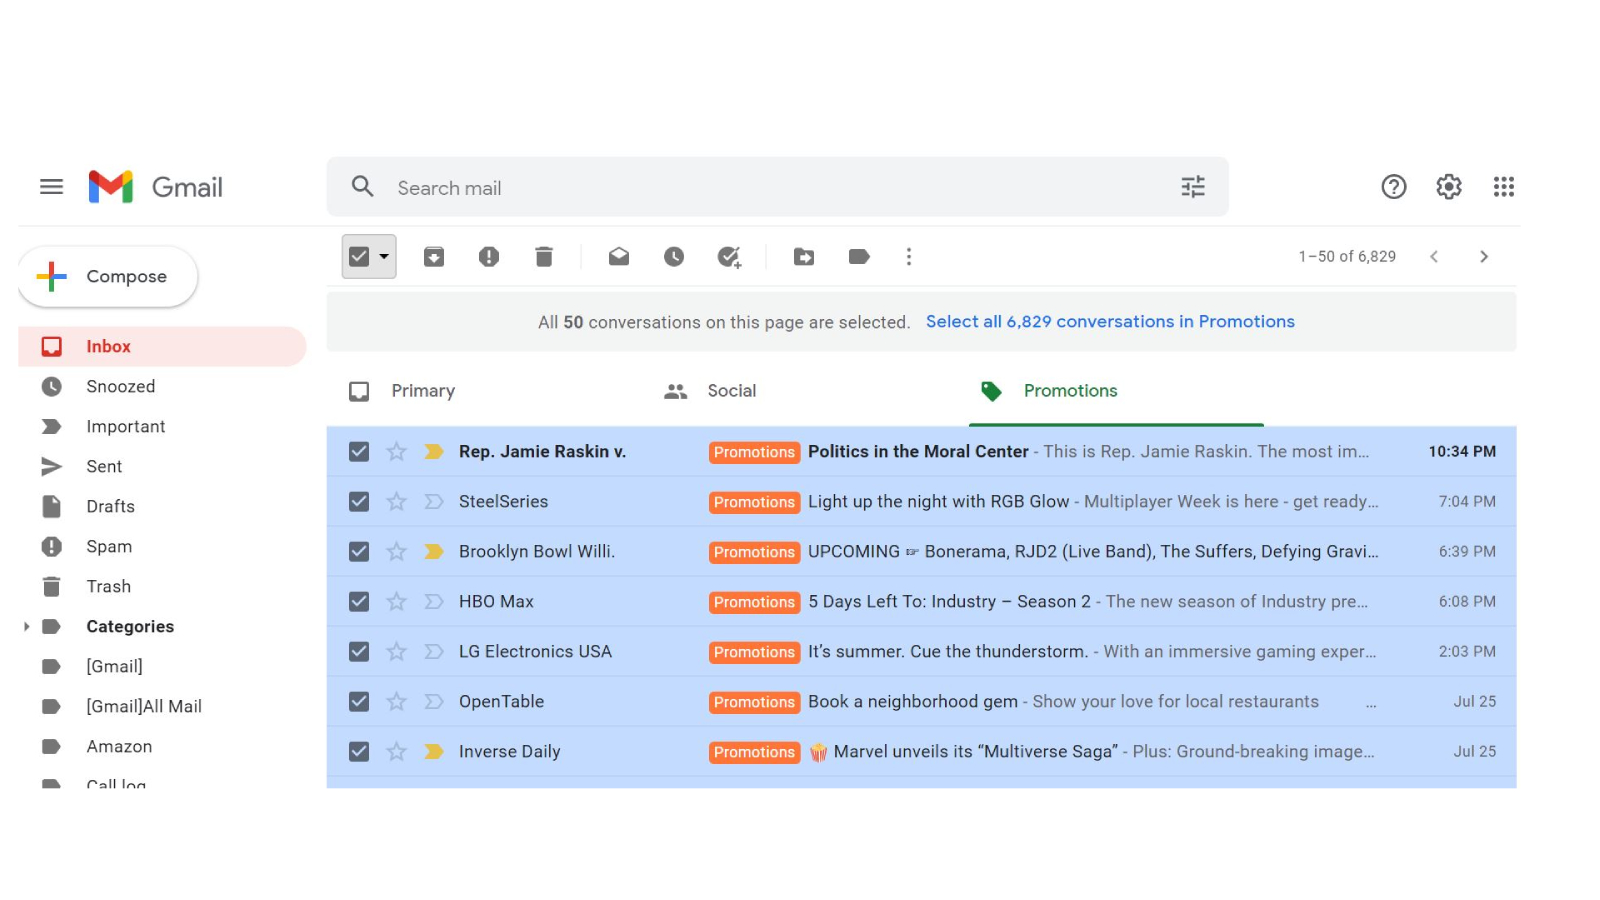
You can also do this for the “Social Tab,” which will free up a lot of space.
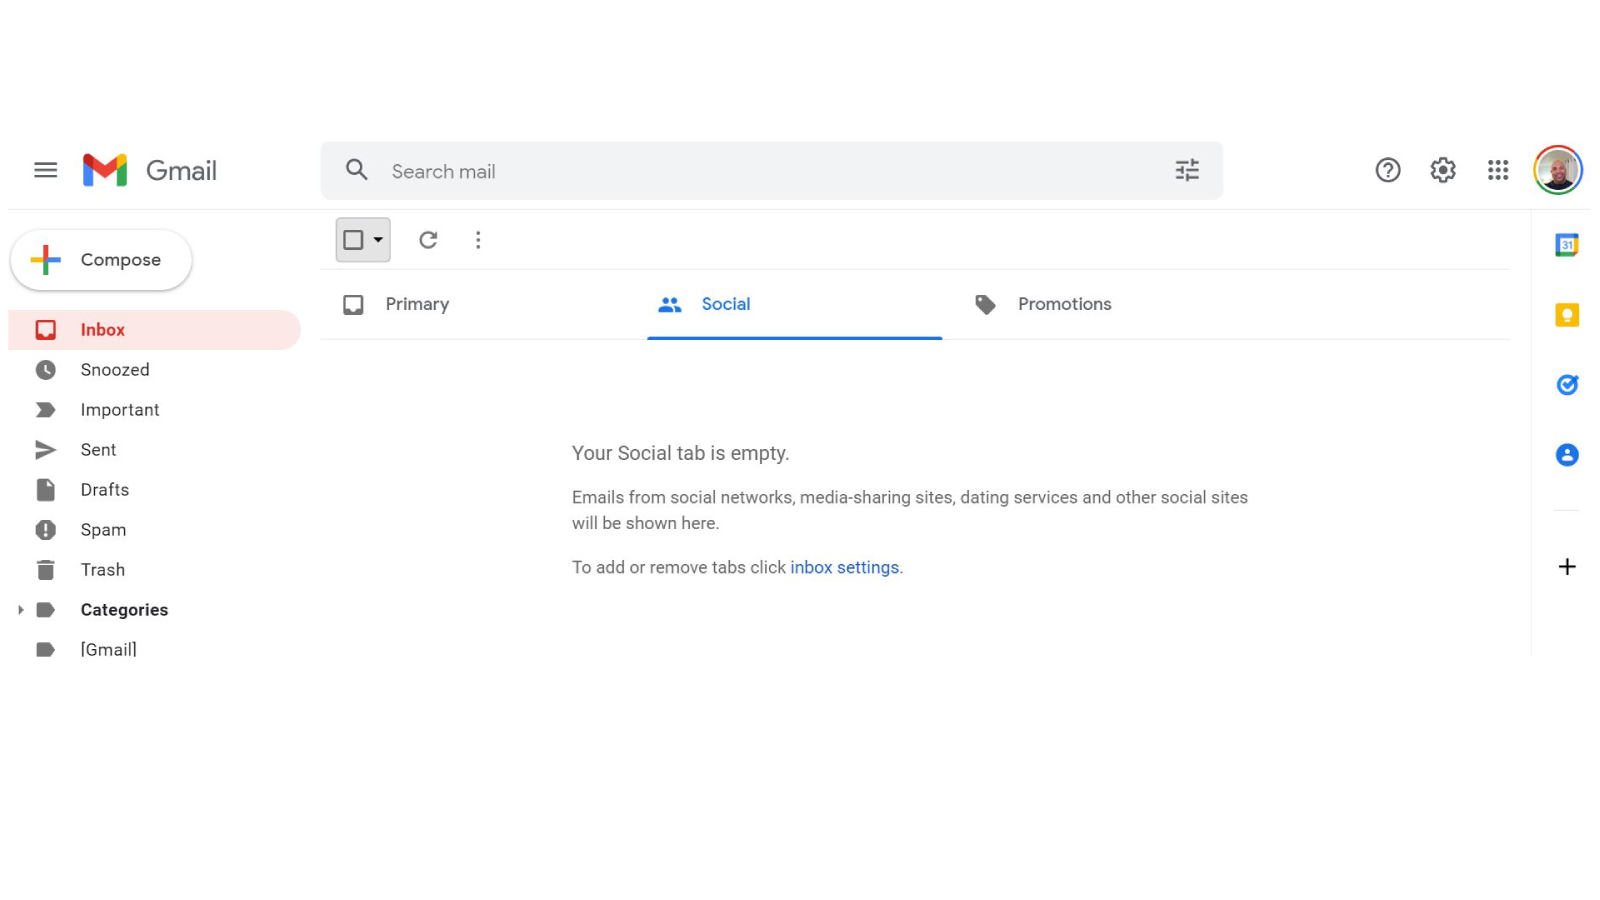
Once you have completed deleting these emails you should select the “Trash” icon on the left once more and bulk delete everything. Then you can check your storage once again and see how much room you’ve created.
Quick filtering tips to help you keep things spotless
In your Gmail’s search box, you can use certain keywords as search filters to help you locate old emails, and other odds and ends you may not realize are still laying around eating up space.
If you type “before:05/11/2009”, you will see all emails sent before that date. You can swap the day and for these simply by changing them to the time period you wish to locate.
If you type “older_than:2m” within the search box, all the emails that are older than two months will be displayed. You can also use the term “newer_than” for emails newer than two months. You can also switch the number if you want to search further back.
This next shortcut is a favorite of mine. Type “has:attachment” into your Gmail search bar, and all emails that have attachments will be displayed. This comes in handy when looking for old documents or photos you may wish to find.
Another favorite of mine is “filename:pdf.” This helps you quickly locate all those PDFs you’ve been sent. Lastly, another helpful one is “from:Bob” which will locate all emails sent to you by Bob (or any other name you put in).
Between deleting and using these magical search terms, you now have all you need to keep your Gmail squeaky clean and tidy.

