Knowing how to do a split screen on Windows 11 is incredibly useful if you are used to a multi-monitor (or ultrawide setup) and are stuck working on a single screen. Fortunately, Windows 11 makes working in multiple windows at the same time incredibly easy.
Splitting your screens has a number of benefits. For one, it allows you to view two things at once, without having to switch back and forth between windows. Keeping a reference text open, for example, while writing a paper is much easier when you don’t have to keep switching tabs. For those capable of extreme multitasking, it also gives you the option to work and play. For example, you can have one screen playing Netflix and while the other lets you work on a spreadsheet.
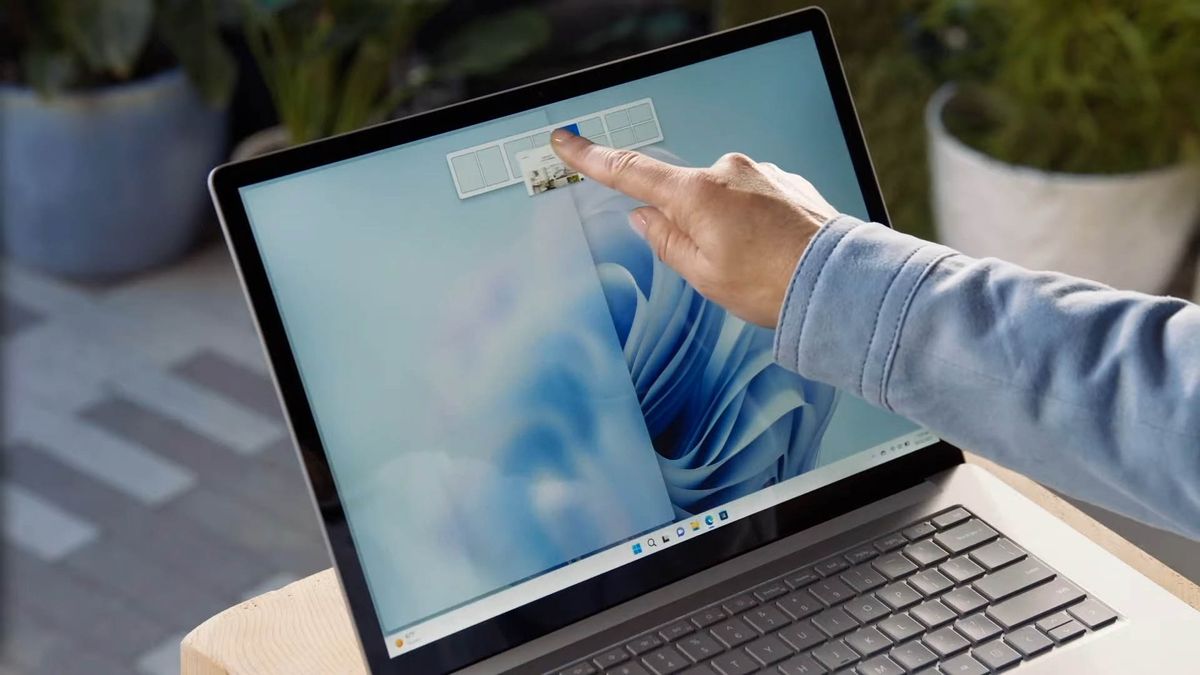
There are a number of ways to use split screens in Windows, all of which are made easier using Microsoft’s Snap Assist feature. Snap assist organizes your windows in one of several ways to better suit your intended use case by assigning up to four windows, one in each screen quadrant.
Split screens on Windows 10 or 11
1. The steps for splitting screens on Windows 10 and 11 are very straightforward. First, long click your window’s title bar.
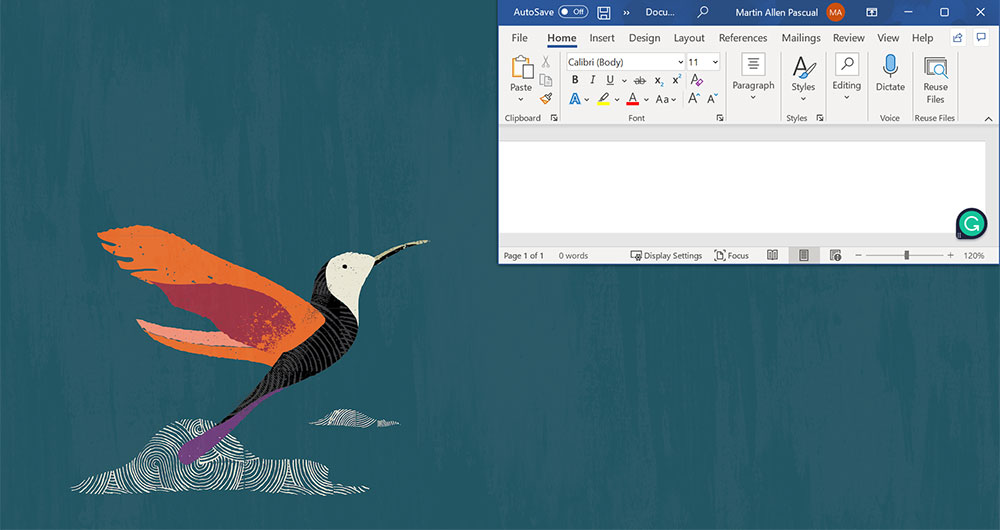
2. Next, drag your window to the side or corner where you wish to place it until your mouse hits the side or corner. Dragging your window to a corner will resize it to 25% of your computer screen. Dragging to either left or right will resize it to 50%.

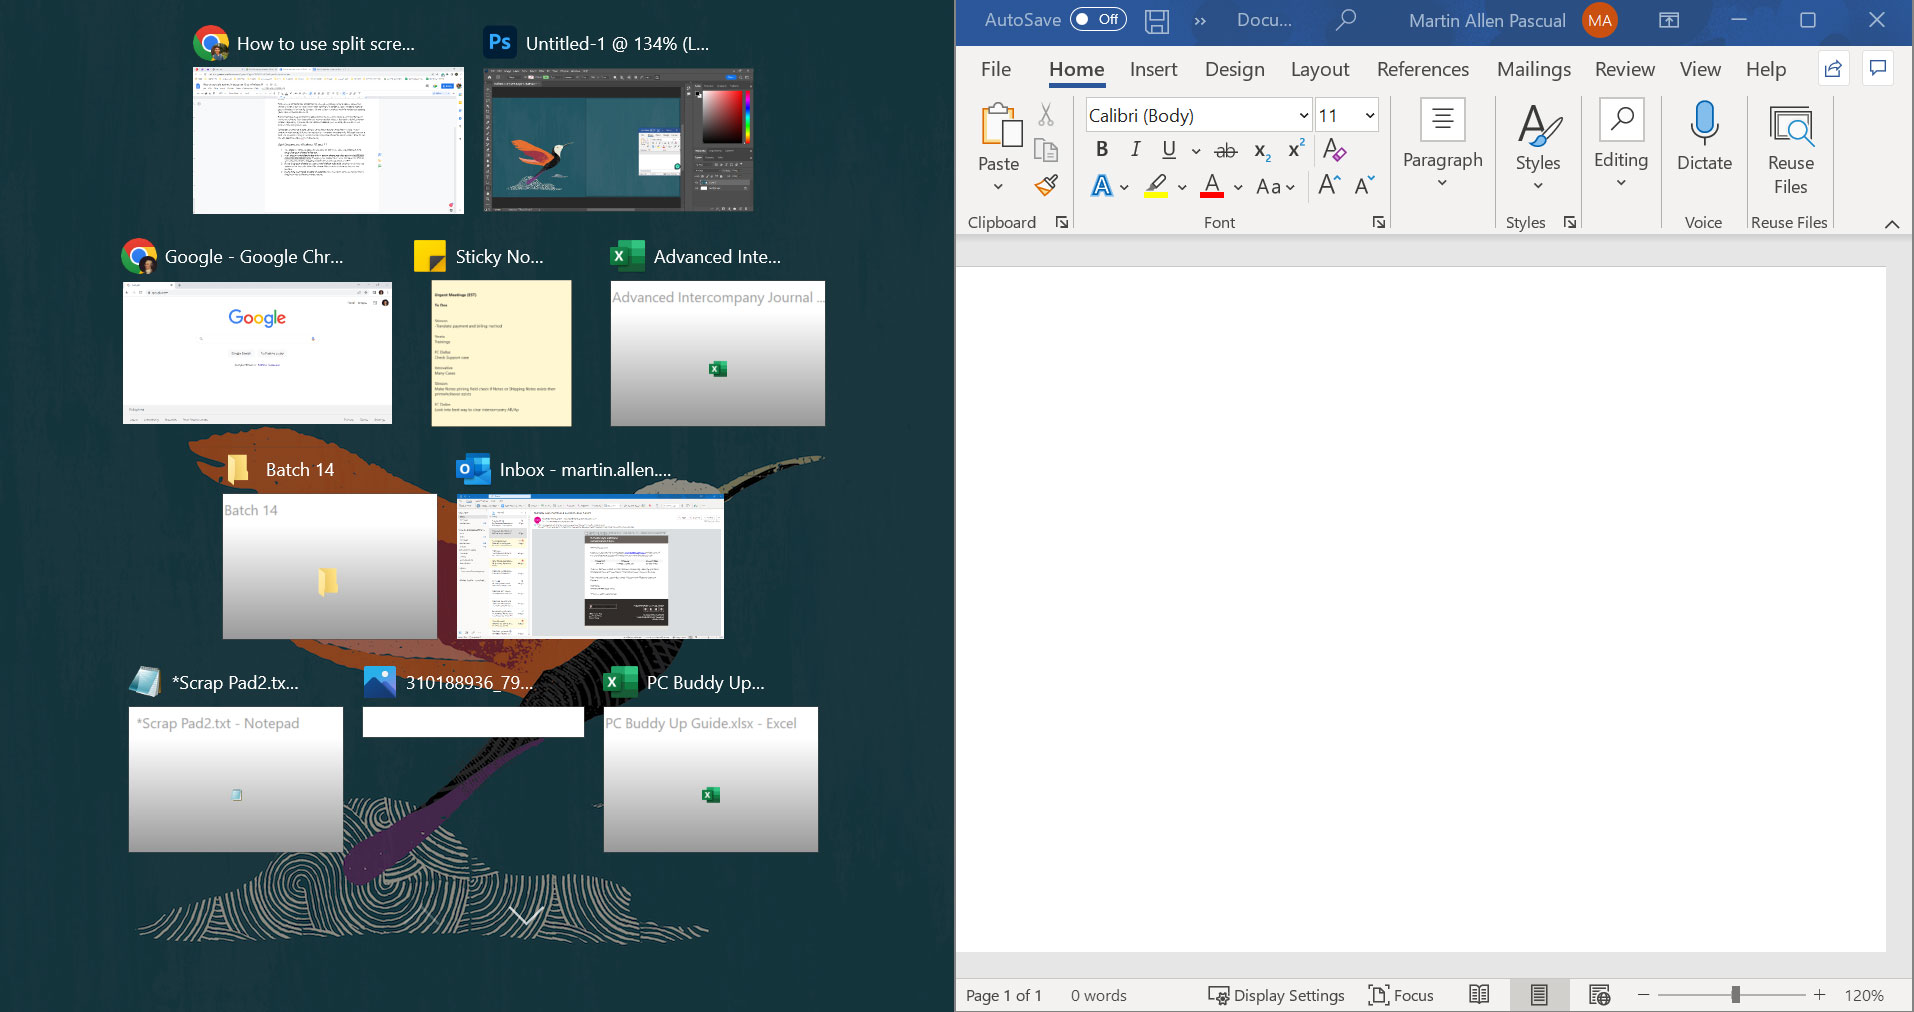
3. If you drag your window to your screen’s left or right side, other open windows will appear on the free side. Select the window that you wish to show beside your first window.

4. If you drag your initial window to a corner, open your other windows and proceed to drag them into a different available corner.


