Installing Microsoft’s .Net 3.5 Framework is pretty straightforward. It will be a familiar process for anyone who installed it on previous versions of Windows, but we’ll walk you through the steps in case it’s been a while, or if this is your first foray into the .Net Framework.
Read as “dot Net”, the .Net Framework is a set of code used to develop the backend of software programs. Microsoft began developing the framework way back in the early 1990s until its initial release in the early 2000s. Because of its language interoperability, most programmers use a combination of the .Net Framework and other programming languages.
Microsoft introduced the 3.5 version of the .Net Framework on October 3, 2007. Since then, it has released a handful of versions, including the current .NET Framework 4.8, which was released on 18 April 2019.
How to download .Net 3.5 Framework installer
1. Grab the official installer for the .Net 3.5 Framework from Microsoft’s website, here (opens in new tab).
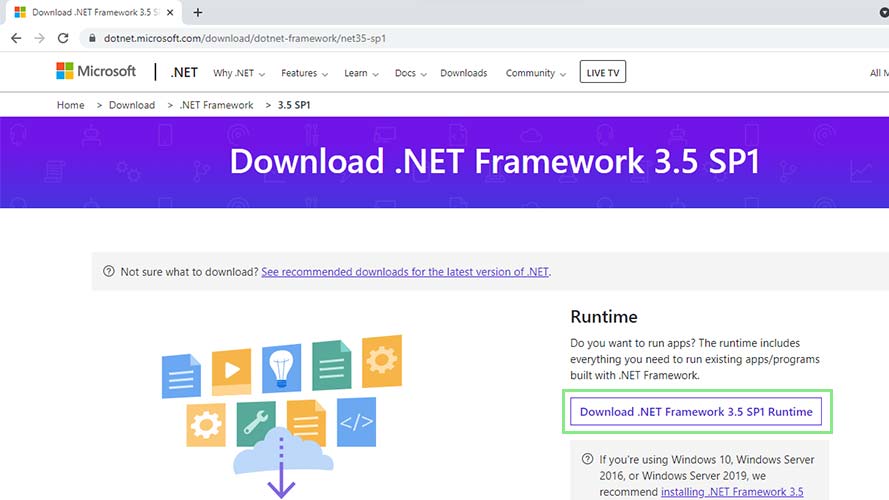
2. Click the Download .NET 3.5 framework SP1 Runtime button. This will redirect you to another page.
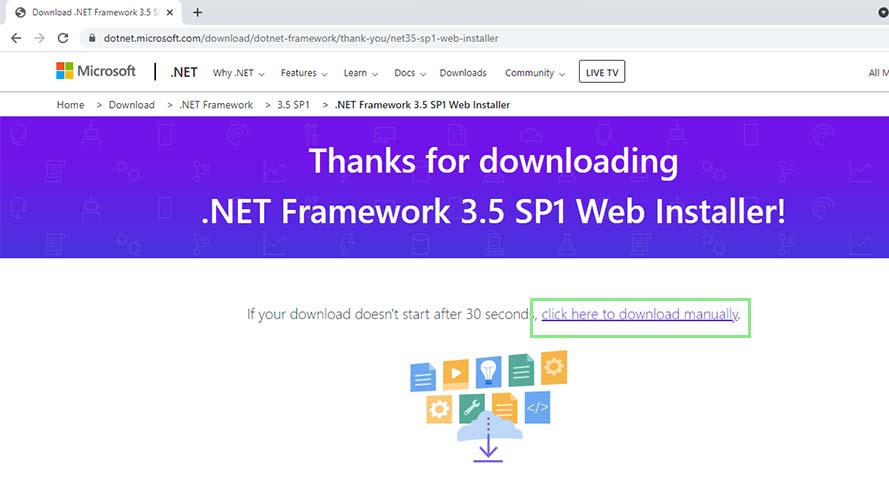
3. Wait for your download to begin. If your download does not start within 30 seconds, click on the “click here to download manually” link.
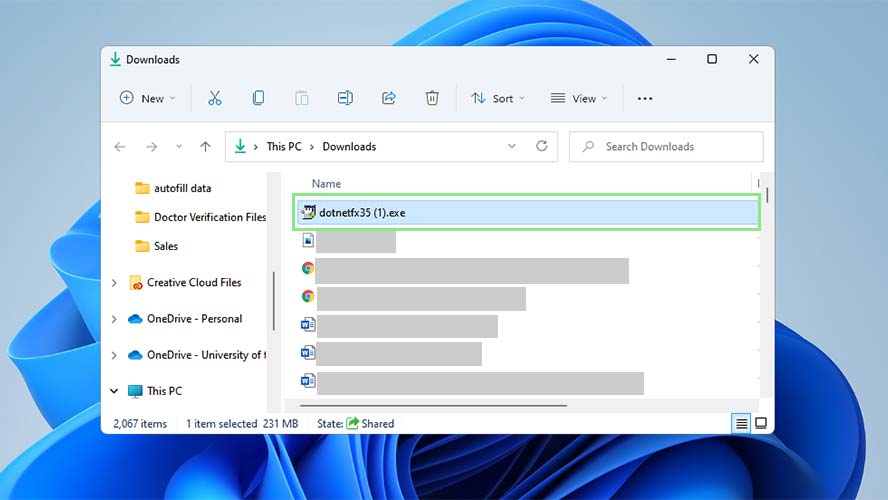
After your download finishes you’ll have a .exe file named “dotNetx35.exe” in your default download folder.
How to install .Net 3.5 Framework on Windows 11
1. To start the installation, double-click the installer you downloaded above.
2. After double-clicking, a window should open with a Download button. Click Download to install the software.
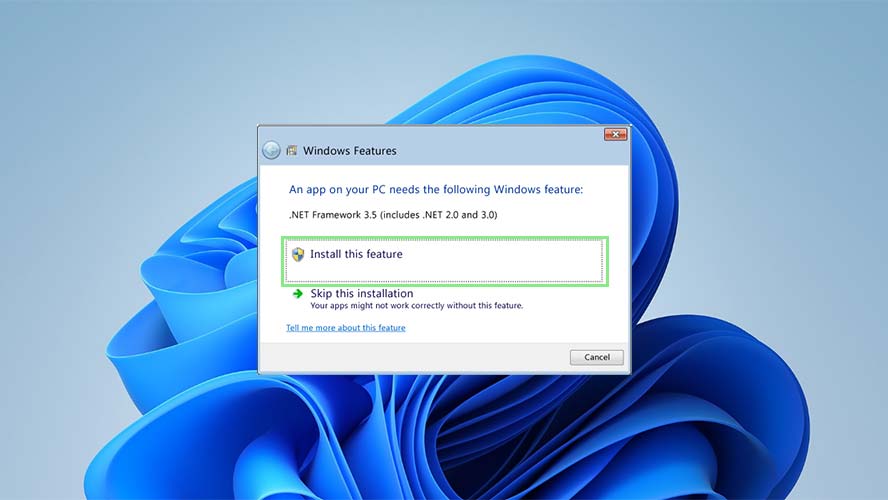
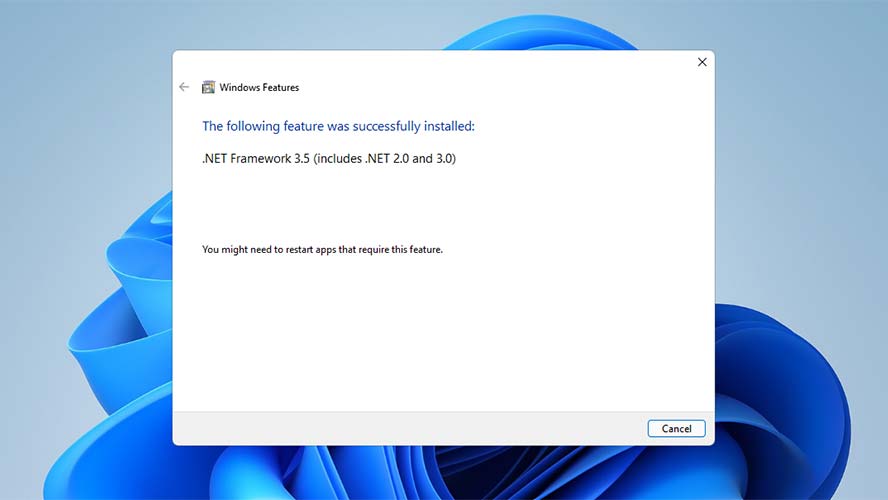
3. Wait a few moments. Once finished, a prompt lets you know that the .Net 3.5 Framework has been successfully installed on your Windows 11 computer.
