Whether your eyes aren’t sharp enough for the text on a website or the default settings on your MacBook render words too small to read, you’ll want to know how to make text bigger on macOS. To get the text to a size that suits your eyes, you can lower your Mac’s resolution, change the desktop icon font size, and increase sidebar size or the scale at which web pages render.
Decrease screen resolution to increase font size
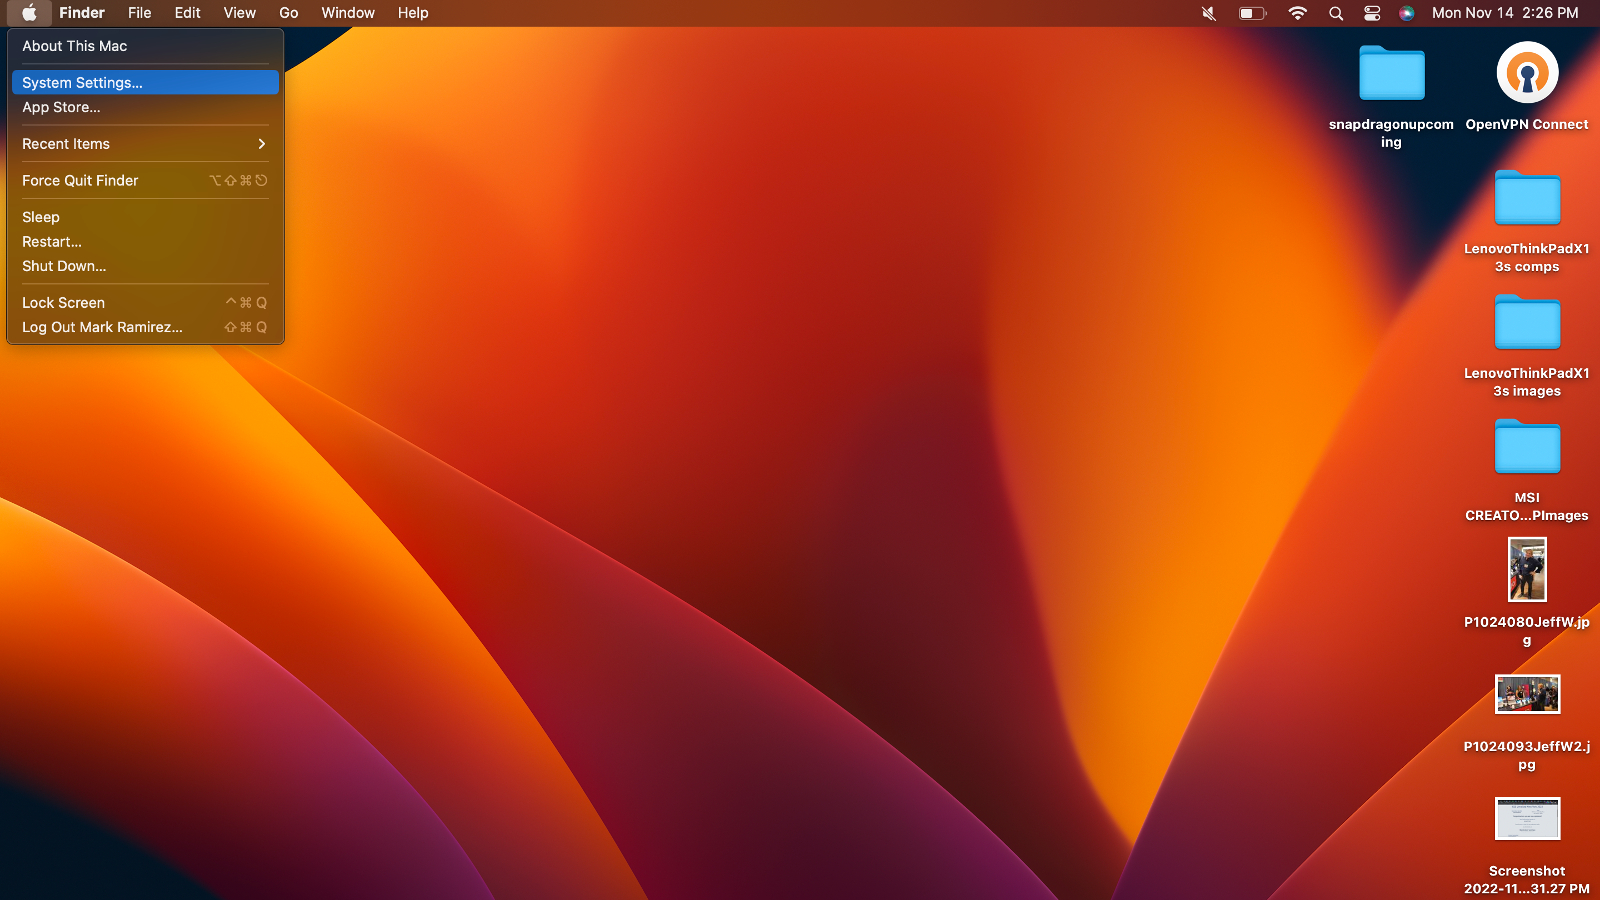
1. Click the Apple icon in the top left corner.
2. Select System Preferences.
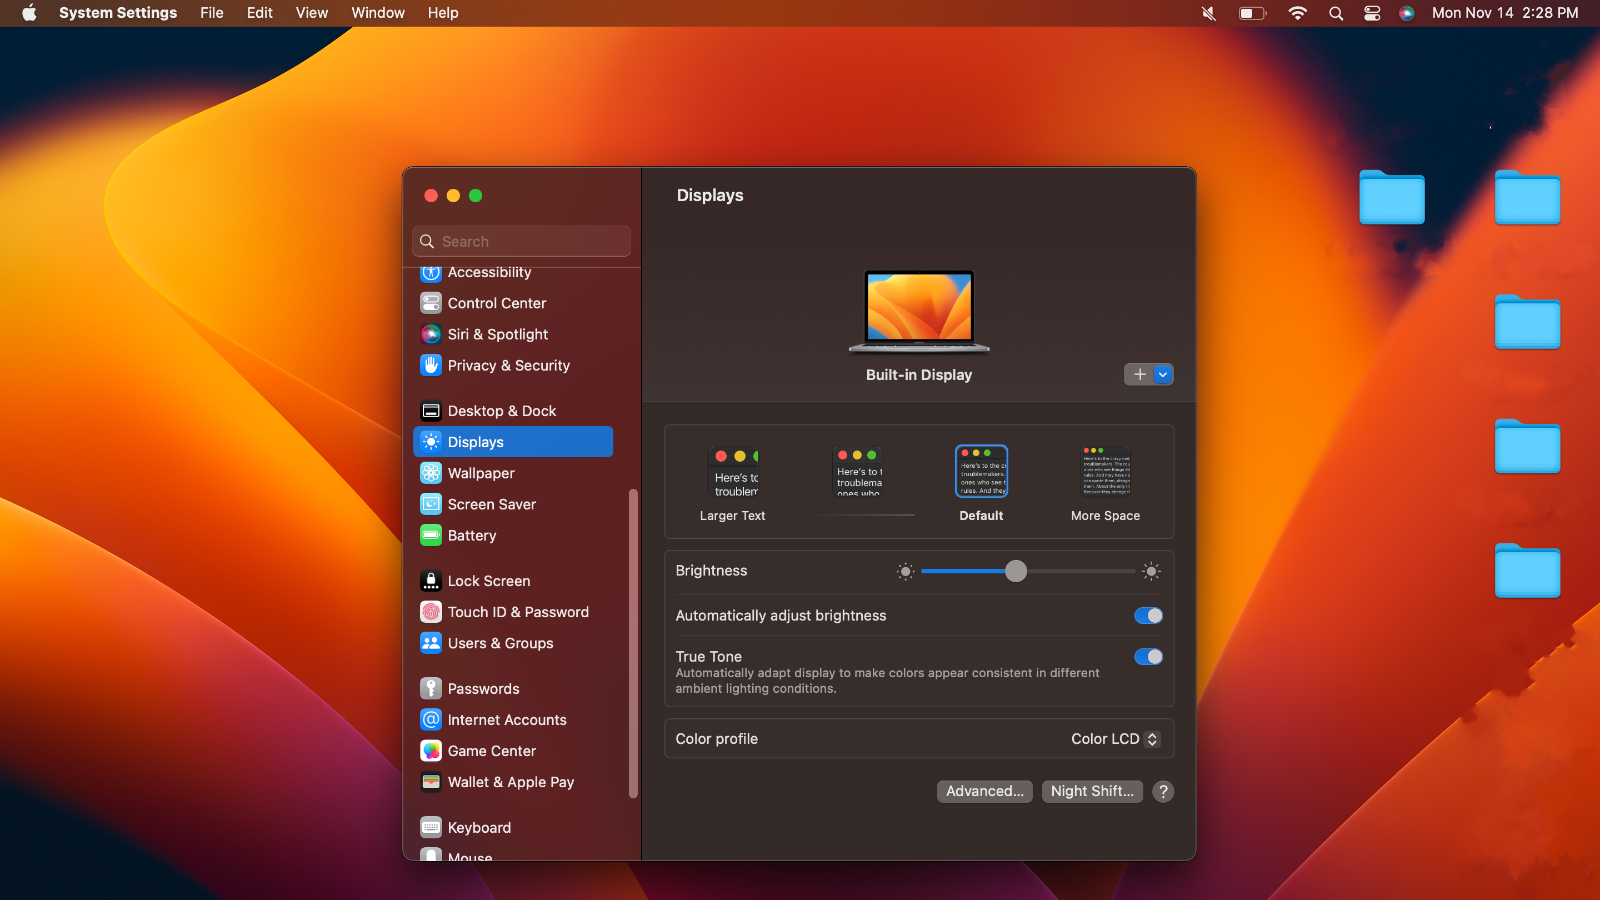
3. Select Displays.
4. Click larger text
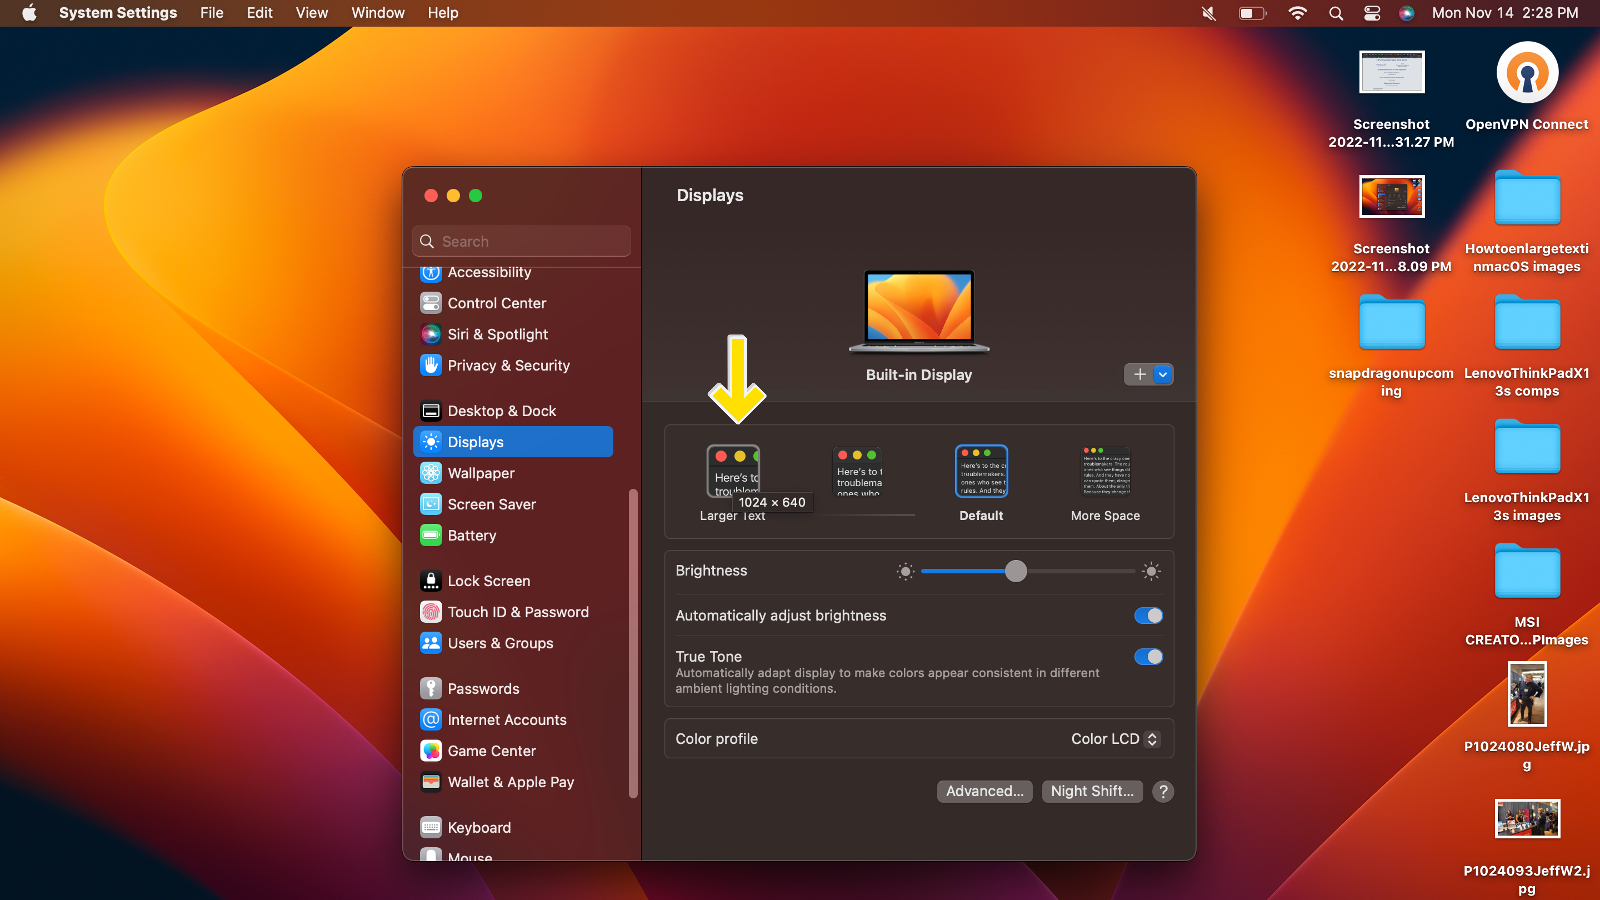
5. Select change resolution. If you see icons with different-sized previews of text, select the icon that says Larger Text and click OK.
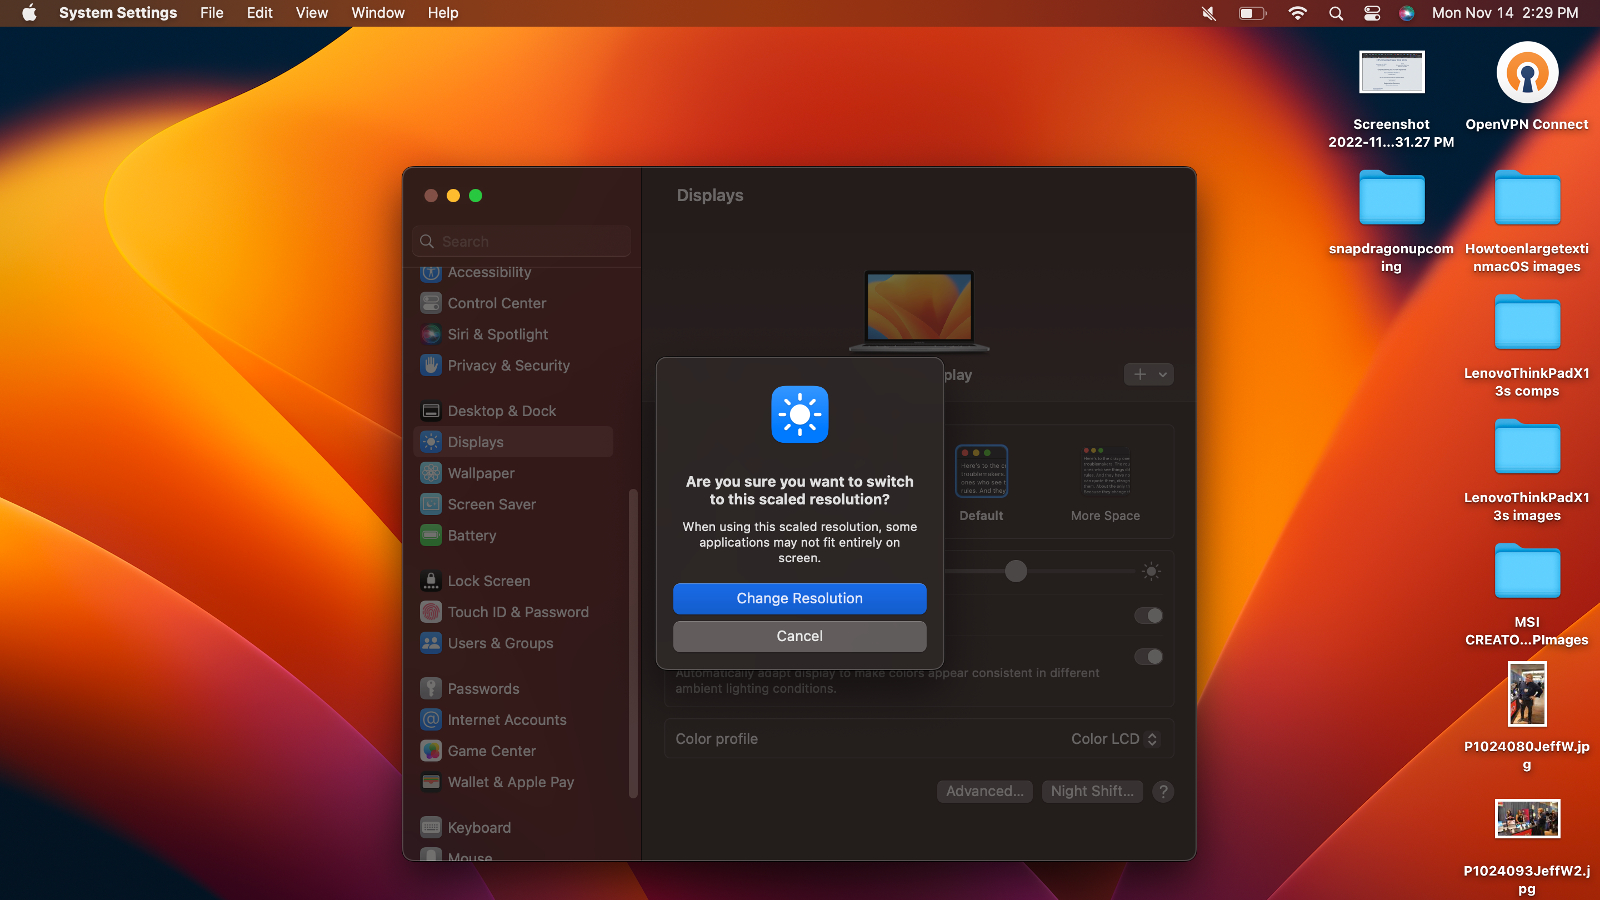
You’ve now increased the size of everything on your Mac by lowering its resolution.
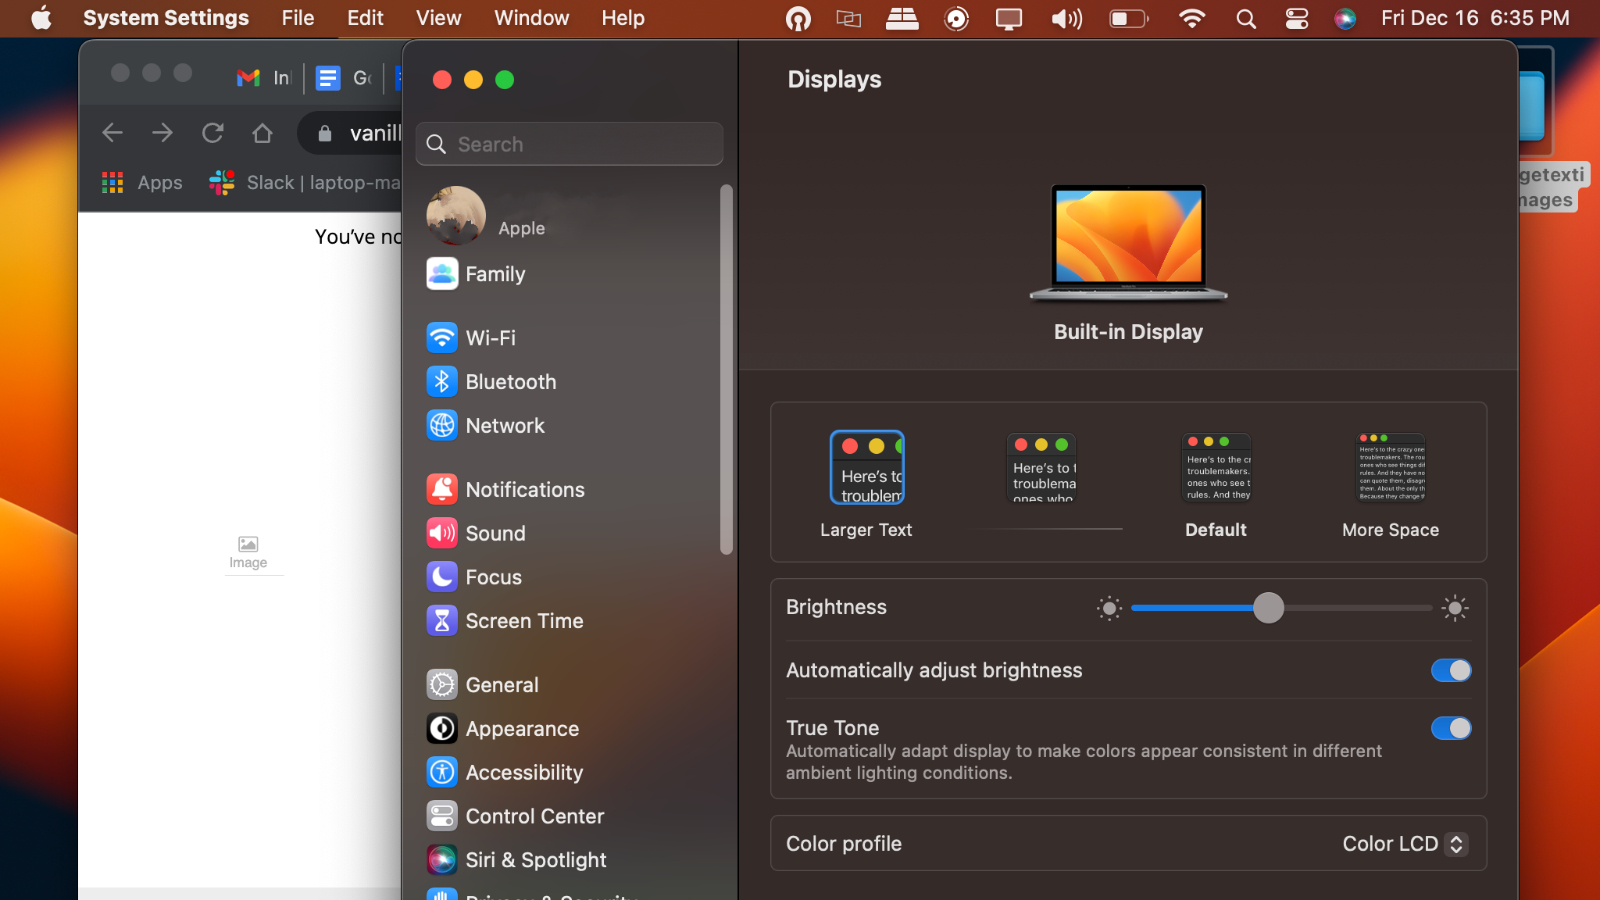
Increase text size for desktop icons
1. Click View in the menu bar.
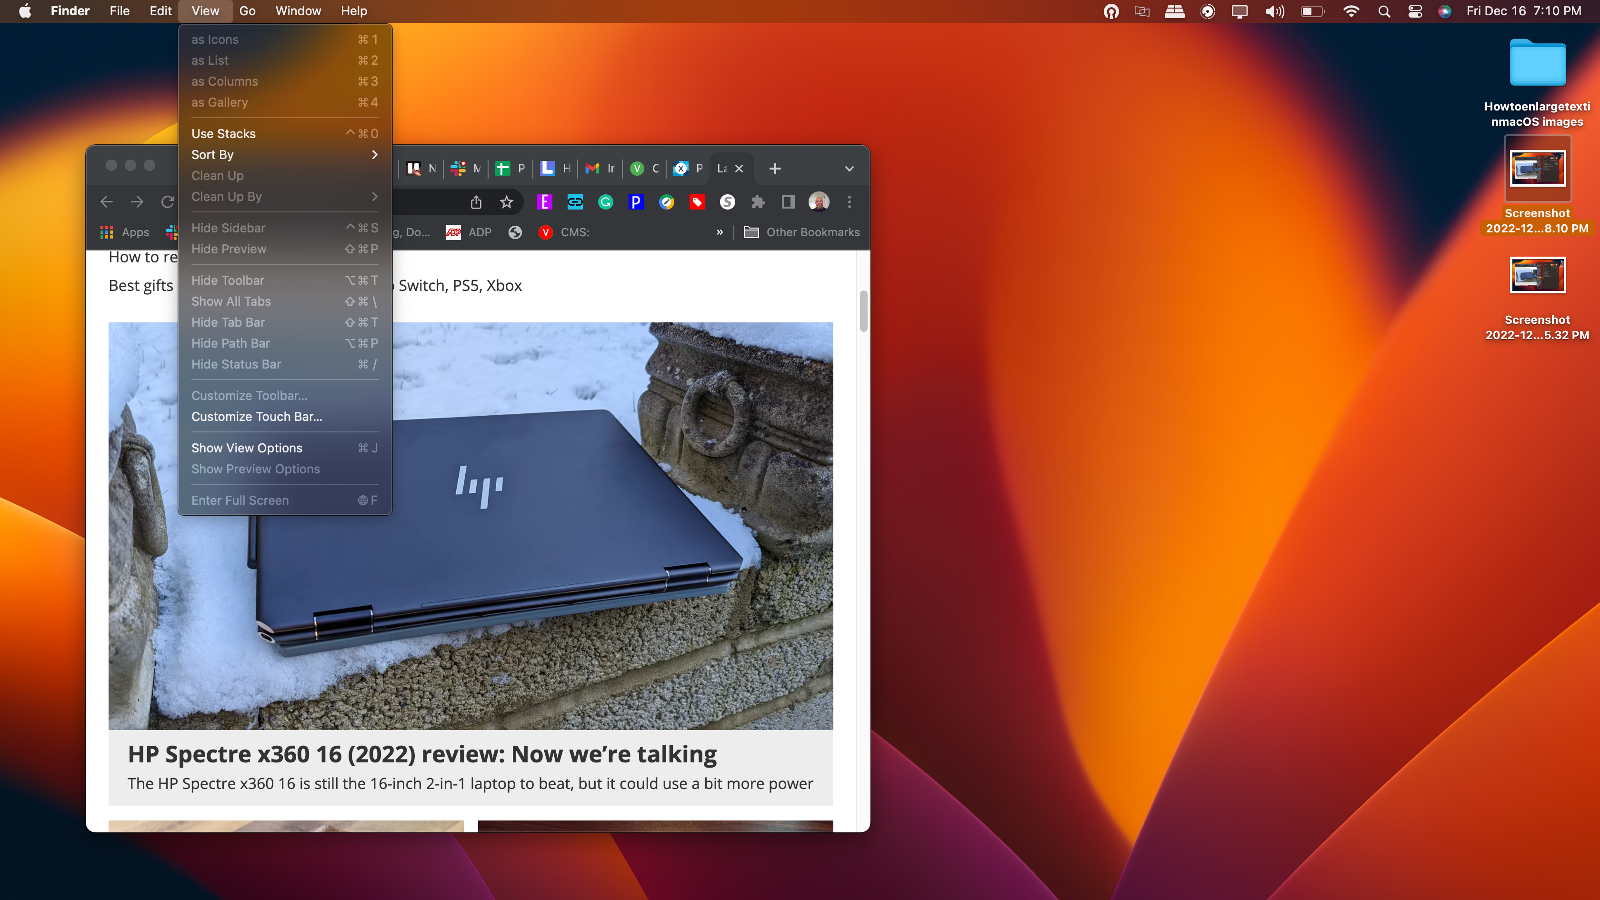
2. Select Show View Options.
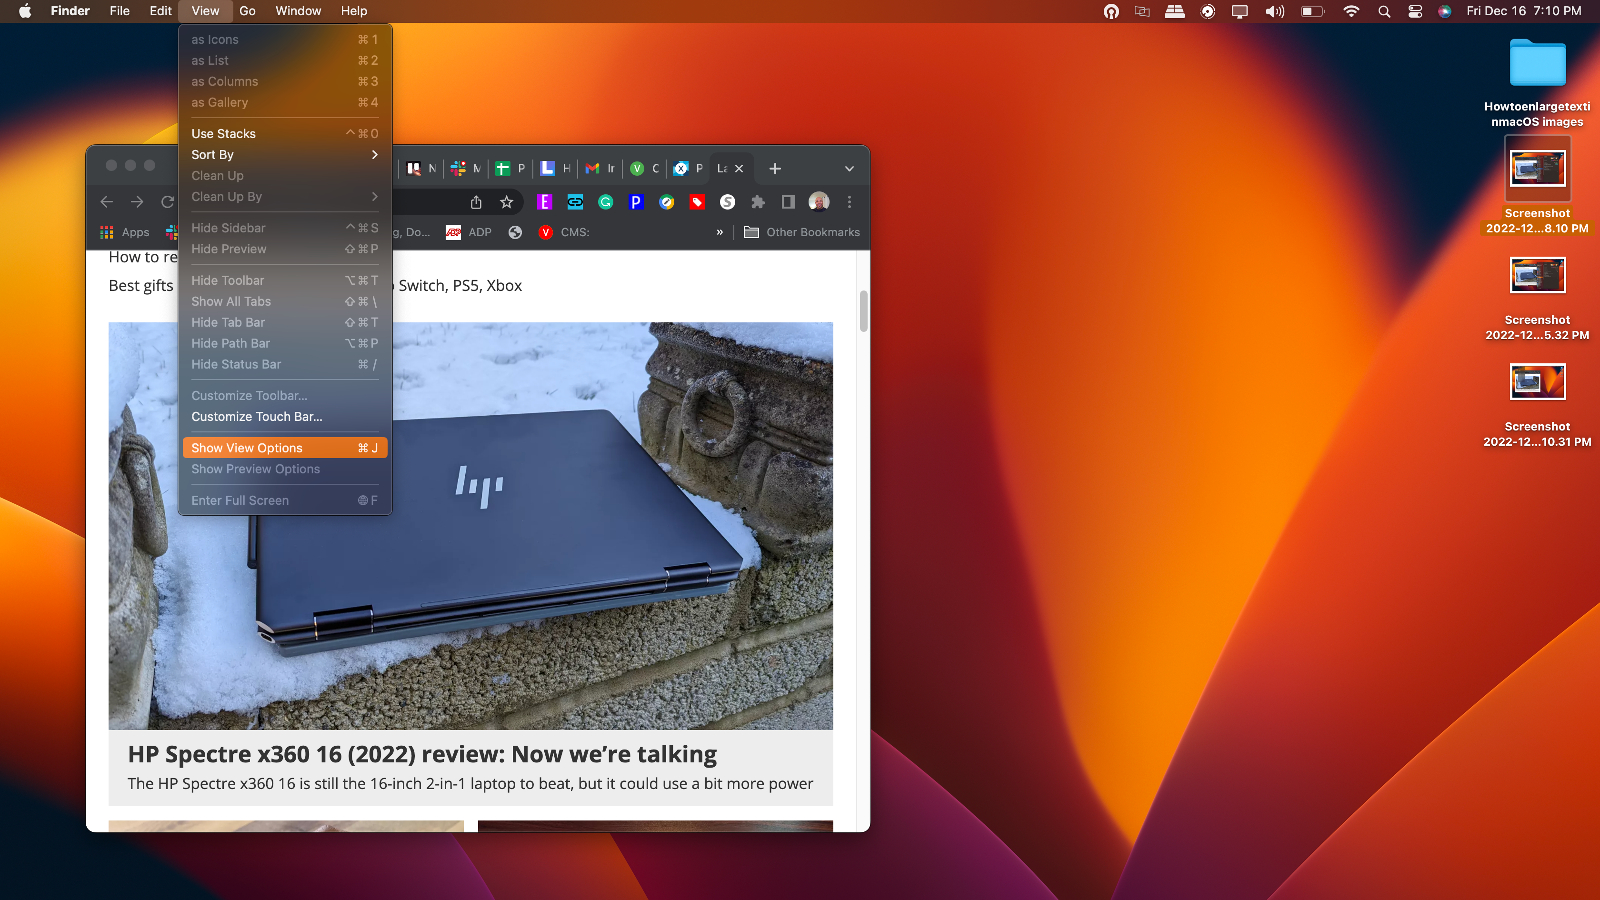
3. Click the number next to Text size.
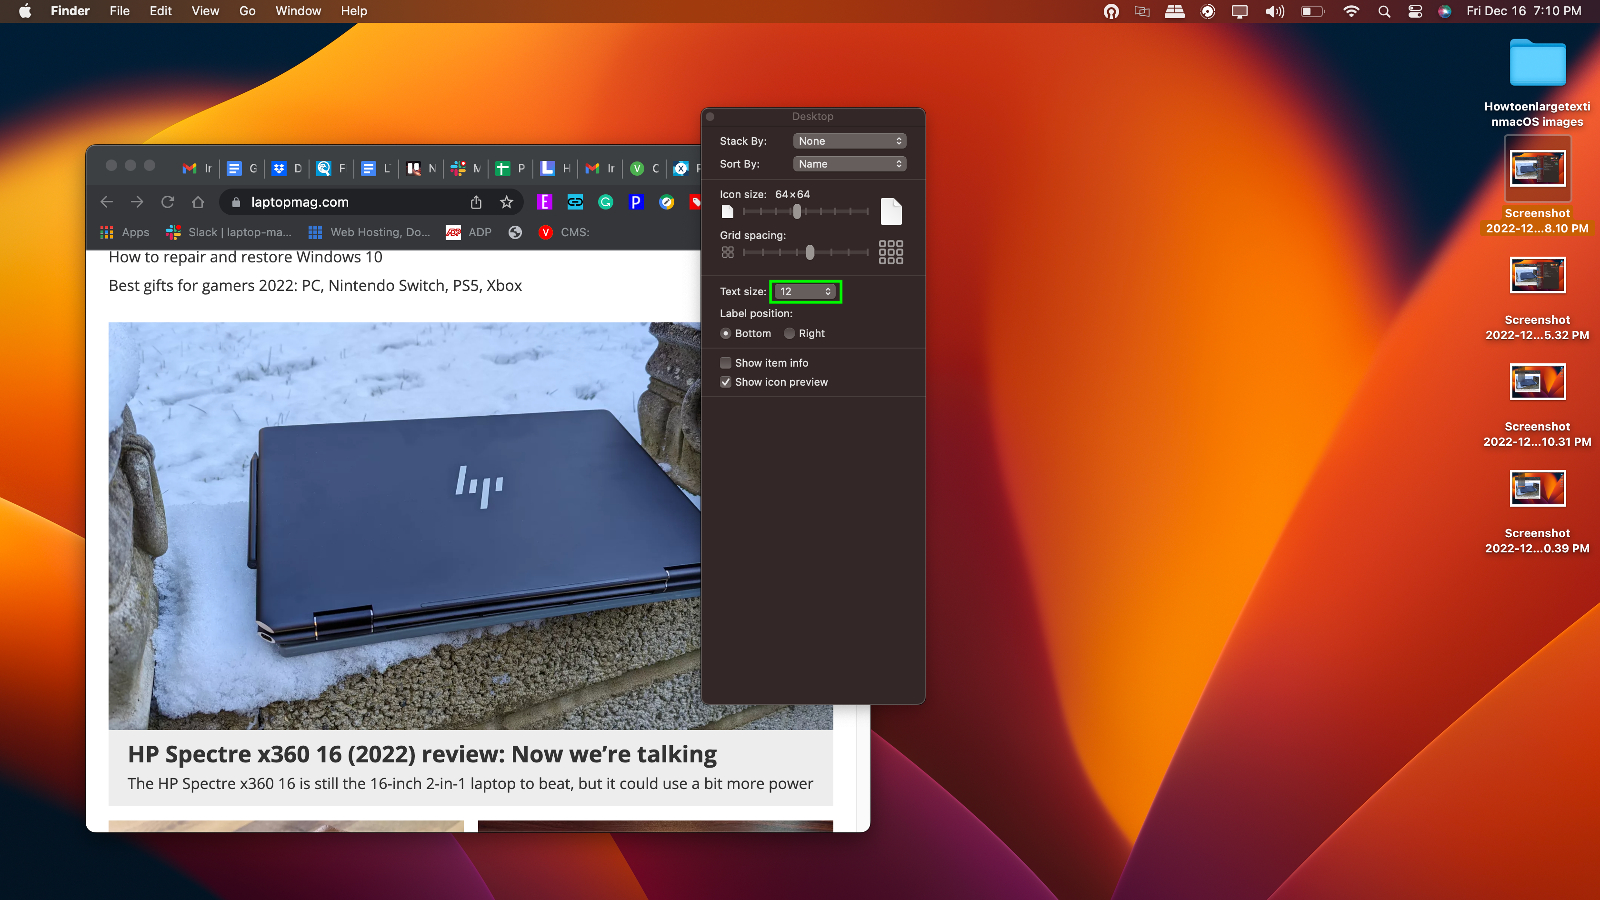
4. Select a larger number.
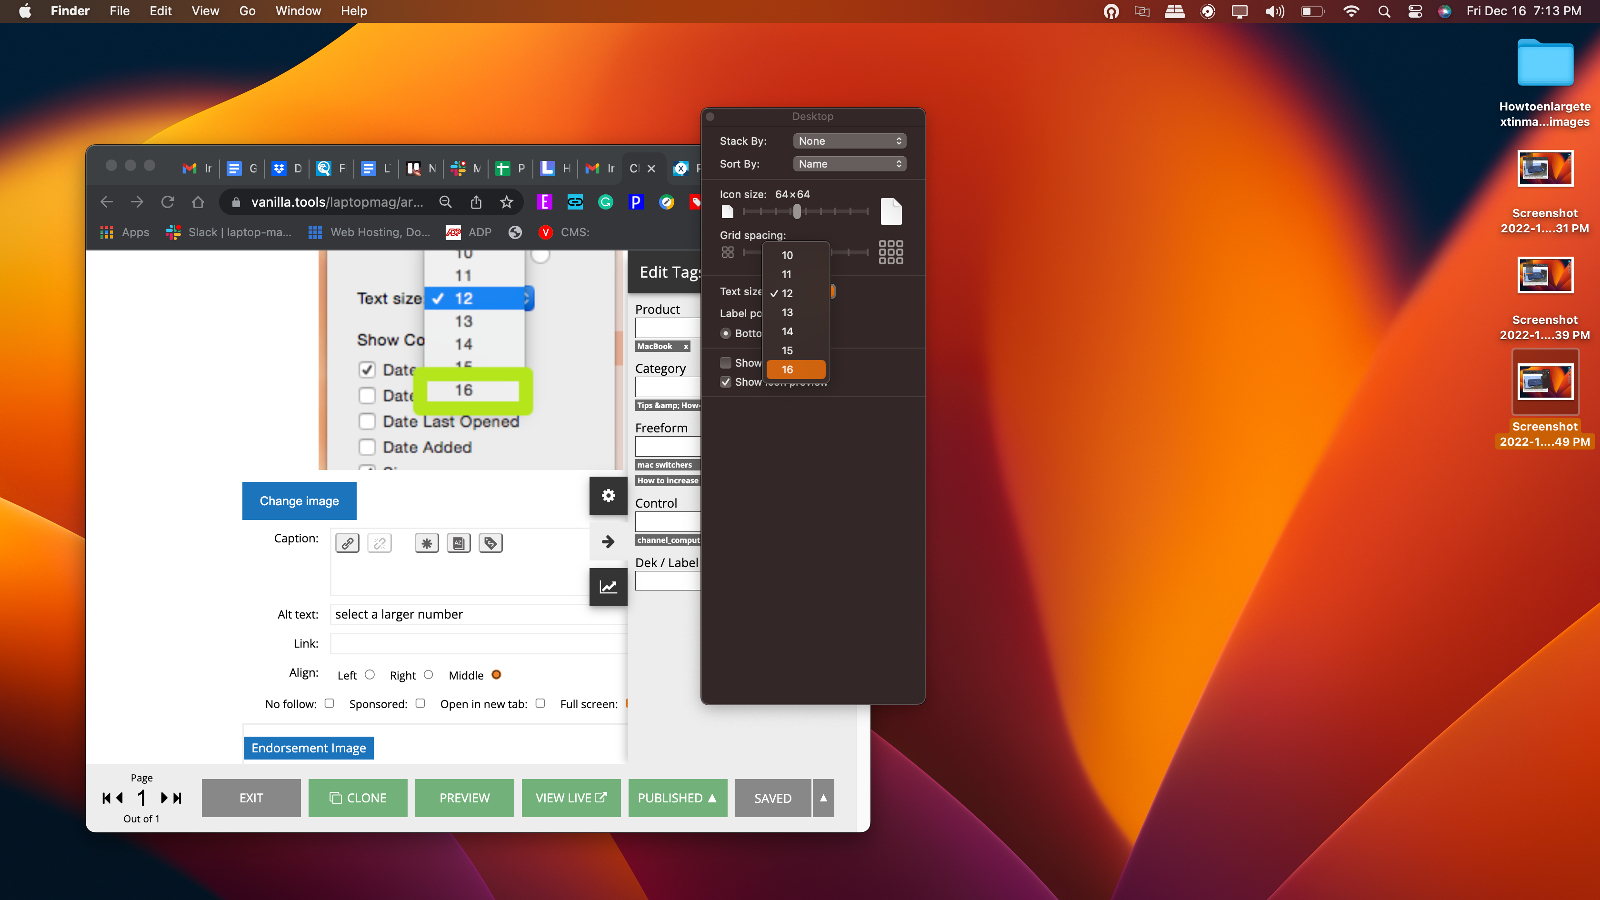
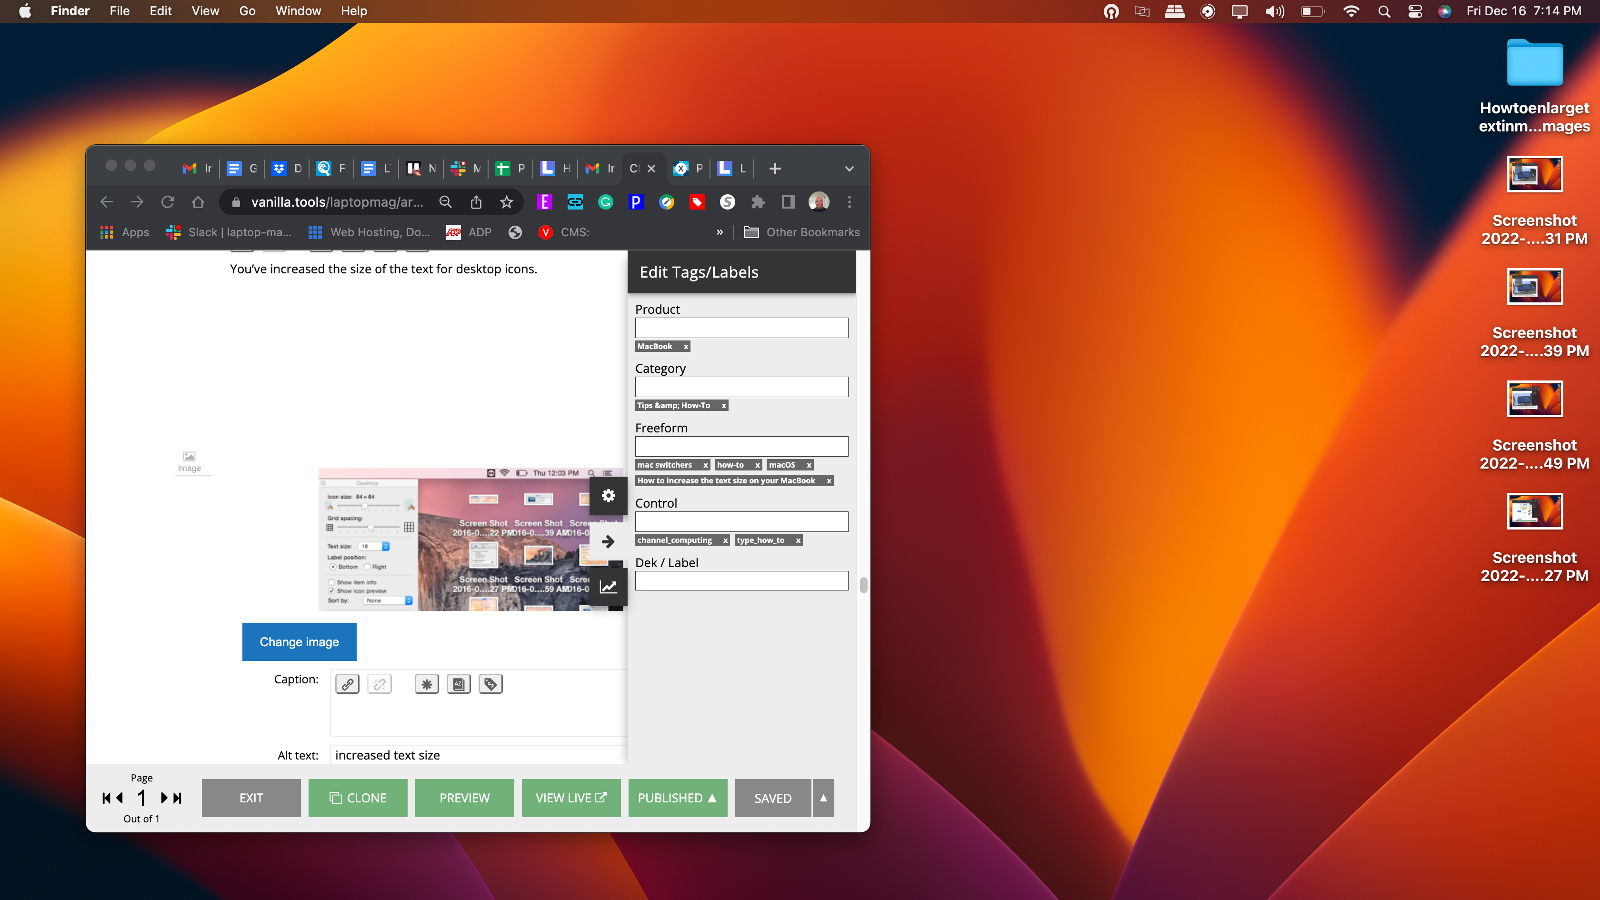
You’ve increased the size of the text for desktop icons.
1 Click the Apple icon in the top left corner.

2. Select System Preferences.

3. Click Appearance.
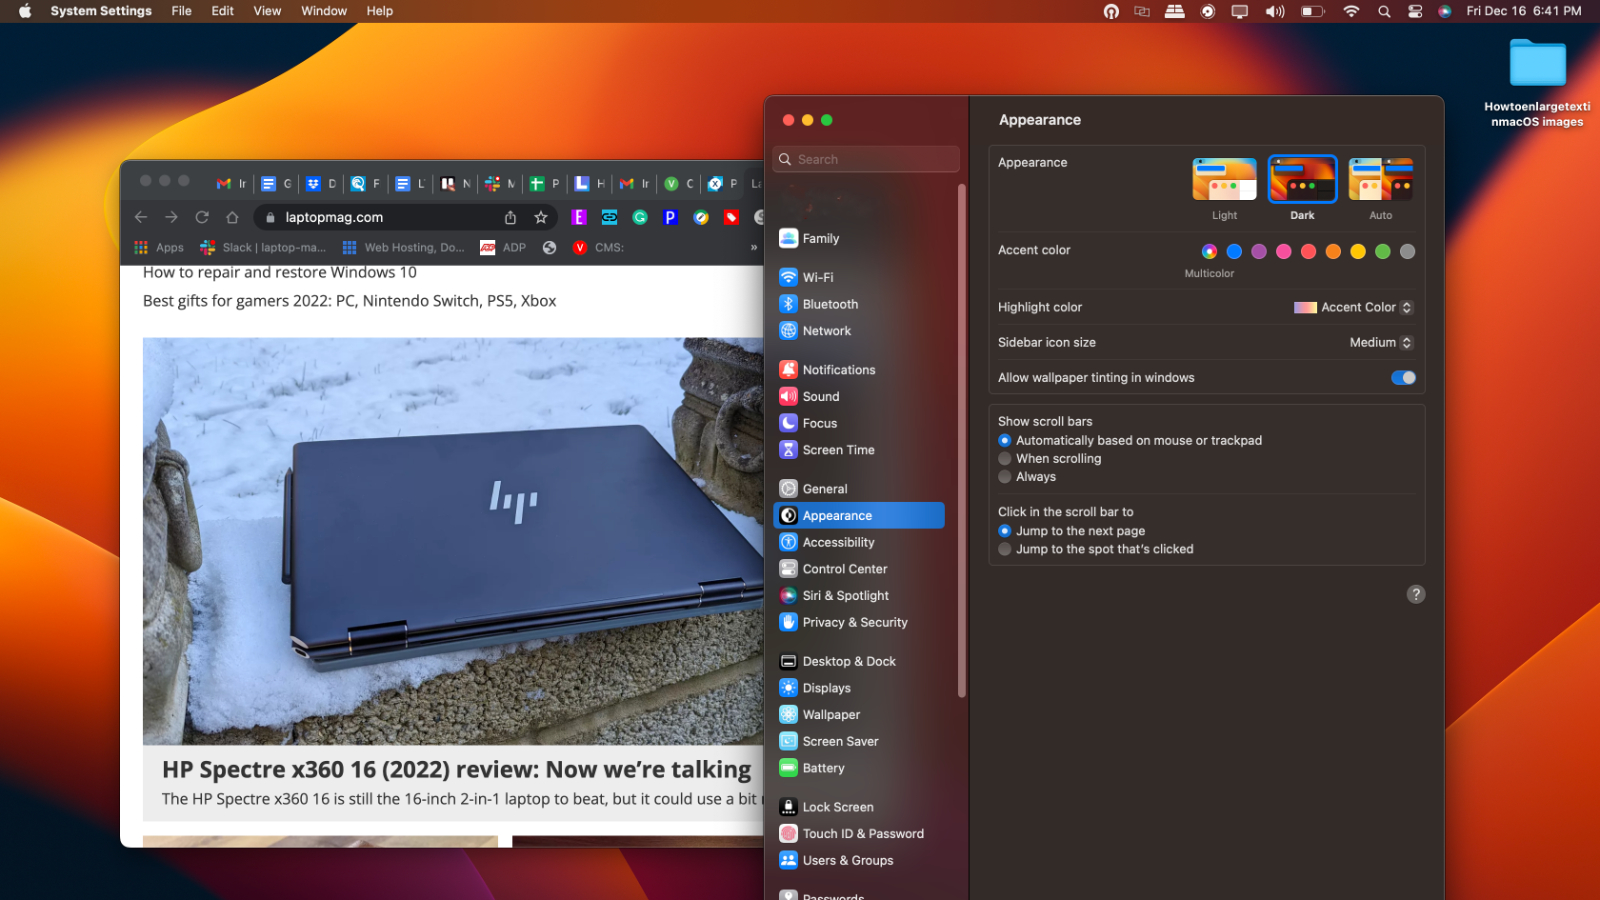
4. Click the field next to Sidebar icon size.

5. Select Large.

You’ve increased the size of the text for icons.

Increase text size in a web browser
1. Click Command and + at the same time until text looks large enough. Unlike the other changes you can make, when you set a website to render at a larger size, that will only effect pages on that domain (ie, all pages at LaptopMag.com will appear larger, but TomsGuide.com pages will stay the same size).


