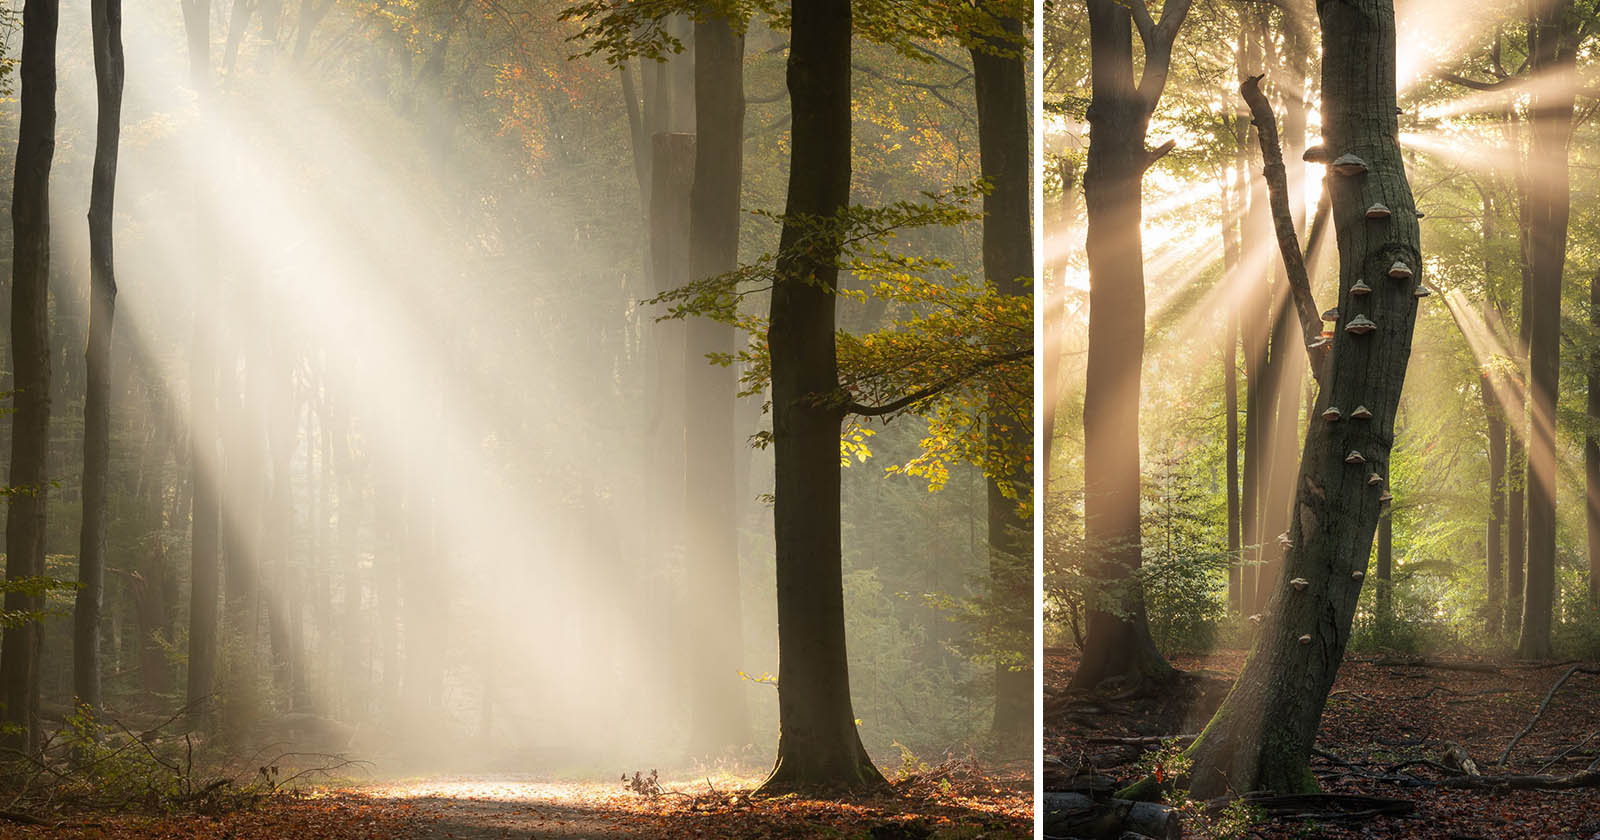
The Speulderforest (“Het Speulderbos” in Dutch) is a beautiful and serene forest, and one of the best ways to capture its natural beauty is through photography. It’s one of the more popular forests when it comes to woodland photography in The Netherlands.
It might be a bit overrated, but since this forest is so close to my home, it has become one of my local patches for woodland photography. I have visited it so many times throughout the years!
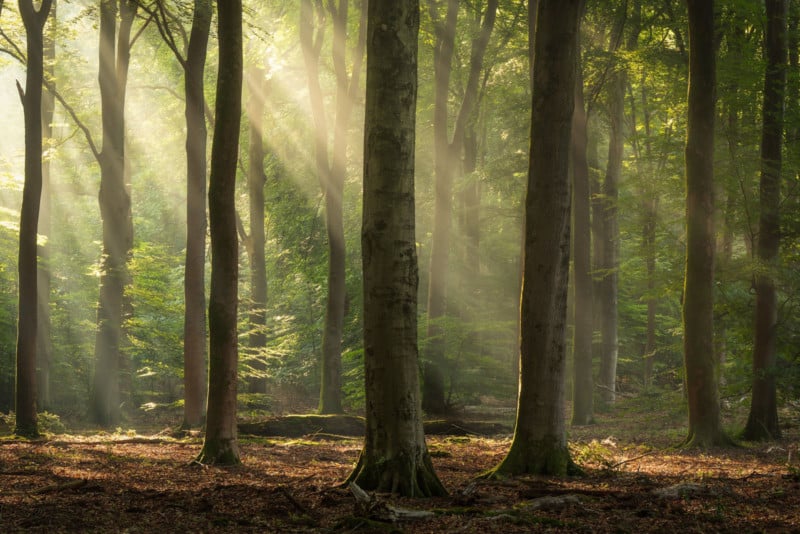
One of the most magical elements of the forest is the way that the sun filters through the canopy, creating gorgeous sun rays that dance across the landscape. Photographing these sun rays can be a bit tricky, but with the right knowledge, technique, and a bit of patience, you can create some truly stunning images.
In this article, I will share my experience of photographing this forest that I gained over the years! However, these tips are applicable to all forests when it comes to photographing sun rays.
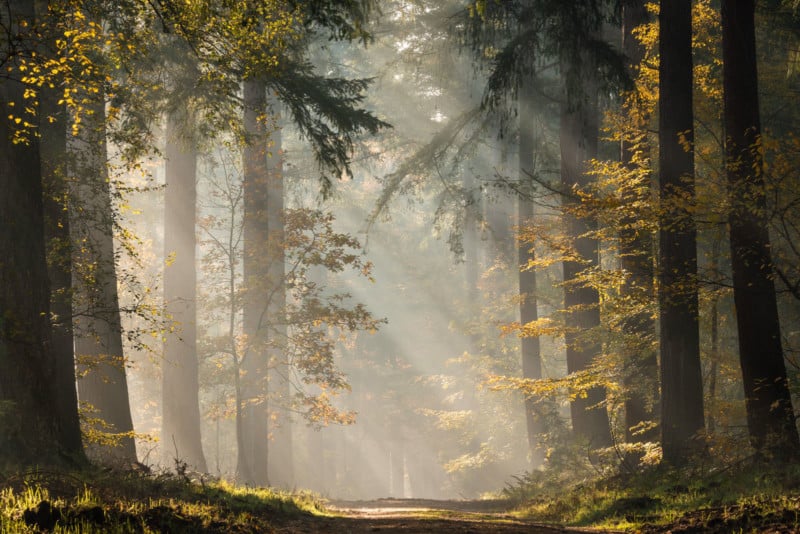
The best lens in my opinion to use when photographing sun rays (or woodlands in general) in the Speulder forest (Speulderbos) is a medium telephoto zoom lens such as a 70-200mm or 100-400mm on a full-frame camera. This type of lens is ideal for capturing the sun rays as they filter through the trees, and it also allows you to zoom in and out to get the perfect composition. A telephoto zoom lens is also a great option for capturing intricate details in the surrounding landscape, which will help to create a sense of depth and context in your images.
Shoot at the Right Time
The first thing you need to do when photographing sun rays in the Speulderforest is to choose the right time of day and year. September is arguably the best month for sun rays because the weather will be transitioning from warm summer to wet and cooler autumn. Autumn and winter have good chances for sun rays as well. Another benefit of those seasons is the reasonable time of sunrise so you don’t have to get out of bed really early! Spring and summer are less interesting because of the simple facts that a) the canopy is dense, leaving no way for light to be filtered through and b) the atmosphere is not able to cool off enough because of the short nights.
The best time of day would be during the early morning (obviously) when the sun is low in the sky and the light is at its most golden. The atmosphere should be humid, which happens mostly after a cold, cloudless night with little to no wind. It doesn’t have to be foggy. About an hour after sunrise, the sun rays will start to appear. This is the time when the sun rays are at their most intense, and they will create the most dramatic shadows and highlights in your images.
Find the Right Spot
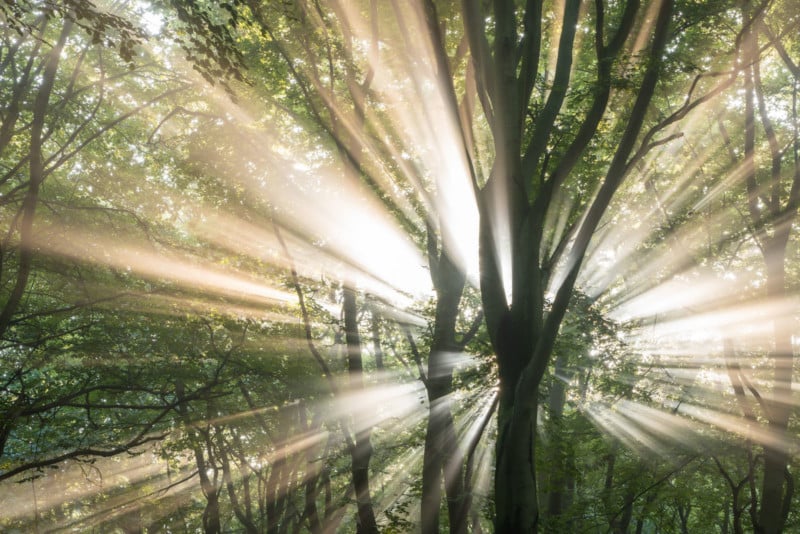
Once you have chosen the right time of day, you need to find the perfect spot to set up your camera. Look for a spot where the sun rays are streaming through the trees and creating a beautiful pattern on the ground. I typically try to find spots like this towards the edges of the forest, ideally on the eastern part of the forest because that’s where the sun rises.
You can also look for areas where the sun rays are illuminating the leaves of the trees, creating a beautiful, ethereal mood to your images. Your best bet to finding those spots is by looking towards the east or south because the leaves should be backlit creating this glow and light.
Use the Right Settings
When you have found the perfect spot, it’s time to set up your camera. You will need to use a low aperture (such as f/14 or f/16 on a full-frame camera) to create a large depth of field, which will keep both the sun rays and the foreground in focus. I try to avoid focus stacking here but I usually take two exposures at different focus points so that I am sure that both the sun rays and the foreground is in focus.
Since the forest can lack light during sunrise, you end up using a slower shutter speed. Using a tripod is therefore recommended to create sharp, crisp images without motion blur.
Spot Interesting Compositions
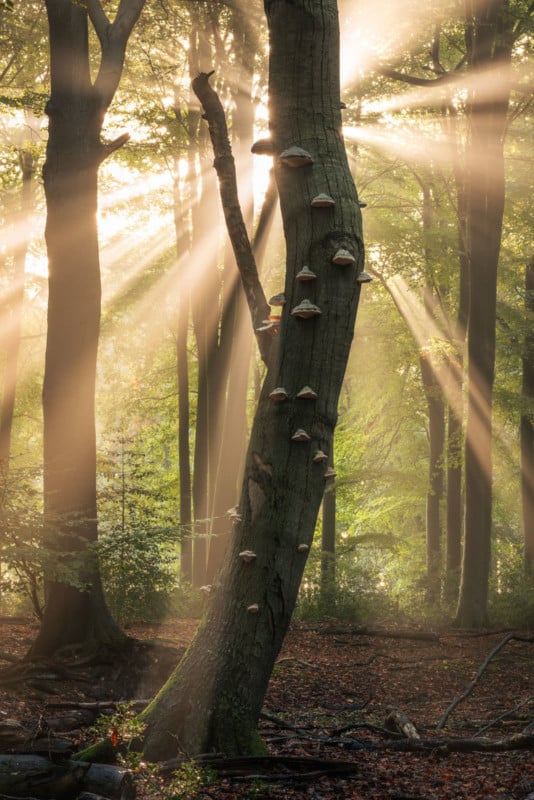
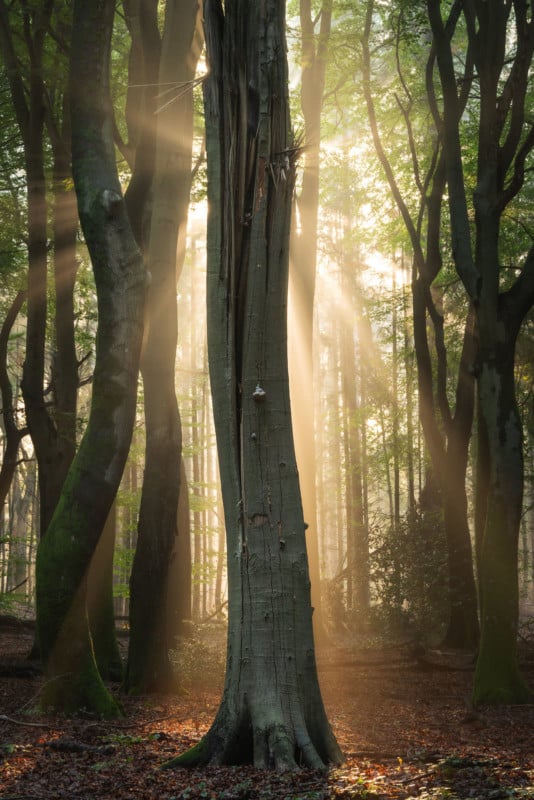
One way of finding interesting compositions is by looking for elements that tell a story. The Speulderforest features many dead trees that are covered with mushrooms, or “elvenbankjes” (Elven trees) as we call them in Dutch. These dead trees are a real eyecatcher, especially when the rising sun is aligned behind them, effectively creating a spotlight. The first one in the photos below shows an example of this. The second one was taken in a neighboring forest but since it was struck by lightning it was the best example of “telling a story” that I could find.
Shooting the Photos
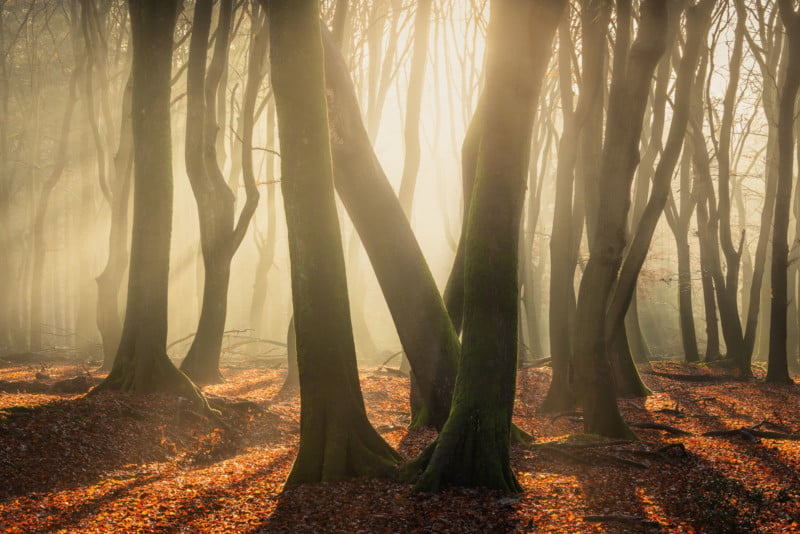
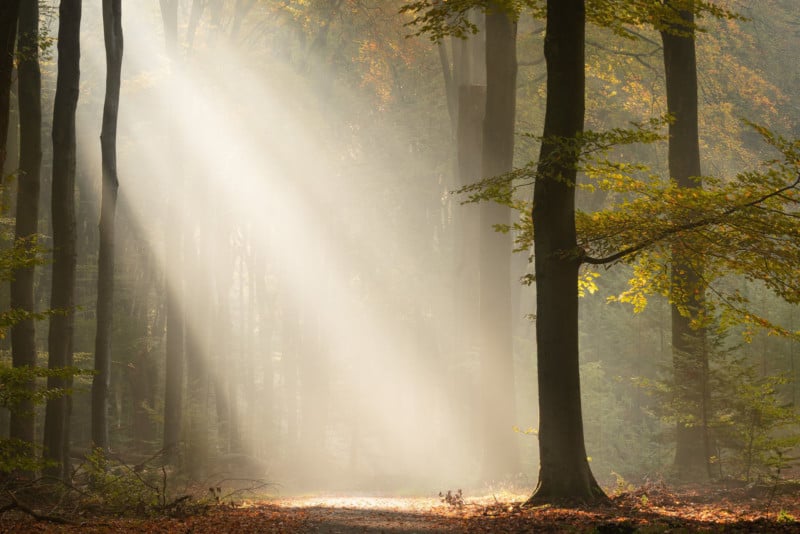
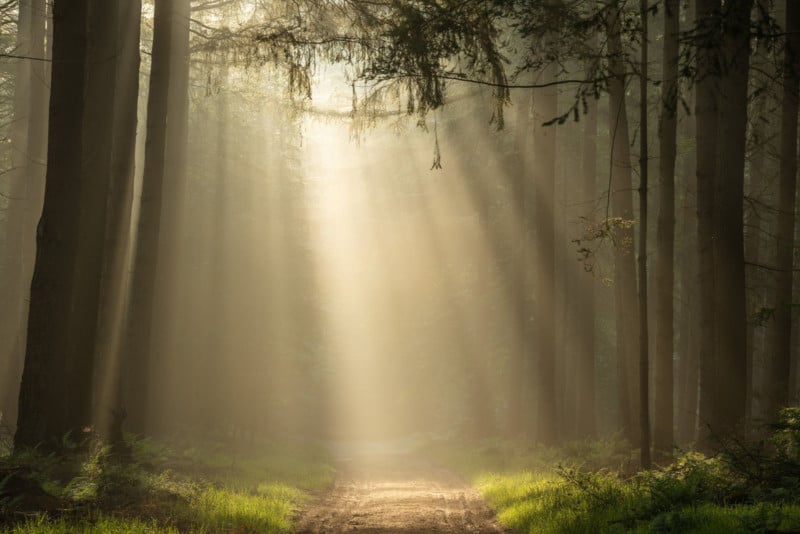
Finally, it’s time to take your photos! Be patient, and take your time to experiment with different angles, compositions, and focal distances. Try different angles to capture the sun rays in different ways, such as shooting from a low angle to focus on the grandeur of the trees, or shooting from a high angle to emphasize the floor of the forest which could be autumn leaves or a forest path.
You can also experiment with different apertures to blur the background and create a sense of depth. However, I personally prefer to have everything in focus and that is one of the reasons why I avoid zooming too much. I usually end up using a focal distance between 70mm and 200mm full frame equivalent (or between ~50mm and ~130mm on an APS-C camera).
Conclusion
Overall, photographing sun rays in the Speulderforest is a challenging and rewarding experience. With the right technique, a bit of patience, and a good eye for composition, you can create some truly stunning images that capture the beauty and serenity of this magical place. So grab your tripod and telephoto zoom lens and head out to a forest near you to capture the beauty of the sun rays!
About the author: Jeroen Schouten is a landscape photographer based in the Netherlands. You can find more of his work on his website and Instagram. You can also buy prints of his photos here. This article was also published here.


