Just about every freelance graphic designer finds invoicing a challenge. It’s a mundane, tedious task that can be time-consuming and tricky. It also doesn’t leave much room for creativity.
But battling with invoices and payment systems doesn’t have to be an ongoing battle.
As a freelancer with sought-after skills, it’s actually surprisingly easy to set up a proper payment system that ensures your clients know what’s expected of them and that you get paid what you’re worth, on time. Yes, it takes a bit of effort and logical thinking to get your system setup. But don’t worry! In our guide, we’ve outlined some steps for you to follow to make creating a fail-proof payment system simple.
Decide on your payment structure and terms
There are a number of ways that a freelancer can get paid. The option or options that you choose for your graphic design business will depend on the type of clients you have and the type of projects they bring you.
The most common option for project-based work is to use a net days set-up. In your payment terms, you tell the client that the invoice is due a set number of days after the date of the invoice. This can be anywhere from 7 days to 90. Other options include terms such as due on receipt where the client must pay immediately and end of the month, where payment is due on the last working day of the month.
At this stage of setting up your payment system, you also need to decide when or how you’re going to invoice. Will you only ask for payment after a project is completed? Or will you ask for a deposit upfront and then the balance on completion?
Create a method for tracking invoices and payments received
One of the most vital elements for any business—from freelancers who work from home to massive corporations—is knowing what invoices have been sent out and when payment is due. If you don’t have a tracking system, then you won’t be able to tell which invoices have been paid and which ones are still outstanding.
Each invoice you create should have a unique number or code assigned to it. If you aren’t sending out a lot of invoices each month or have too wide a range of clients, then you can stick to a simple numerical system. Start with 001 for your first invoice and keep counting up on each subsequent invoice.
If you have a lot of different clients or are sending out upwards of 15 invoices a month, you might want to consider going for an alpha-numerical system. You can use a code that’s specific to each client and an overall numerical sequence to make it easier to track invoices.
Select your payment options
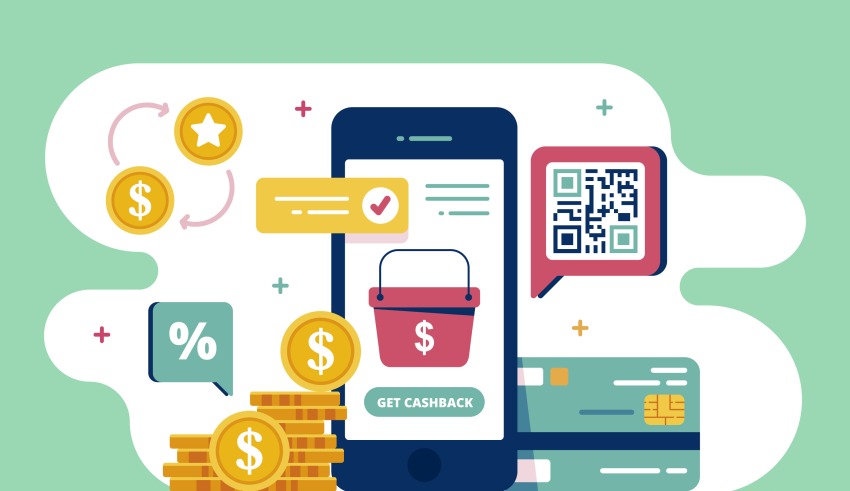
In this day and age, it’s incredibly important to have multiple payment options. This will make your clients far more comfortable because you’re considering their convenience. Plus, if payment is easy and convenient, they’re more likely to pay you on time.
There are so many options available for payment these days. Direct debit, credit card, PayPal, Apple Pay, and Venmo are just a few of the common options, but you can also include a QR code or other similar payment gateway.
However, you don’t need to set up accounts with every single payment option. If you aren’t sure which to pick, do a survey of your clients and see who would prefer what. Then, select a few to provide variety and make sure you clearly include all the available options on your invoice.
Choose and set up your invoice template
Now it’s finally time to set up your actual invoice. See, the invoice is actually only one part of the billing system—an important part, but still just a part.
The best way to look professional as a freelancer is to have a clear invoice template that you use again and again for all of your clients. This creates a level of consistency that your clients will come to expect and it will make it easier for them when it comes to making payments.
There are plenty of options available and you can easily download free printable invoice templates that you can customize accordingly. Once you’ve found a template that you like, make sure that you personalize it to your branding. This is where you can use your skills as a graphic designer to showcase your talents, even though you’re creating a financial document. Just ensure that whatever design elements you include don’t interfere with the clarity of the invoicing information.
Create a schedule for invoicing and following up
The last step for your payment and billing system is to build a schedule. You need to make time for invoicing and for following up on invoices that haven’t been paid. If you don’t, it’s too easy to get way behind on your invoicing, which can lead to forgetting about invoicing clients for work done or not noticing when an invoice hasn’t been paid for months.
Depending on how many clients you have and what kind of projects you do, you need to set up time at regular intervals to draw up your invoices and send them out. This could be once a week where you take an hour to create invoices for all the projects that you’ve completed during that time. Alternatively, it could be once a month, or it may be a mix of the two.
Next, you need to have times when you double-check your invoice tracking sheet and compare it to incoming payments from clients. If you do this at least once a month, you’ll easily see if there are any invoices outstanding and you can follow them up timeously.
Give yourself the best chance of succeeding as a freelance graphic designer
If you want your freelance business to succeed, you need to stay on top of your invoicing and your payments. It doesn’t matter how good you are at graphic design or how many business connections you make, you won’t be able to operate properly without a solid payment system. Make time for setting this up and you’ll see your business flourish.
Meta Title: Payment System Tips For Freelance Graphic Designers | ReviewsXP
Meta Description: Setting up a proper, reliable payment system for your freelance graphic design business can be easy. Follow these steps to ensure you manage your finances.


