“How to screenshot on Chromebook” is one of the most common search queries Chrome OS devices — and for a good reason. Users who are accustomed to Windows typically reach for the Print Screen key, but on Chromebooks, the keyboard layout is unfamiliar, and as a result, taking screenshots is a different process.
Don’t worry, though. Taking screenshots on Chromebooks is just as easy as it is on Windows, Macs and other operating systems. We will dive into a number of different ways you can snatch still images from your Chromebook’s screen.
How to take a screenshot on a Chromebook
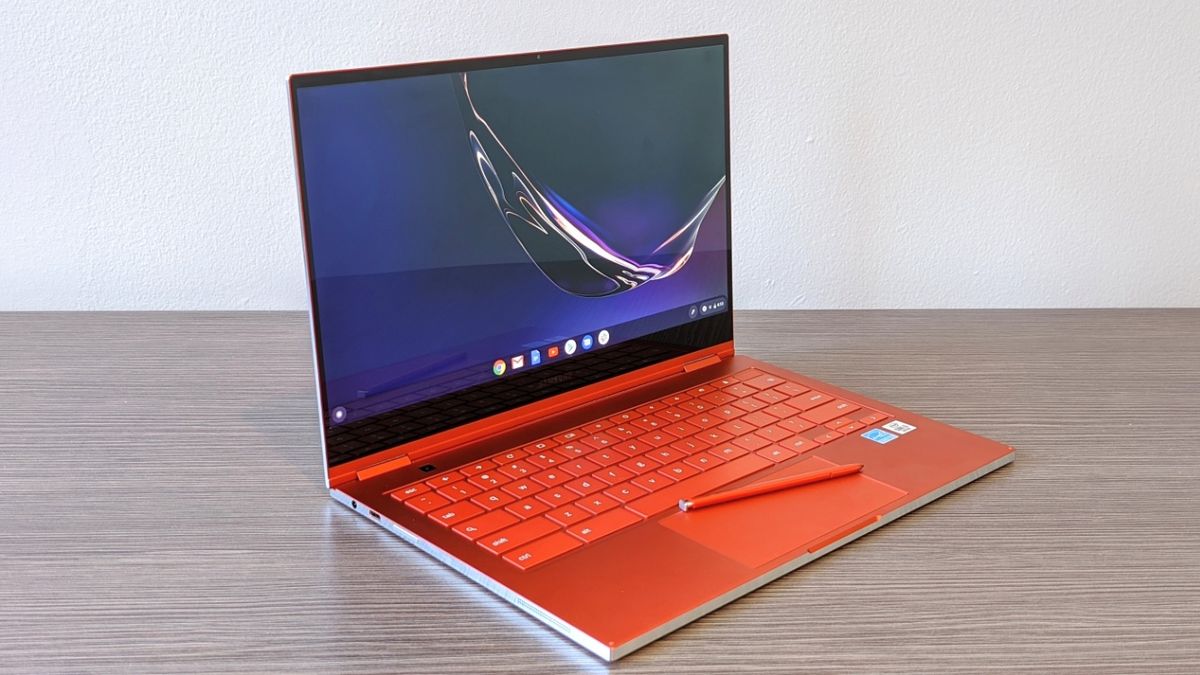
The quickest way to take a screenshot on a Chromebook is to use a keyboard shortcut: CTRL + Show Windows. If you don’t know where the Show Windows key is located, it’s positioned on the top row. The Show Windows icon consists of a rectangle and two vertical lines. Check out the image below to help you locate the Show Windows key on your Chromebook.
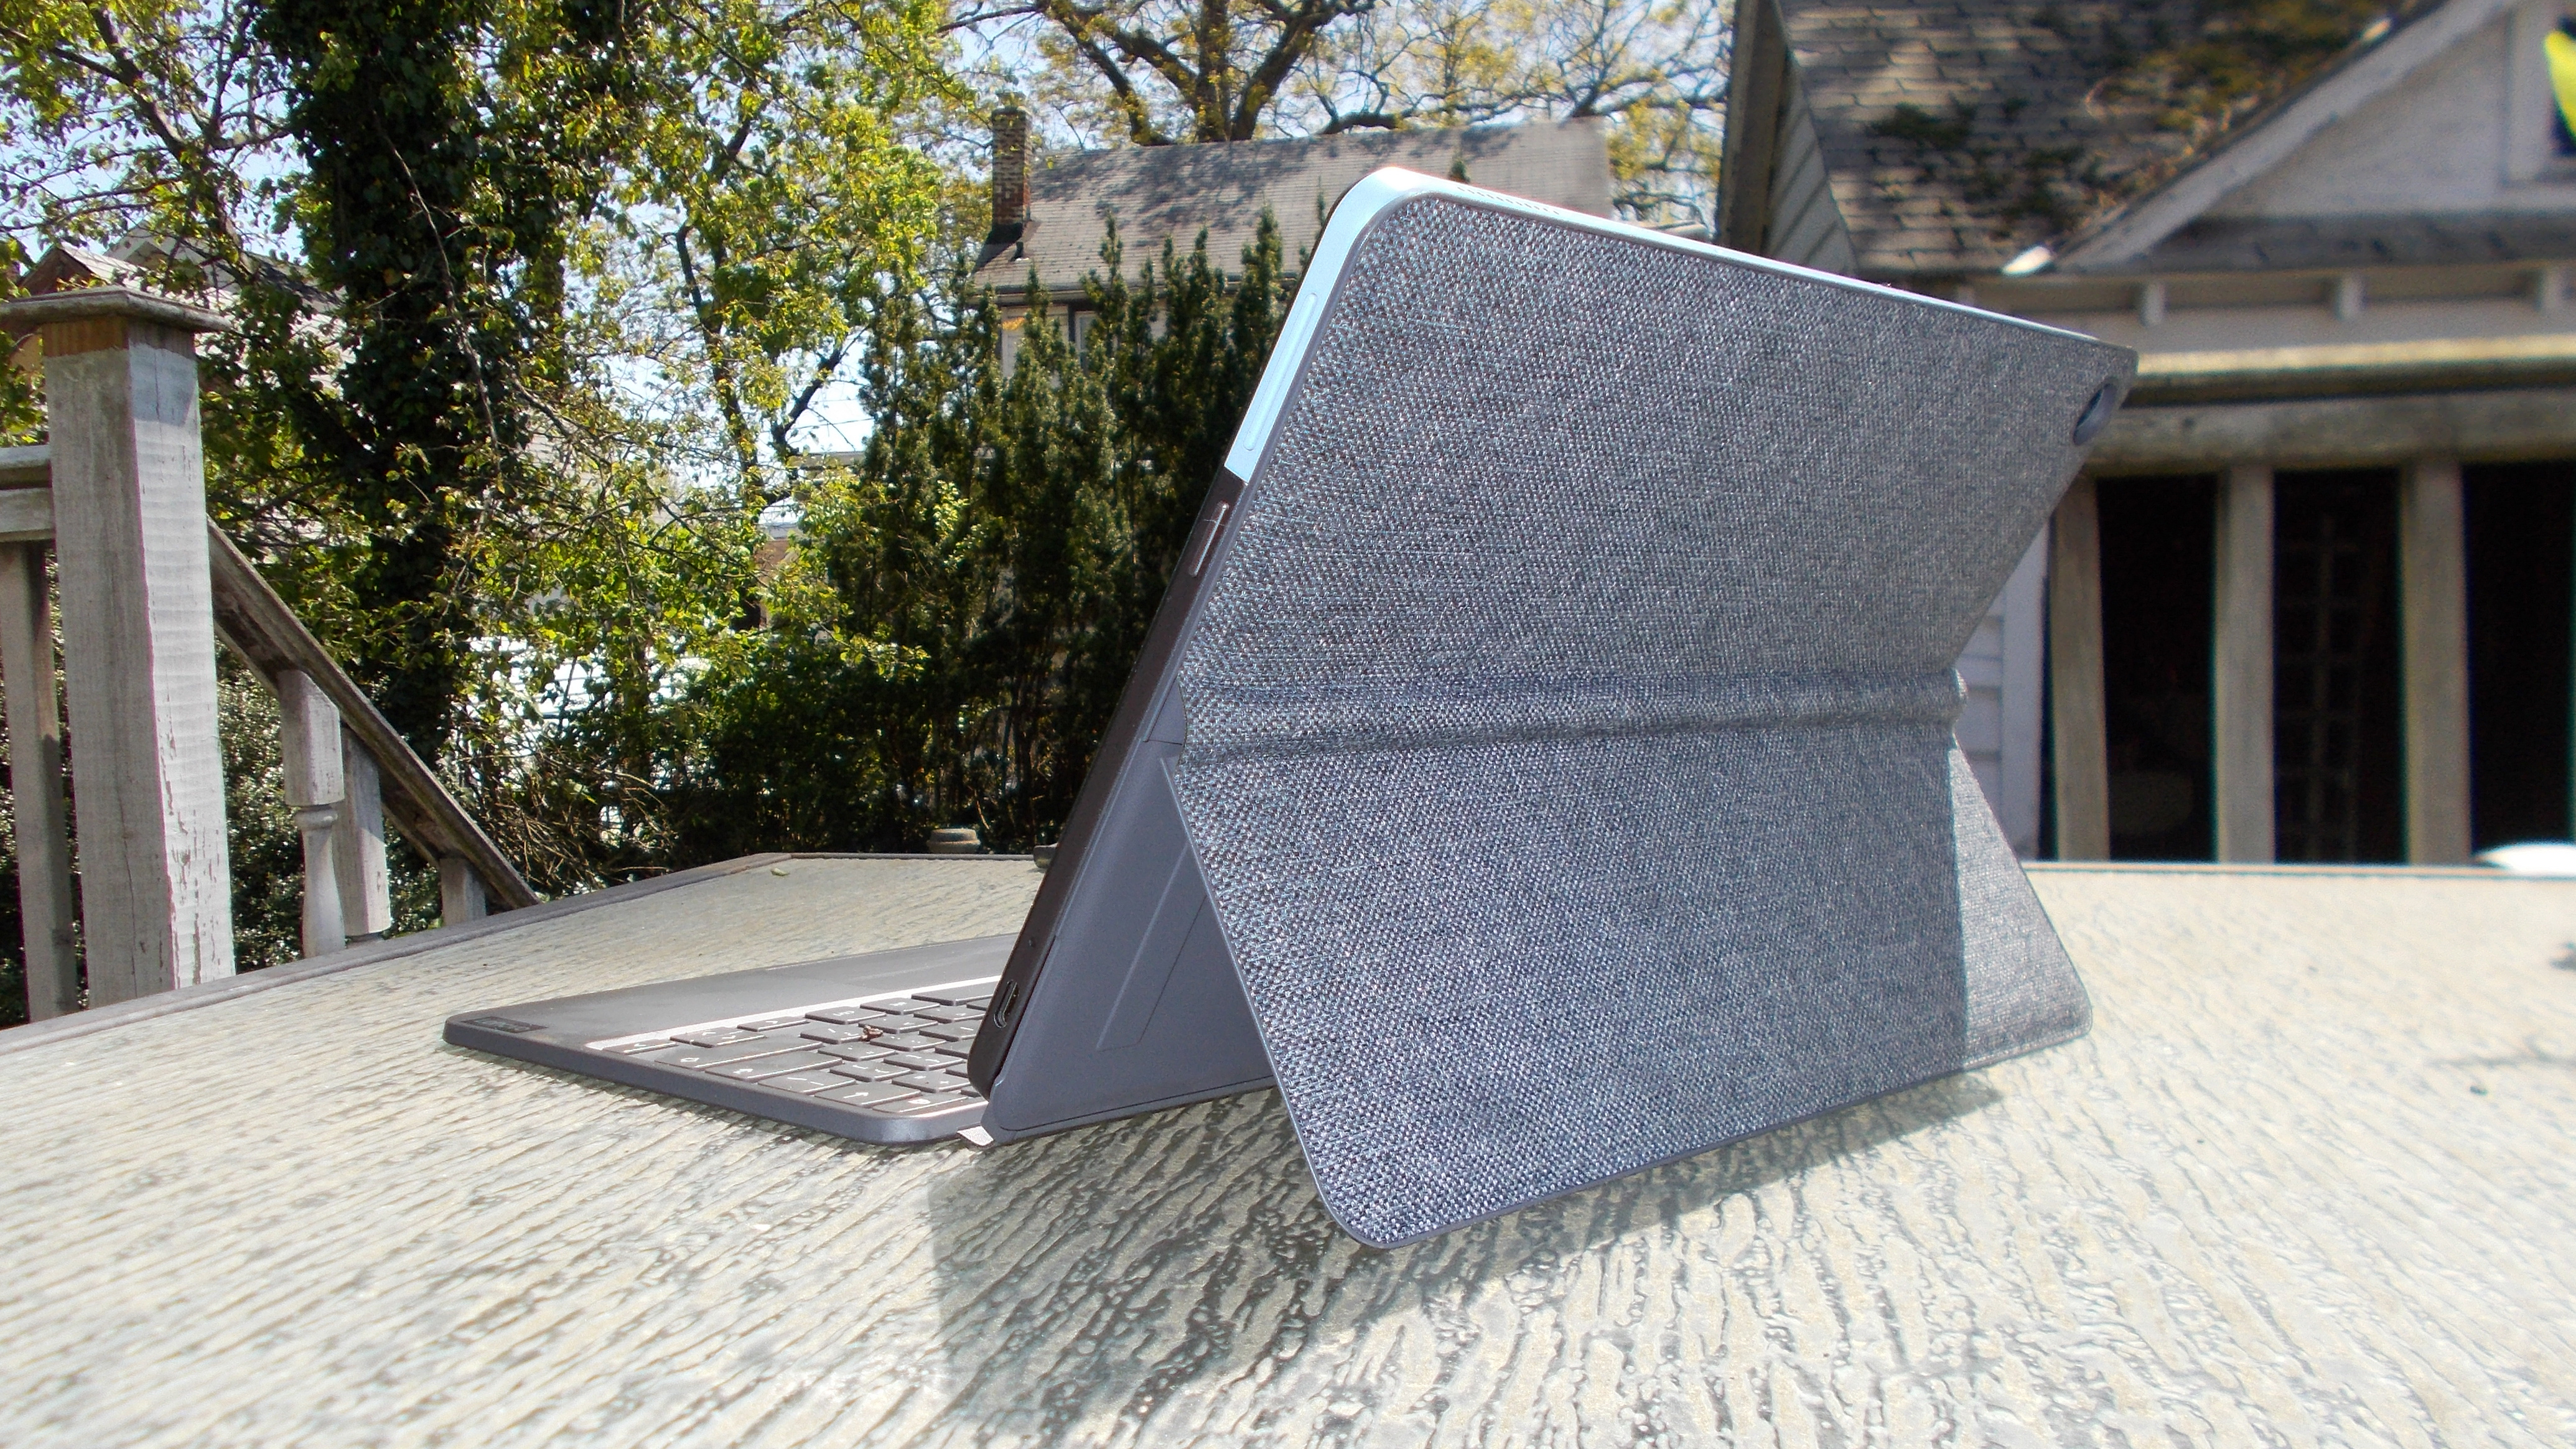
If you have a Chromebook tablet (e.g. Lenovo Chromebook Duet), or a 2-in-1 Chromebook that can transform into tablet mode (Acer Chromebook Spin 713), you can take a screenshot by holding down the power button and volume down button simultaneously.
If you have a Chromebook that’s compatible with styli, you may have another way to capture screenshots via the Stylus Tools menu.
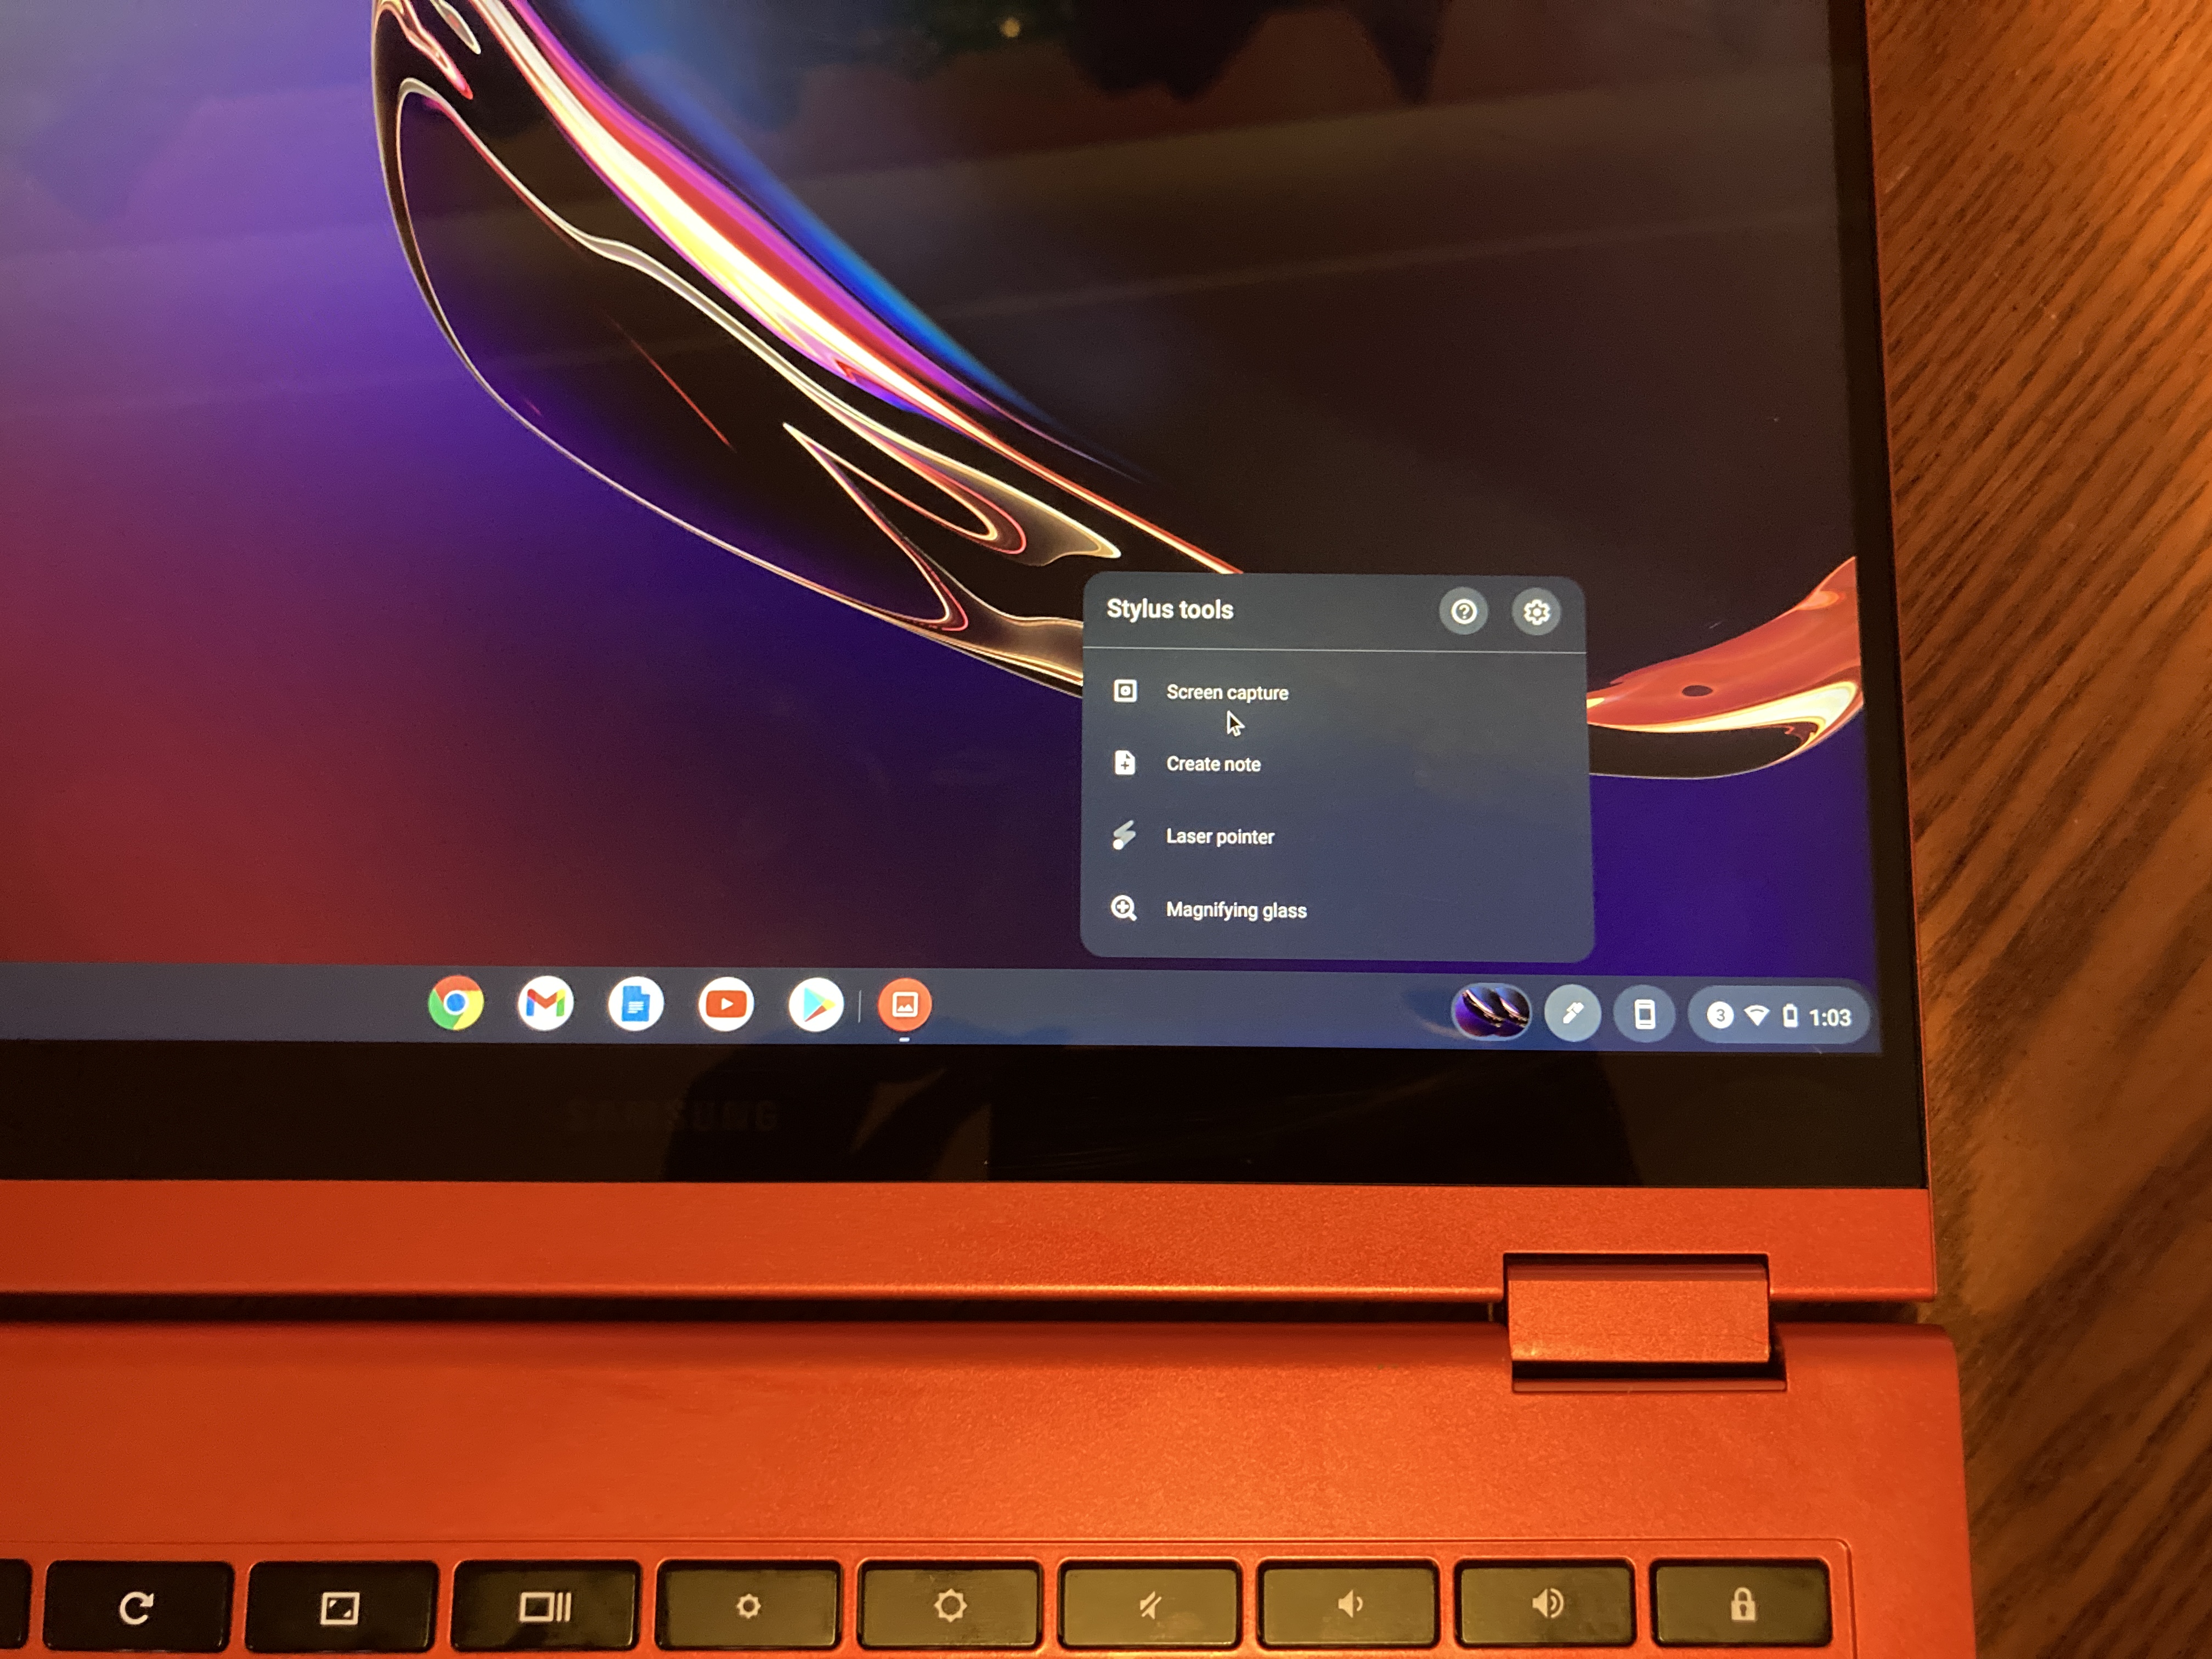
Click on the pen icon located on the far-right side of the home task bar (it should be next to the WiFi and battery status indicators).
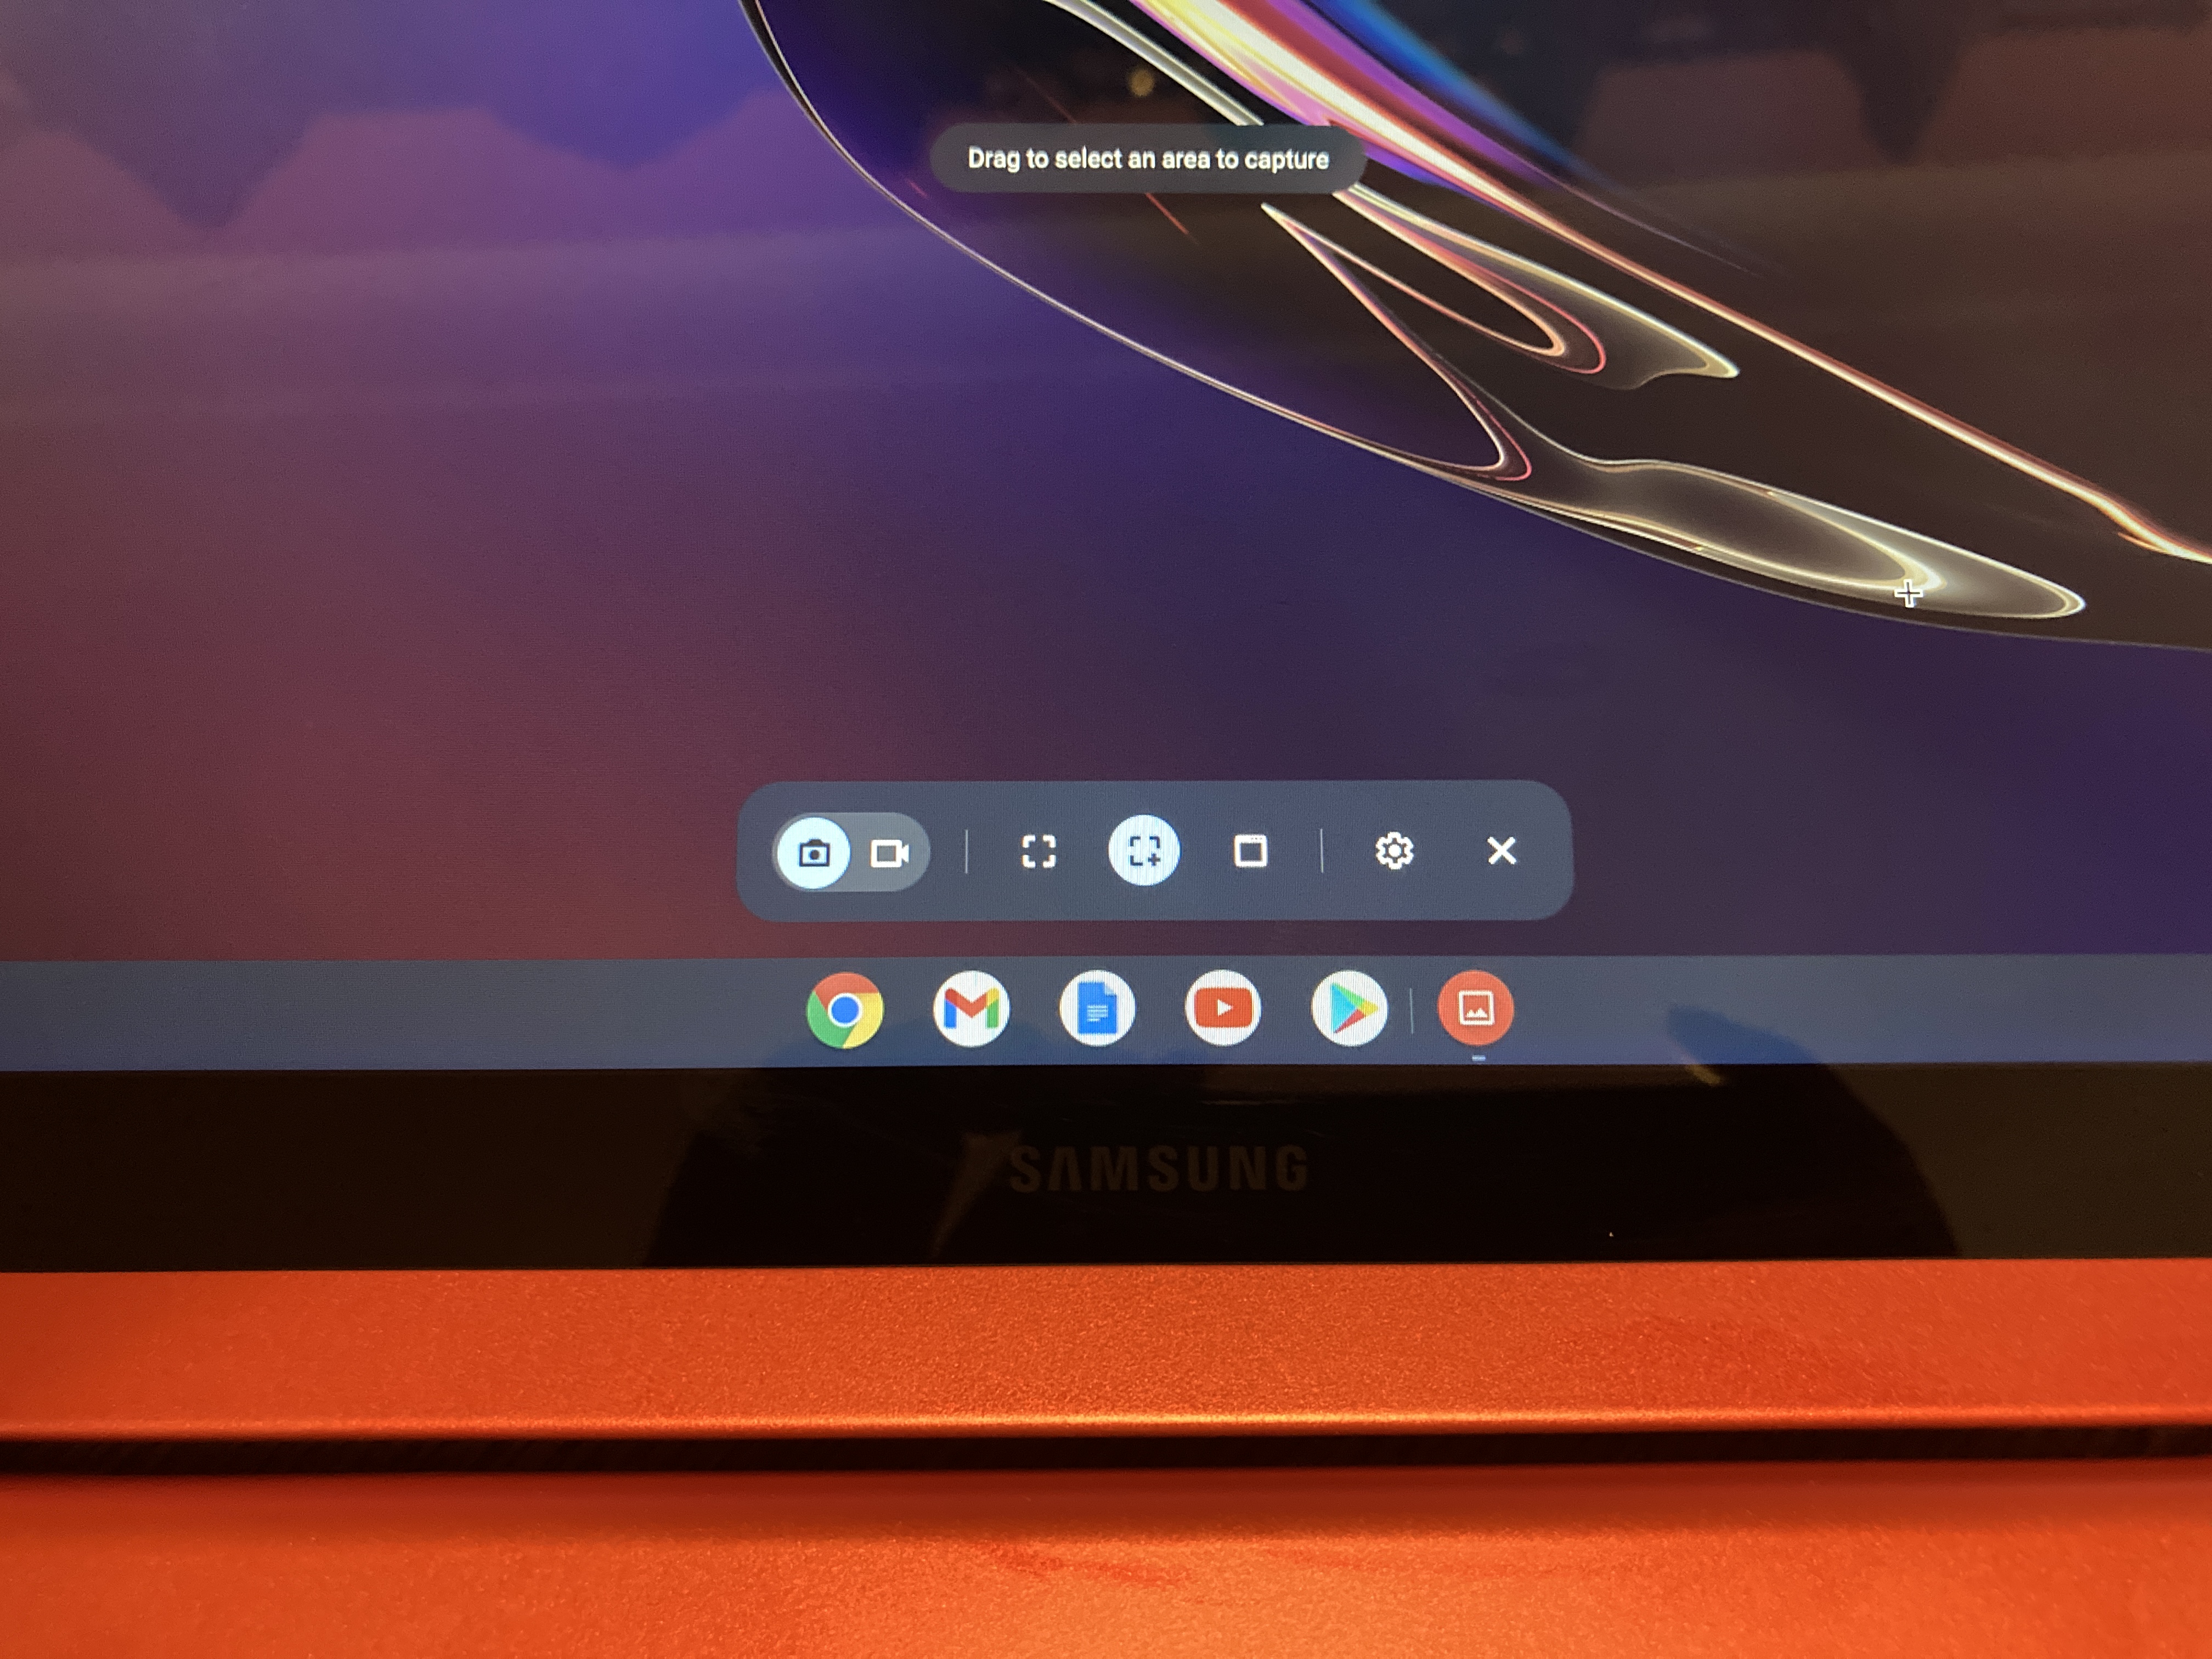
Click on the first dashed rectangle to capture the entire screen.
Where are Chromebook screenshots saved?
The screenshots you took should be pinned to your home taskbar. If not, you can retrieve them by clicking on the launcher located on the far left of the taskbar (it’s a white dot).
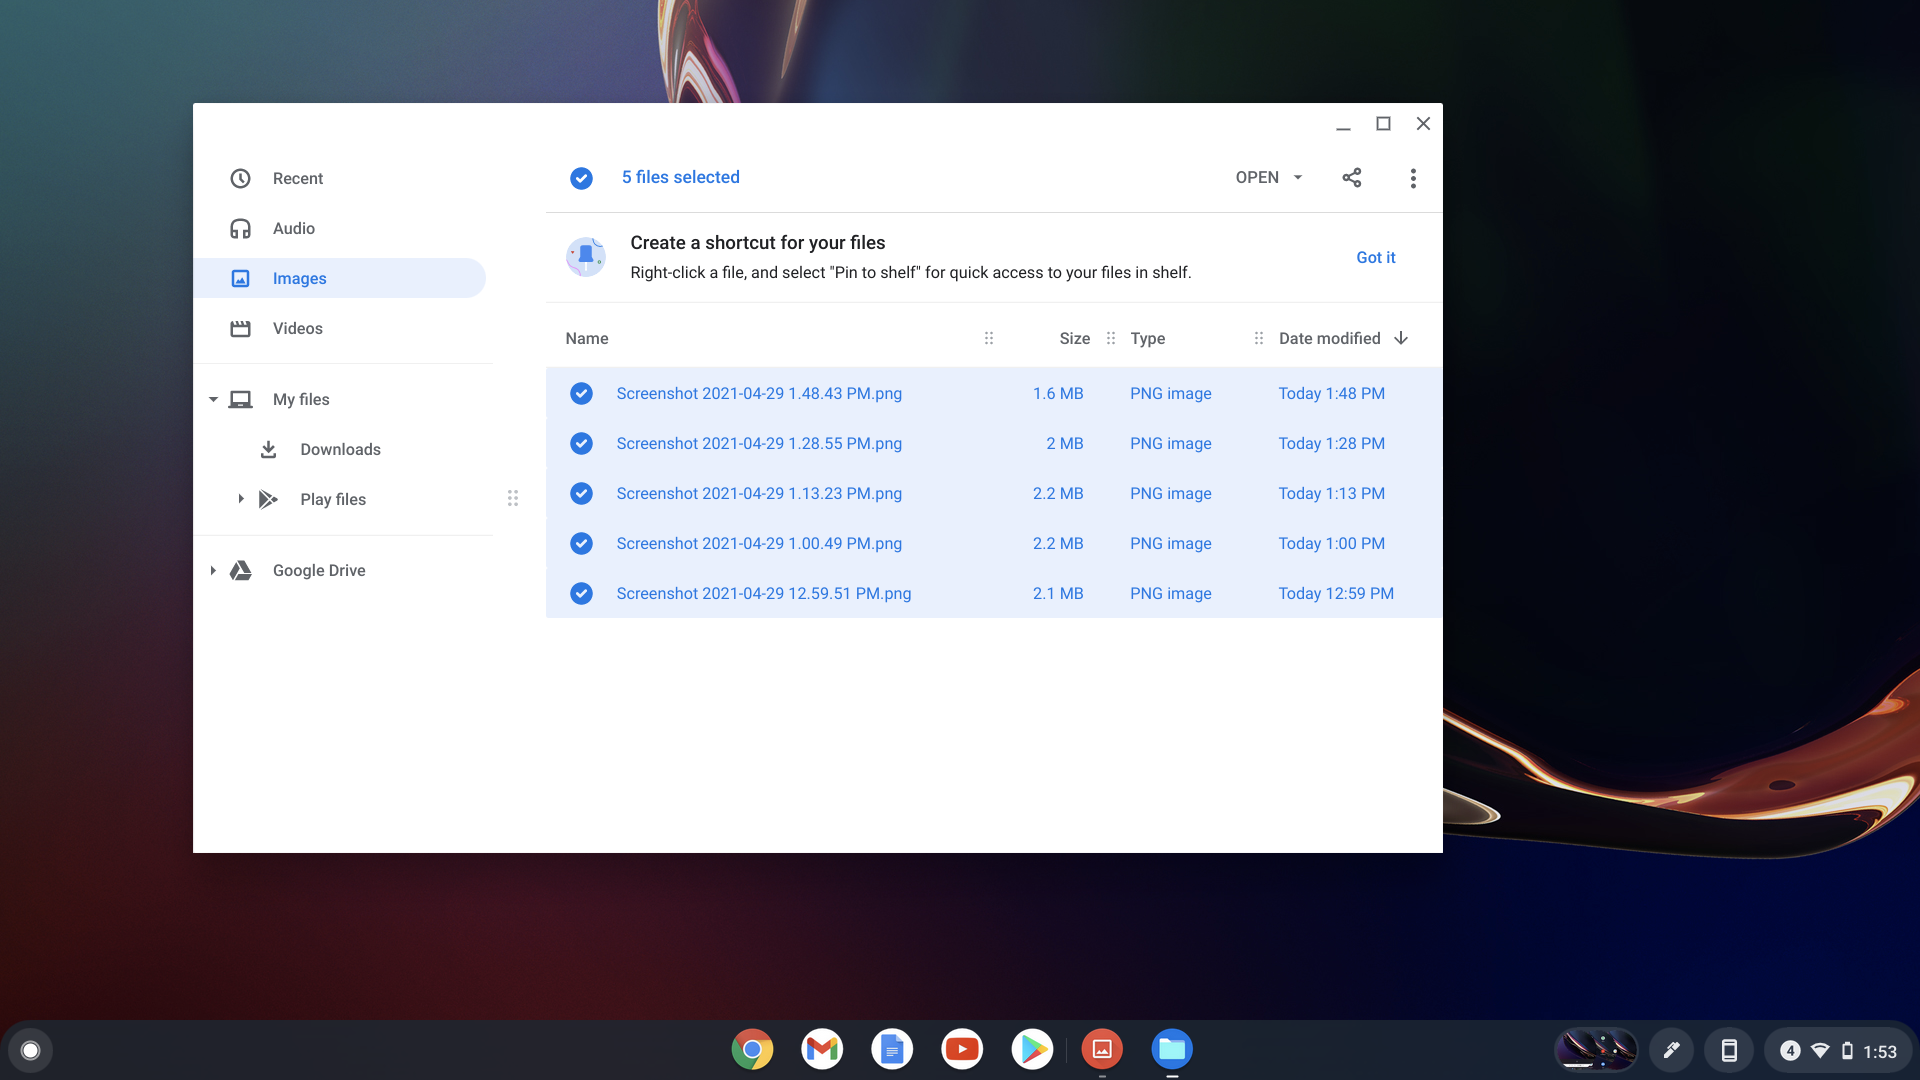
Next, click on the upward arrow and open “Files.” Click on “Images” and you’ll find all of your screenshots. You can move them to Google Photos, Google Drive, and other platforms by selecting all (CTRL + A), right-clicking (touchpad press + ALT), and selecting your desired destination.

