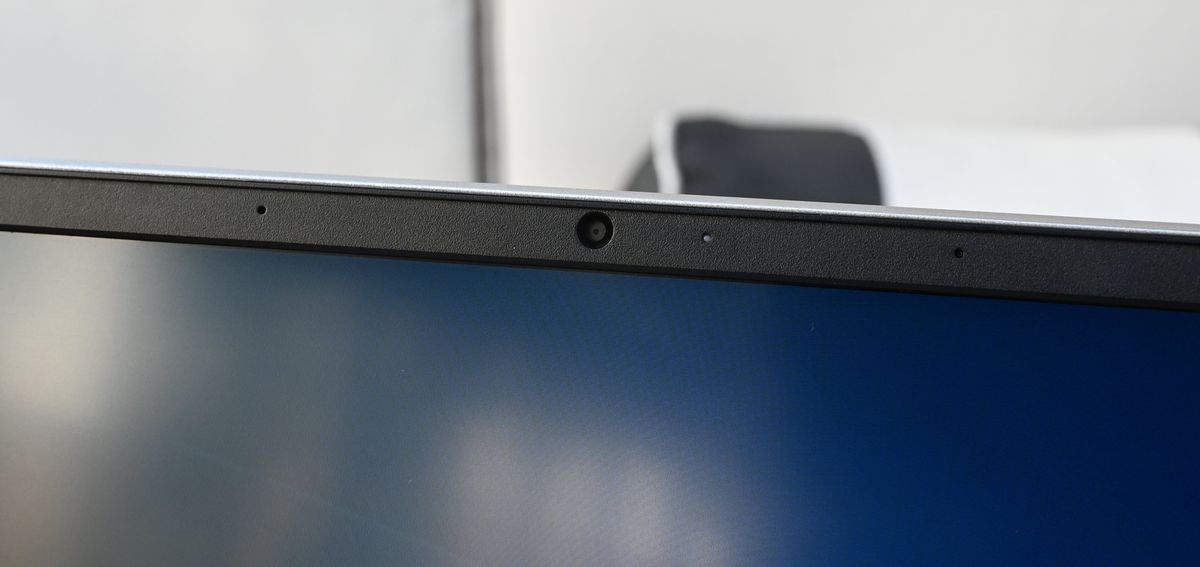
With one of a half-dozen free programs, you can use your laptop to monitor your living space through its built-in camera. Most programs are free but simplistic. For advanced functionality, you can pay for additional features from the likes of Yawcam (what we’re using today), iSpy, SecuritySpy, and others.
I chose Yawcam because it seemed to offer quite a bit of functionality for free. But, if you’re looking for more, such as FTP-upload, you can always fork over a few bucks for the premium version.
How to turn your laptop into a home security system
Before we begin, there’s some setup we’ll have to do to our laptop’s power saver settings. This keeps the laptop webcam from shutting off and provides an always-on interface to monitor our home environment. We’re going to save power still by dimming our screen until it goes dark, and only waking the webcam with motion — one of Yawcam’s settings.
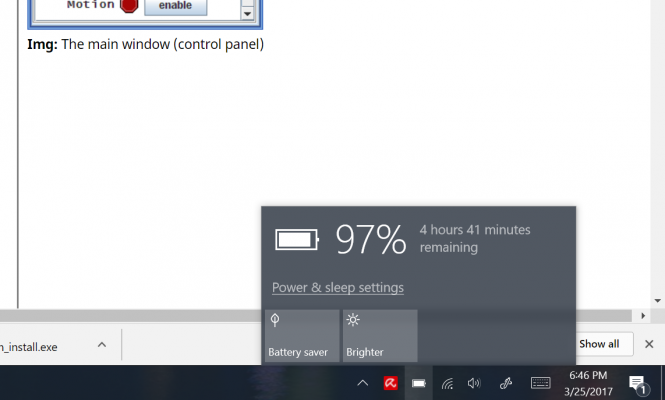
1. Click the battery icon in the bottom right corner of your screen to bring up the power saver menu.
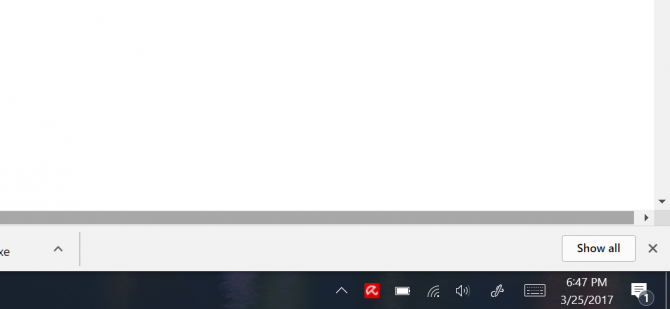
2. Click Power & sleep settings.
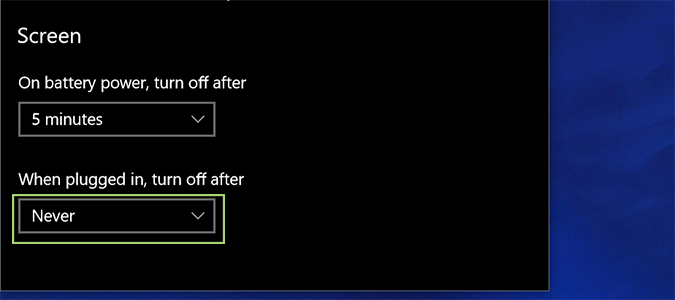
3. Choose Never from the dropdown that controls power while plugged in.
Setup
From here, we can start setting up the software and testing our home security camera.
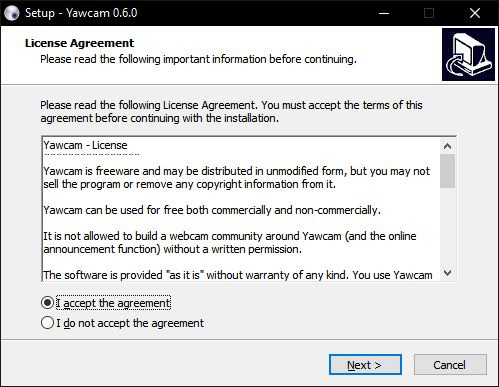
1. Download Yawcam and install the program.
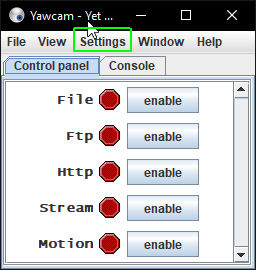
2. From the Yawcam console, choose the Settings tab.
3. Navigate to Device > Change to and select integrated camera.
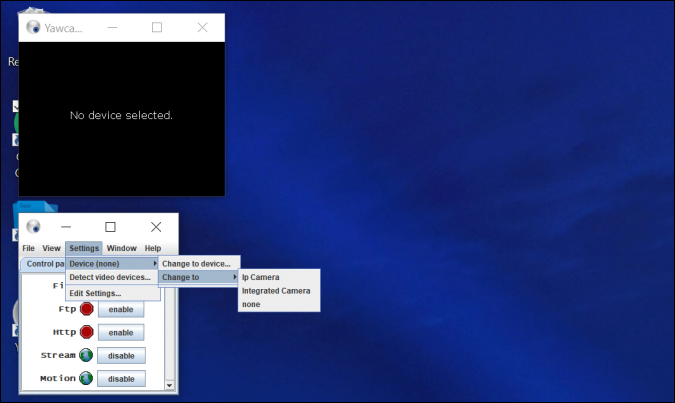
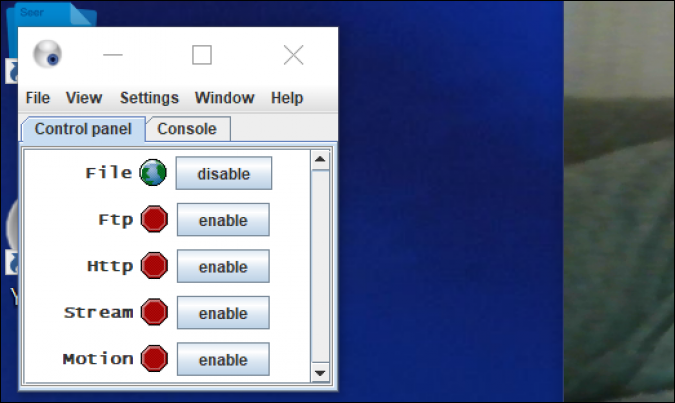
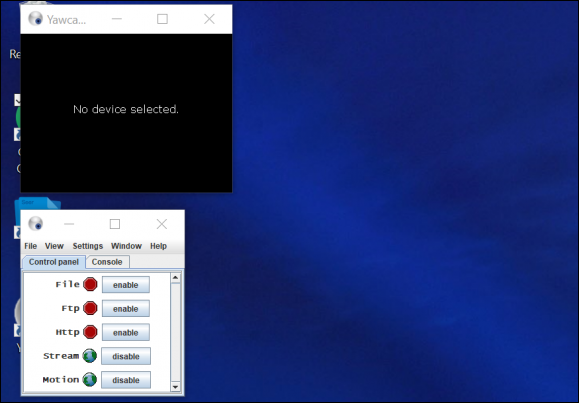
4. Choose how you’d like to output the imagery whether File (saved to location), FTP (uploaded to server), HTTP (uploaded to web), or Stream. I chose File for testing purposes.
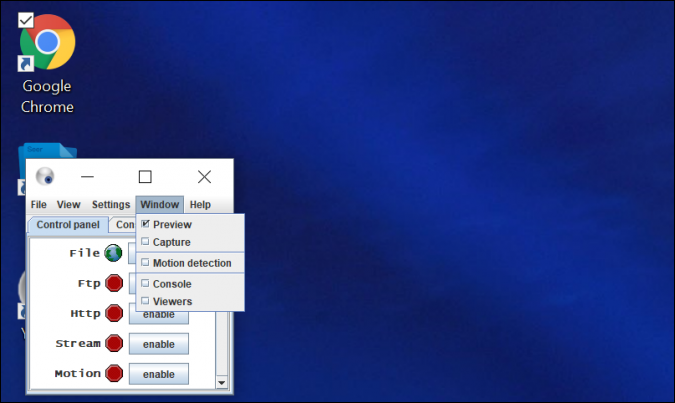
5. From the Window tab, select Motion detection.
6. Go to the Actions tab and click Settings next to Save video.
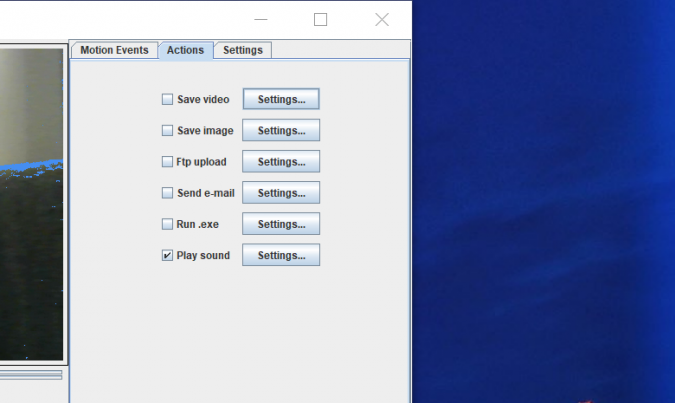
7. Choose a file location to store your images in, and click OK.
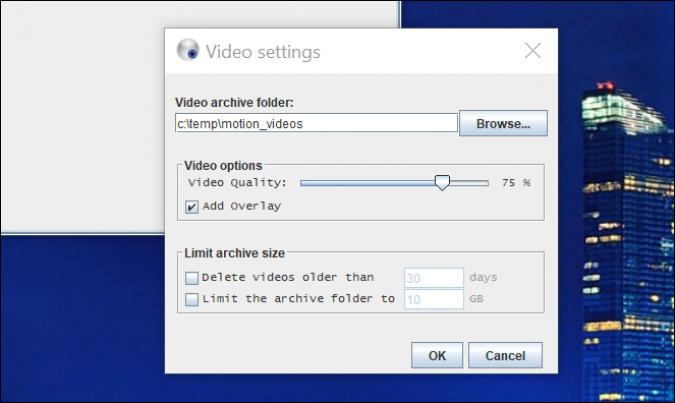
8. Check the box next to Save image and then close the window.
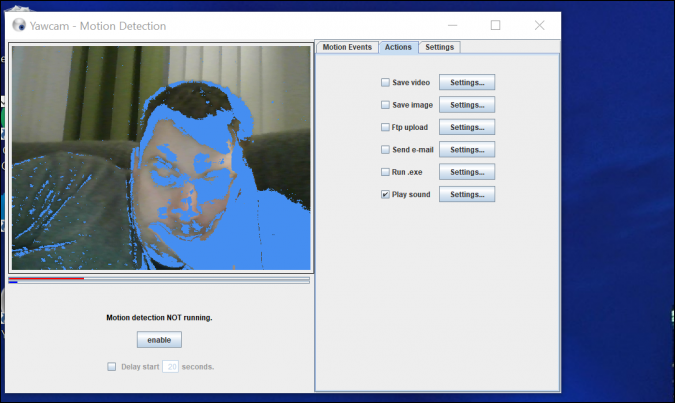
9. From the Yawcam console, select enable next to Motion.
