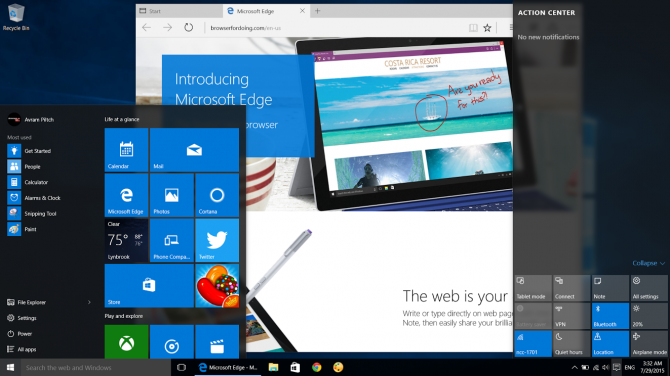
Windows 10 is the best (even in 2022) PC operating system yet, with a powerful new Start menu, a UI that switches between and touch and mouse-friendly modes, the Cortana digital assistant and a host of other improvements. If you’re already running a legitimate copy of Windows 7 or 8, you can upgrade for free. Running an OS upgrade takes a little time but not much effort or expertise — when you’re done, you’ll have the most powerful Windows yet (still better than Windows 11), with all your programs, settings and data still in place. Here’s how to upgrade to Windows 10 for free.
Windows 10 should install without a hitch, but driver problems are a possibility and, during any system update, there’s always a chance something will go wrong. Before you begin the process, make sure you have all of your data files backed up, preferably to a cloud service such as Microsoft’s own One Drive (opens in new tab), where you can download them again if your computer crashes. If you don’t have a system restore disk already, it’s a good idea to make a full system backup using disk imaging software such as Macrium Reflect, which makes a bit-by-bit copy of your hard drive.
Finally, make sure you have 1 to 2 hours free to run the install. Though you can walk away for large portions of the process, you can expect all the downloading and file copying to take at least 60 minutes and, in our case, closer to two hours on a fast Internet connection. If you have slow or inconsistent Internet, you should go to some place that has a strong connection and follow the instructions for creating a USB install disk you can use at home.
How to Upgrade Via Direct Download
1. Navigate to https://www.microsoft.com/en-us/software-download/windows10 (opens in new tab)
2. Click the “Download Tool now” button
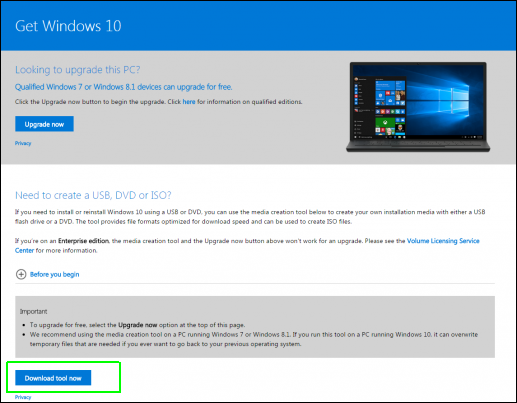
3. Launch the Download Tool.
4. Click Select Upgrade this PC Now if you are just installing on this computer and want to do so right away. However, if you want to create your own USB or DVD media, see the section below on “How to Create Windows 8 Install Media.” Though it requires a few extra steps and a blank Flash drive or disc, creating your own install media allows you to not only install on multiple computers, but also reinstall on your current computer if something goes wrong.
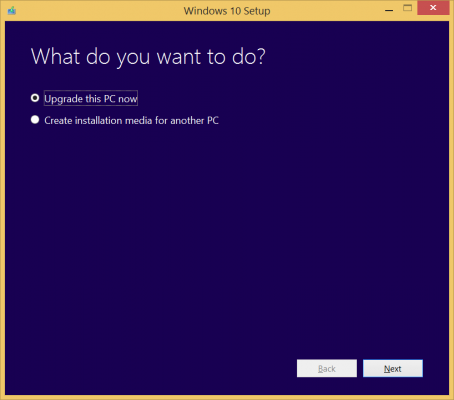
The tool will take a while to download the software so be patient, particularly if you have a slow Internet connection. After it downloads, the software also goes through a preparation process and downloads some more files, all of which takes time, perhaps as long as an hour even on a high-speed connection.
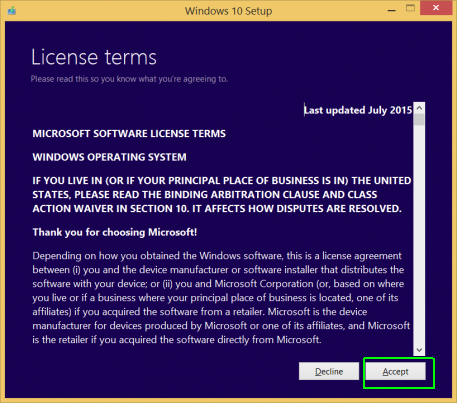
5. Click Accept on the license terms screen. Wait again as the software checks for updates. You may want to walk away, as this also takes several minutes.
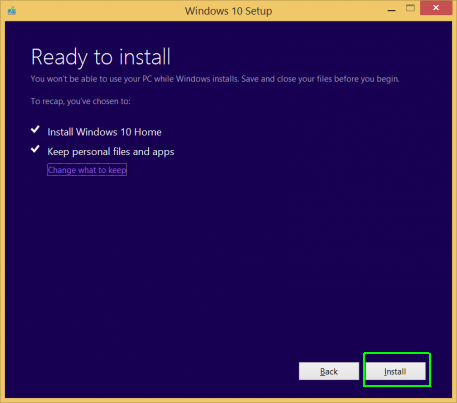
6. If you’re upgrading from Windows 7 make sure to select “keep personal files and app” or the upgrade won’t work. Then Click the Install button. Wait 20 to 30 minutes for the computer to copy files. It will reboot several times.
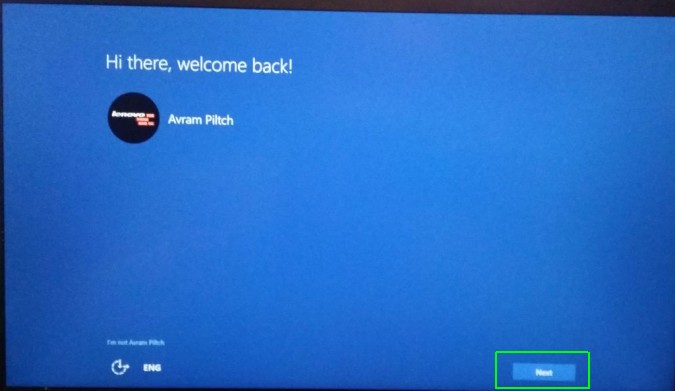
7. Click Next at the login screen.
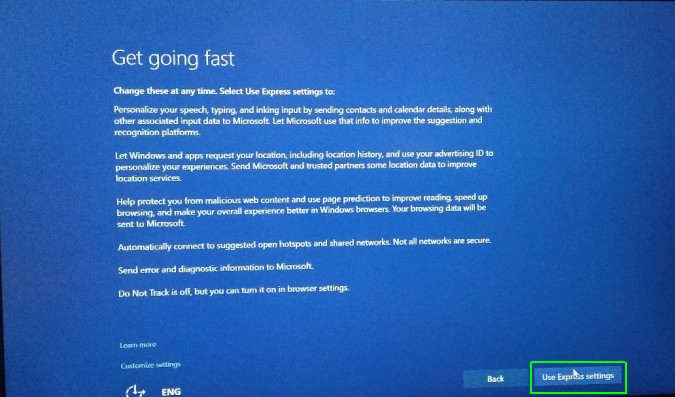
8. Click Use Express settings. You can always change some settings later.
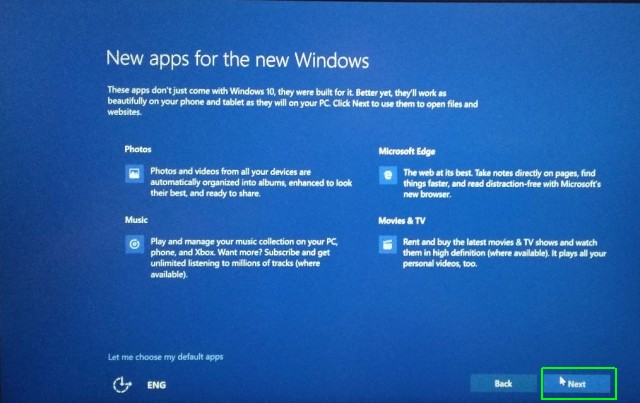
9. Click Next on the “New apps for the new Windows” screen. The computer will say “finalizing your settings,” and then take you to the Windows 10 lock screen.
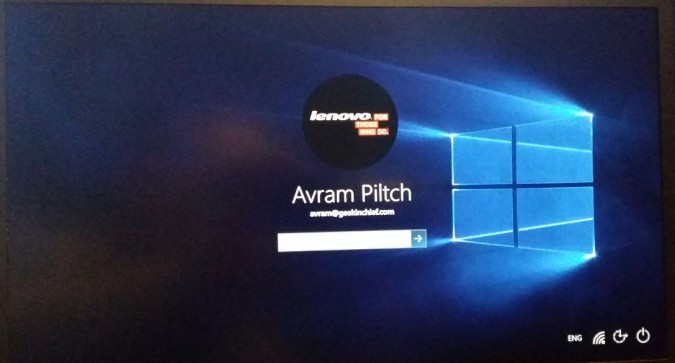
10. Log in to your computer. Windows 10 will take another couple of minutes to do an initial setup and then it will take you to the Windows desktop.
How to Create a Windows 10 USB Install Disk
If you have a 4GB or larger USB flash drive (very common and affordable in 2022), or a blank DVD handy (if you still use an optical drive), you can create your own Windows 10 install disk. Having your own disk allows you to run the upgrade on multiple computers without waiting an hour for a fresh download. You also have the option of doing a clean install or running the upgrade a second time if you run into problems later. Here’s how to create a Windows 10 install disk.
Before you begin, make sure to insert your flash drive into one of your USB ports. Be aware that all data on the drive will be erased.
1. Follow steps 1 -3 above, installing the Download tool and launching it.
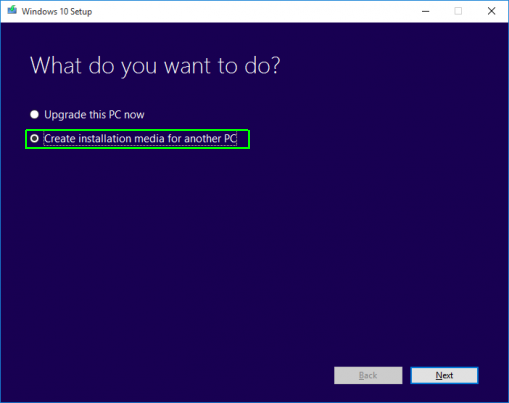
2. Select “Create installation media . . . “
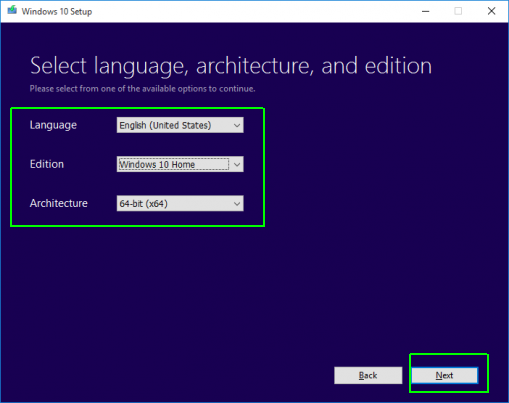
3. Select the language, edition and architecture (32 or 64 bits) of Windows. Make sure your selections match those of the computer(s) you wish to upgrade. So, if you currently have Windows 8 Home (64-bit), choose Windows 10 Home 64-bit.
4. Select USB flash drive. If you plan to burn this to DVD instead, select ISO file and, after the process is over, you’ll have to use a DVD burning program to write the ISO to disc.
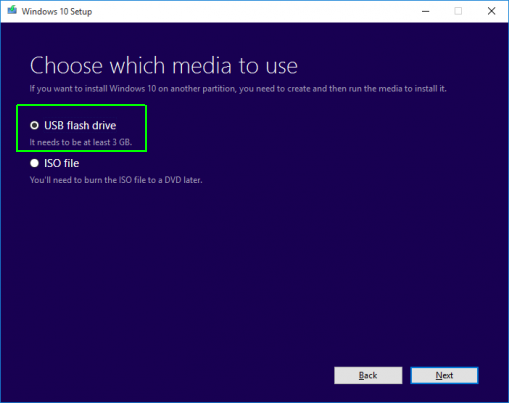
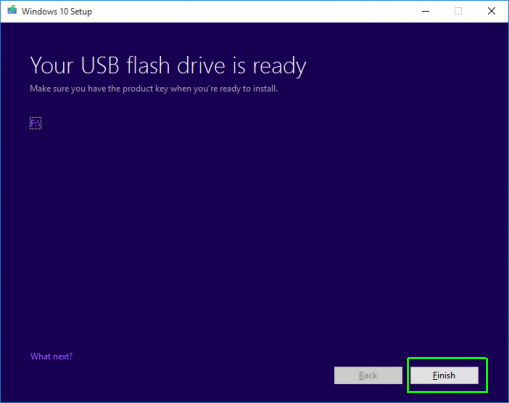
5. Click Finish when the process is complete. If you don’t plan to install Windows 10 right away, you can remove the drive and stop here.
6. Launch setup.exe on the flash drive to start the upgrade process.
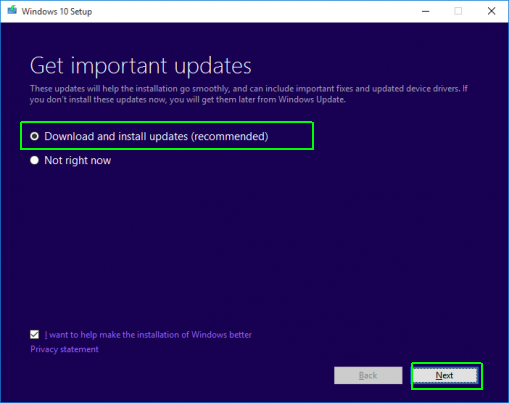
7. Select “Download and install updates” and click Next. If you are in a big hurry, choose “Not right now.” Wait several minutes for the updates to download.
If the software asks you for a product key, you are using the wrong version of Windows 10 to upgrade. For example, you might be attempting to install Windows 10 Home over your existing Windows 8.1 Pro or vice versa. The following steps are the same as if you install via direct download.
8. Click Accept. The software takes a couple of minutes to check your system.

9. Click Install. You can now walk away for at least 30 minutes. After the OS is finished installing, you will be presented with a screen showing your username.

10. Click the Next button.

11. Select Use Express settings.

12. Click Next again.

13. Log in to your computer.

Windows 10 Basics
Having issues with Windows 10? Our sister site, Tom’s Hardware, has a team of staffers standing by in the forums to answer your questions 24/7.

